RDSH Gateway Server
To create an RDS-farm with a gateway server...
- the destination must be added in oneclick™
- and the Session Host role must be installed on the server.
Self signed certificates are supported.
1. Create connection
- Connect your system to oneclick™ via Port Forwarding, VPN IPsec or via public internet. If your system has direct internet access, you can continue right here.
- If you get to the point where you need to go to the Destinations menu item, come back to this article.
2. Create destination
-
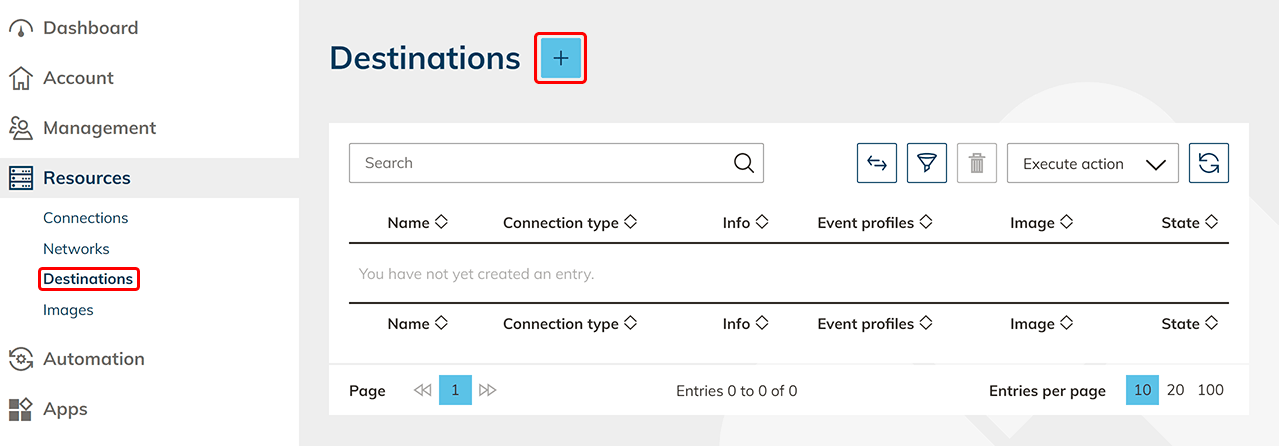
Click on the tab Destinations in the menu item Resources and then on the Plus icon.
-
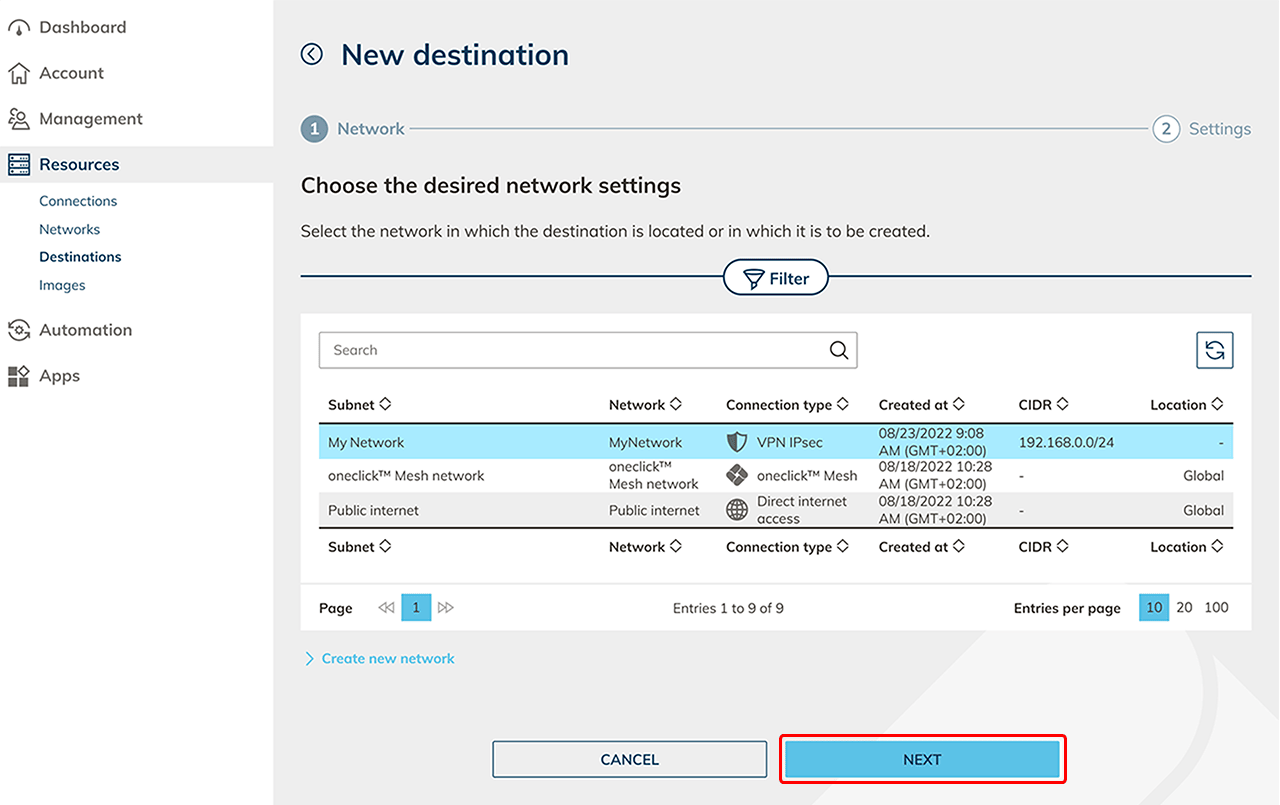
Select the network of your connection type e.g. Public internet or VPN IPsec and click Next.
-
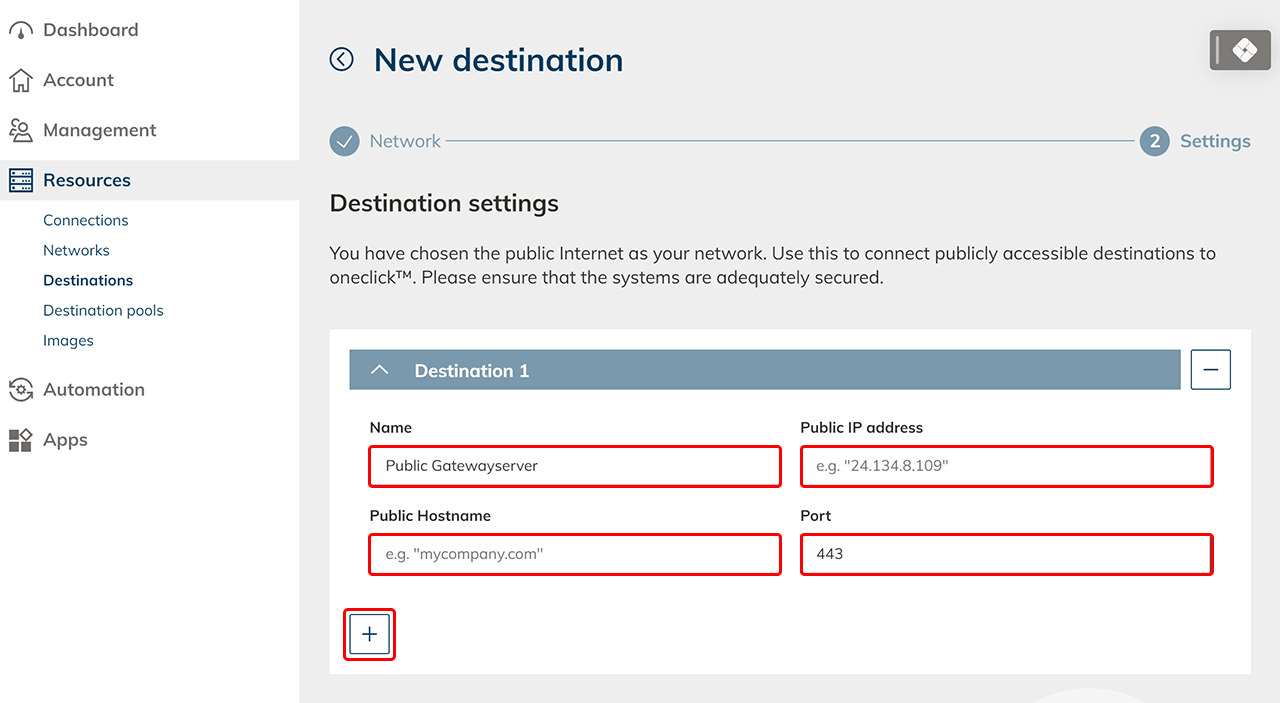
Name your public gateway server destination, enter the "external hostname" and optionally add the "external IP" (mandatory for a connection via VPN IPsec!). Enter the port "443", because the gateway server always runs over a SSL connection.
-
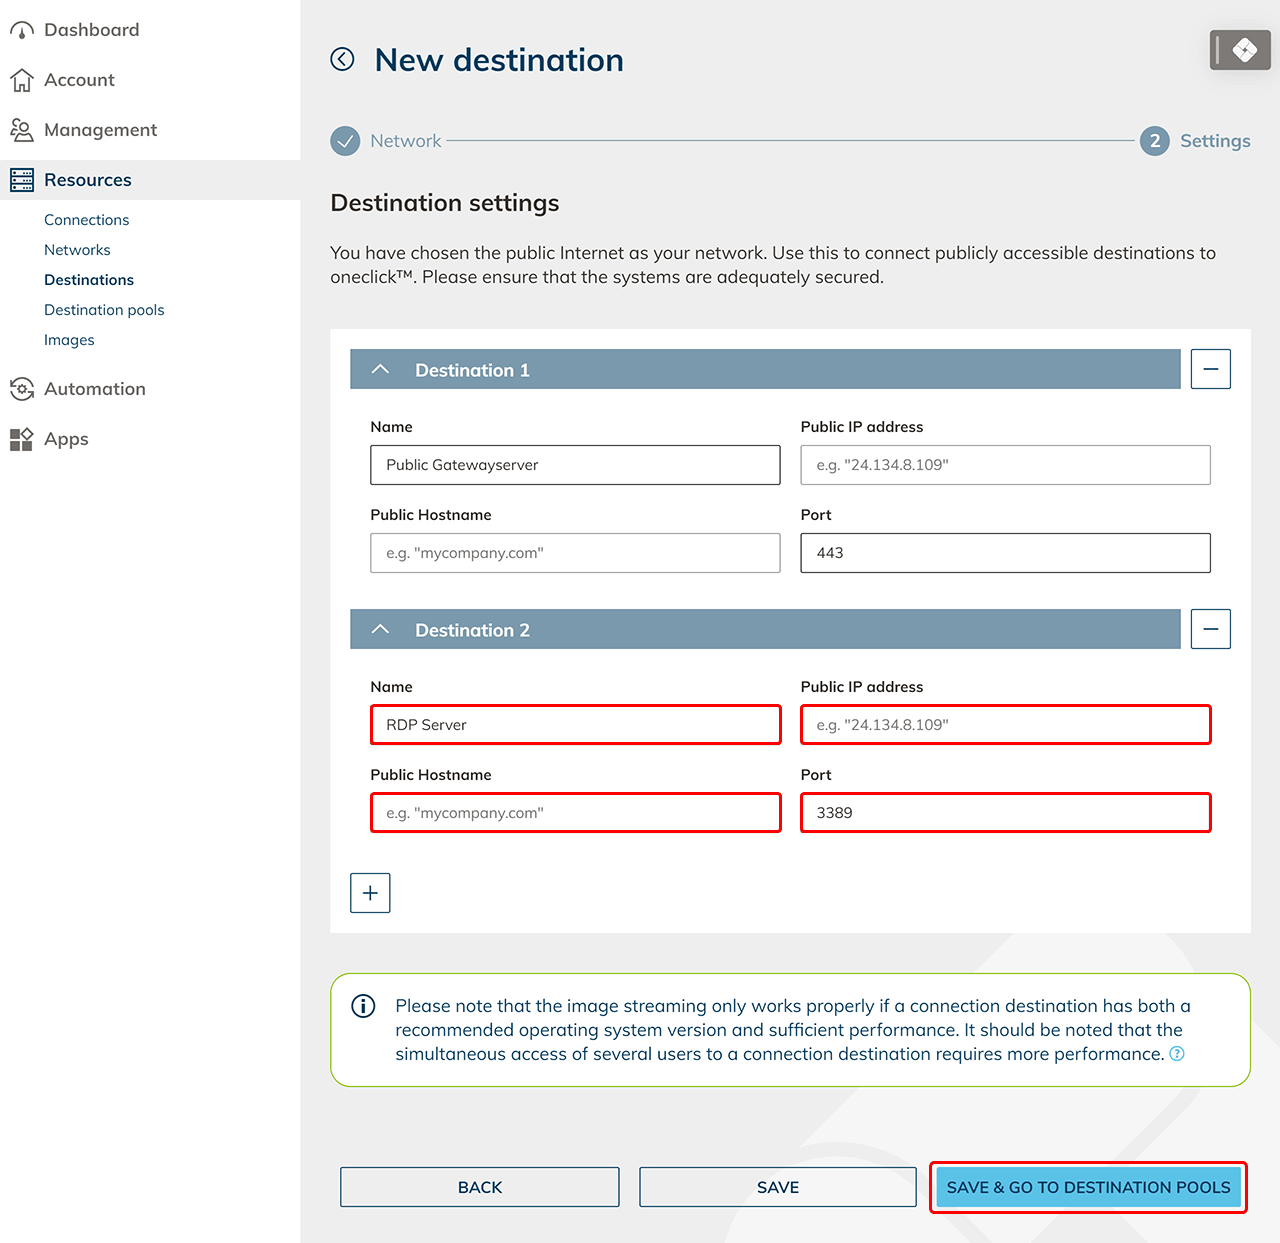
Next click on the Plus icon, name your RDP Server which should be controlled by the gateway server and enter the "internal hostname" or the "internal IP" and the port "3389" and Save your settings. This must be a server the load balancer can reach on the internal network.
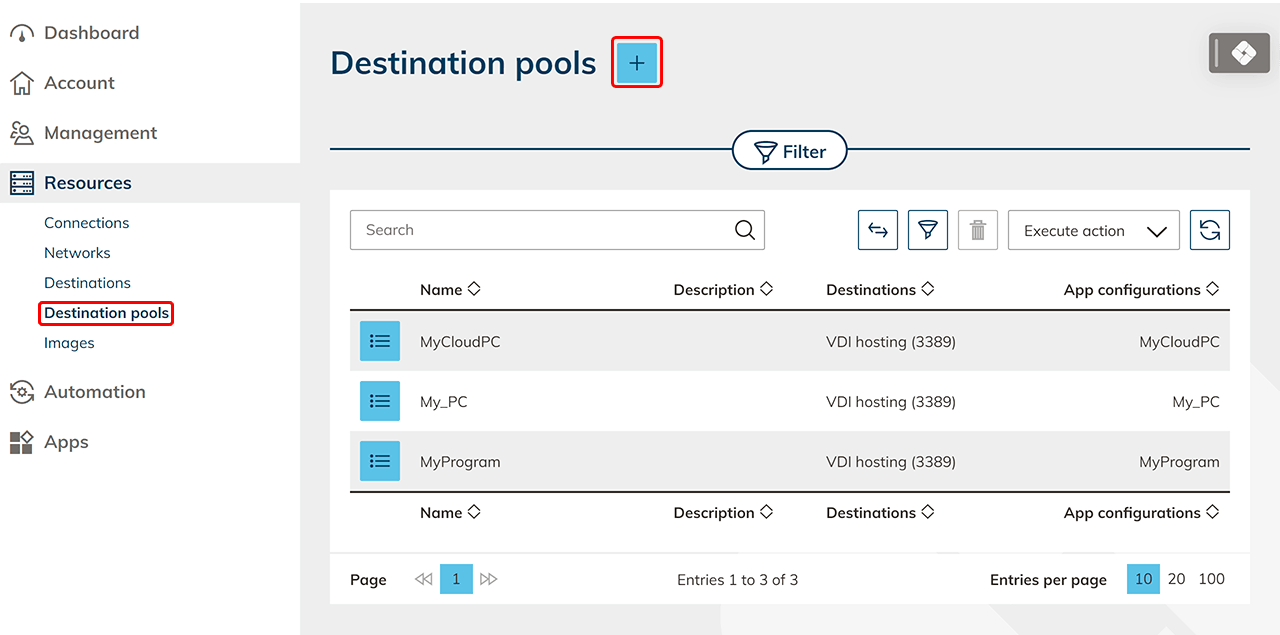
3. Create destination pools
- In oneclick™ go to the Resources tab, select the subitem Destination pools and click on the Plus icon.
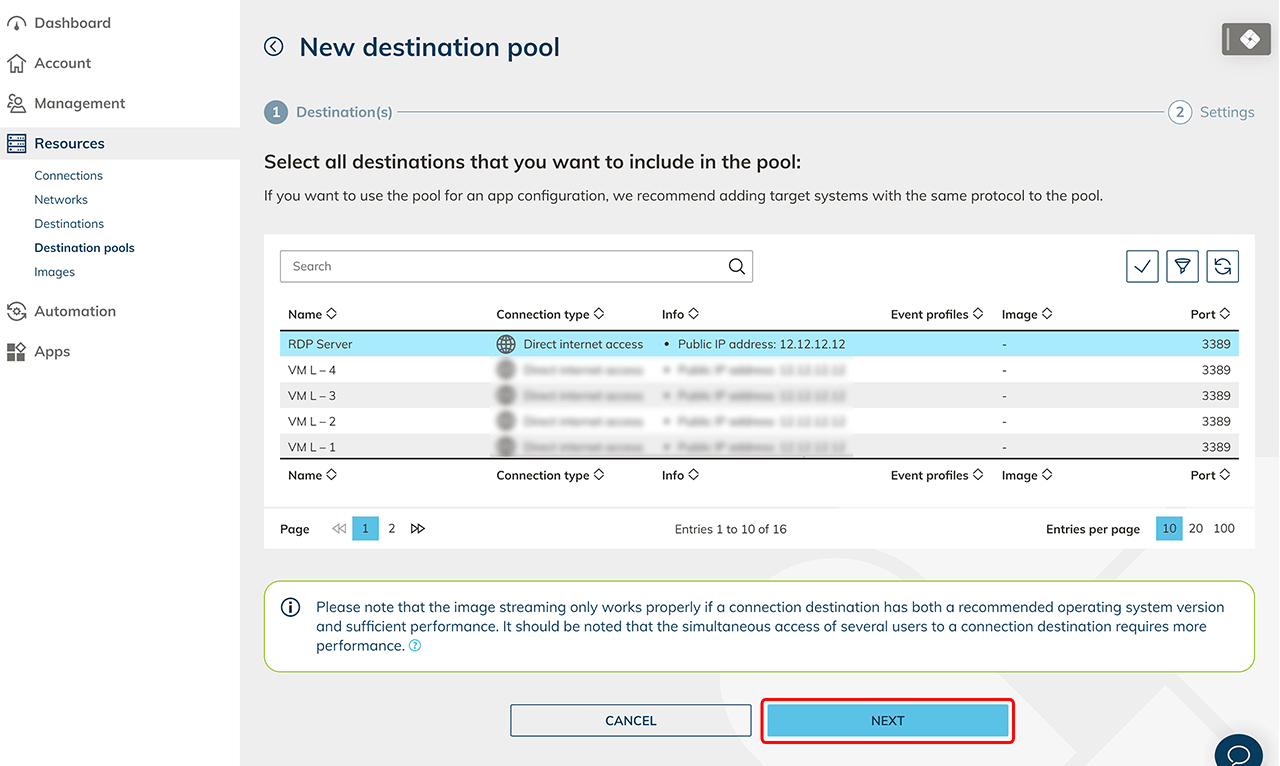
- Select from the list the destinations you want to include in the destination pool and click Next.
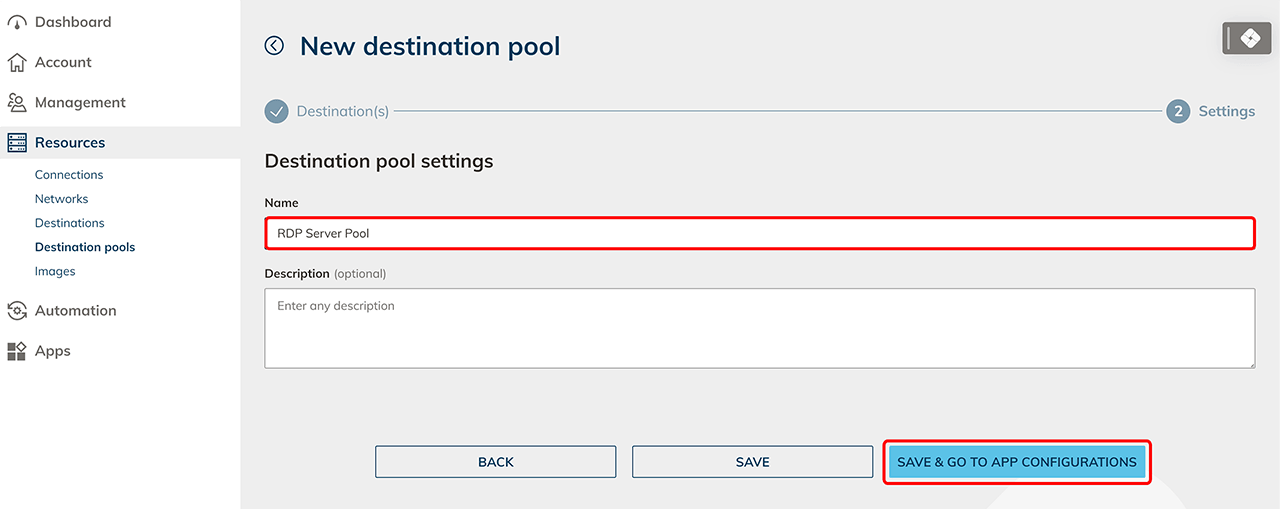
- Give the new destination pool a Name of your choice then click Save your entries.
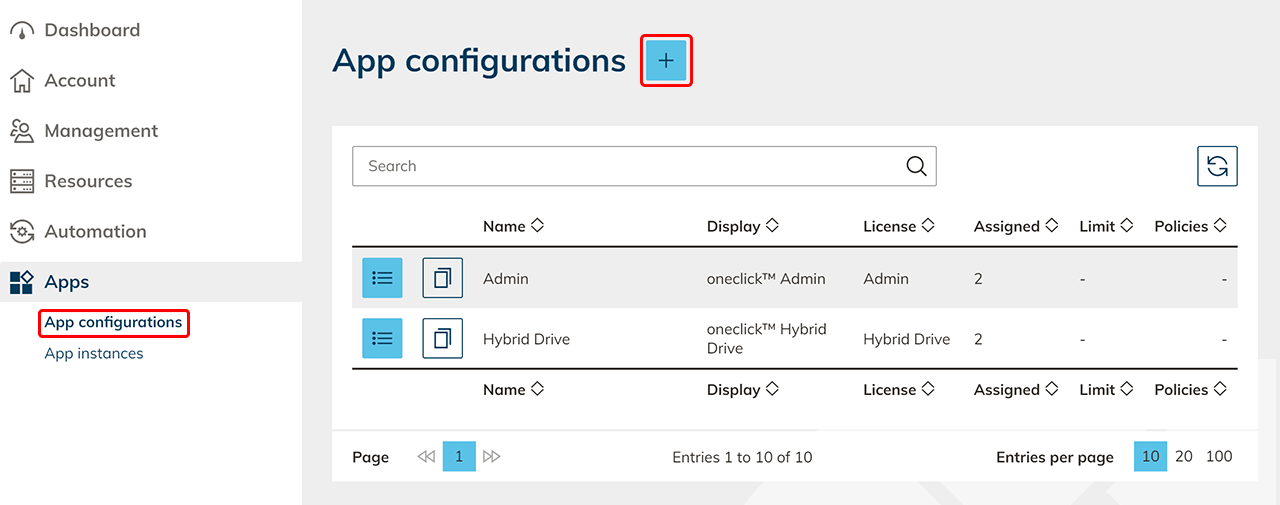
4. Create app configuration
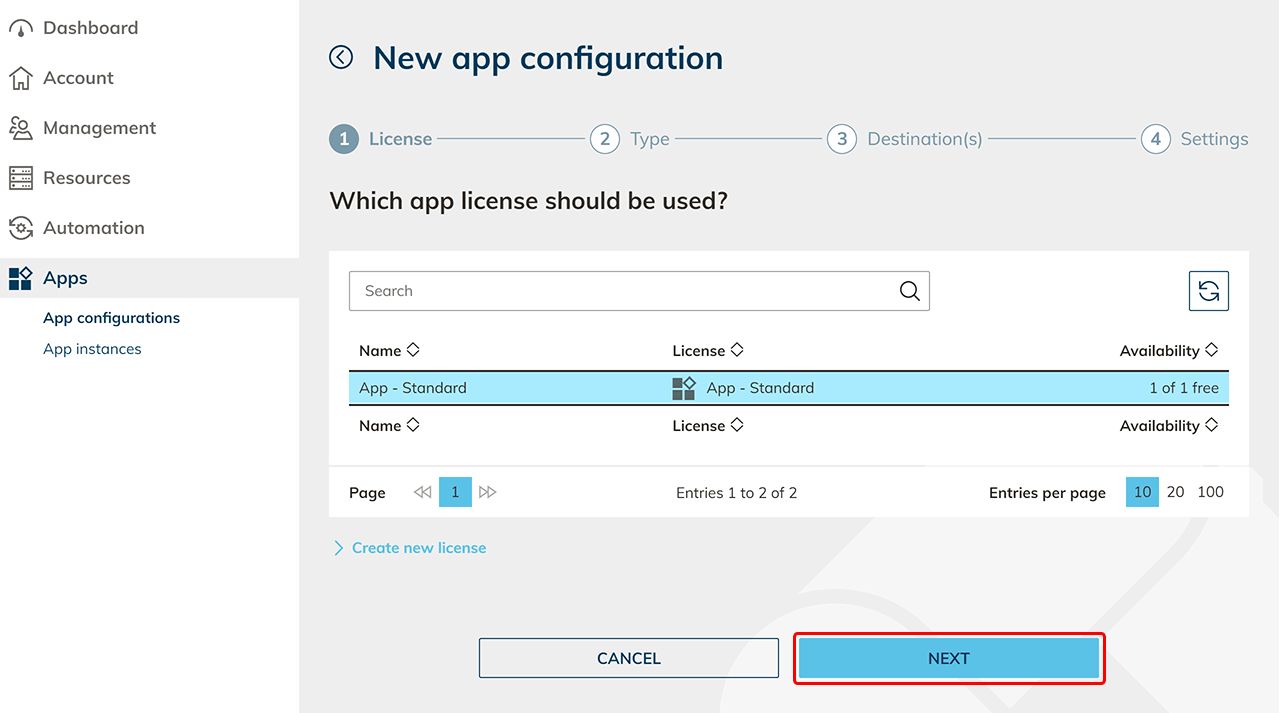
- Go to the Apps tab and then to App Configurations and click on the Plus icon.
- Select an app license and click Next.
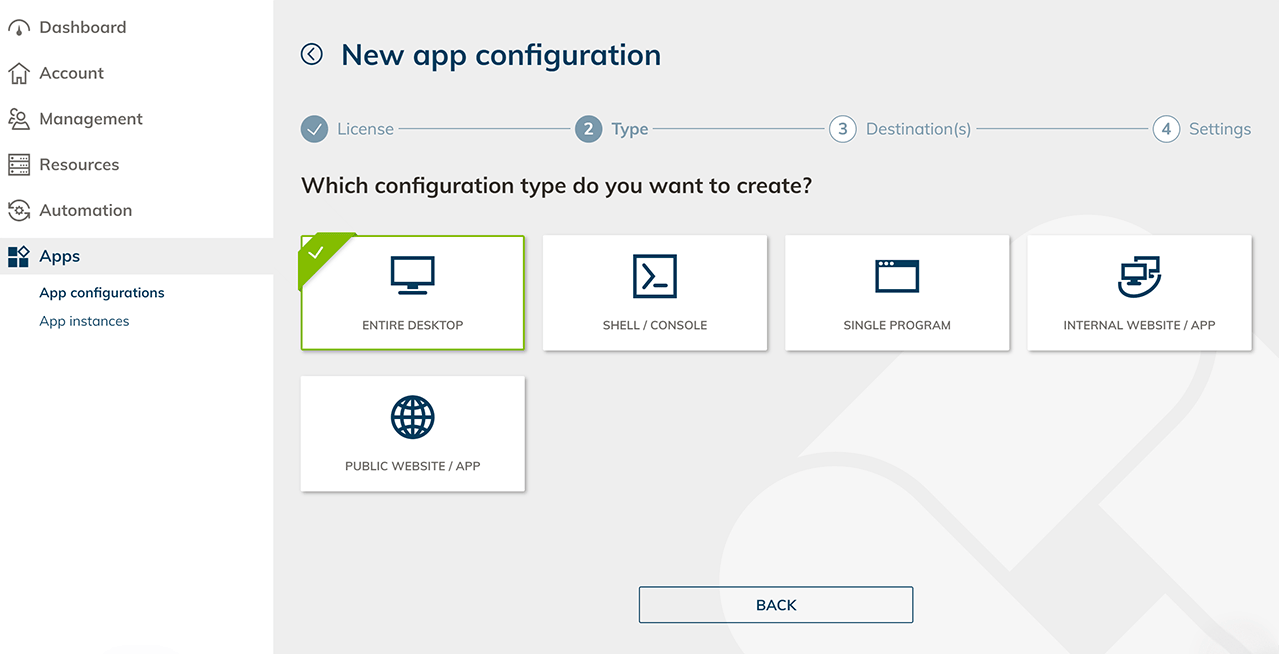
- Select configuration type Entire desktop or Single program. For the single program, you need to change some settings on your server.
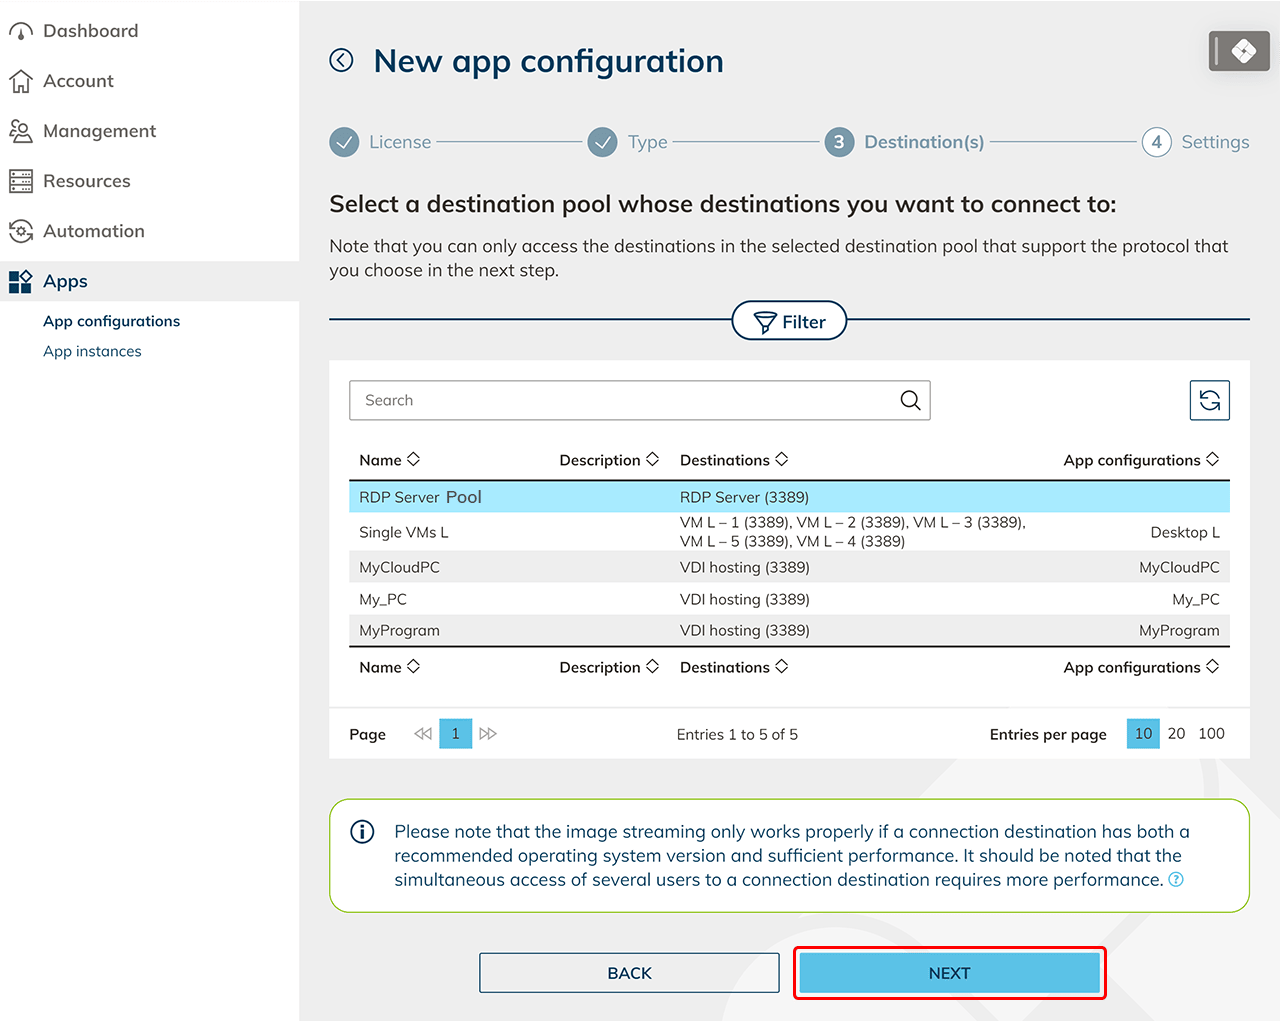
- Select the destination pool to whose destinations you want to connect to and click Next.
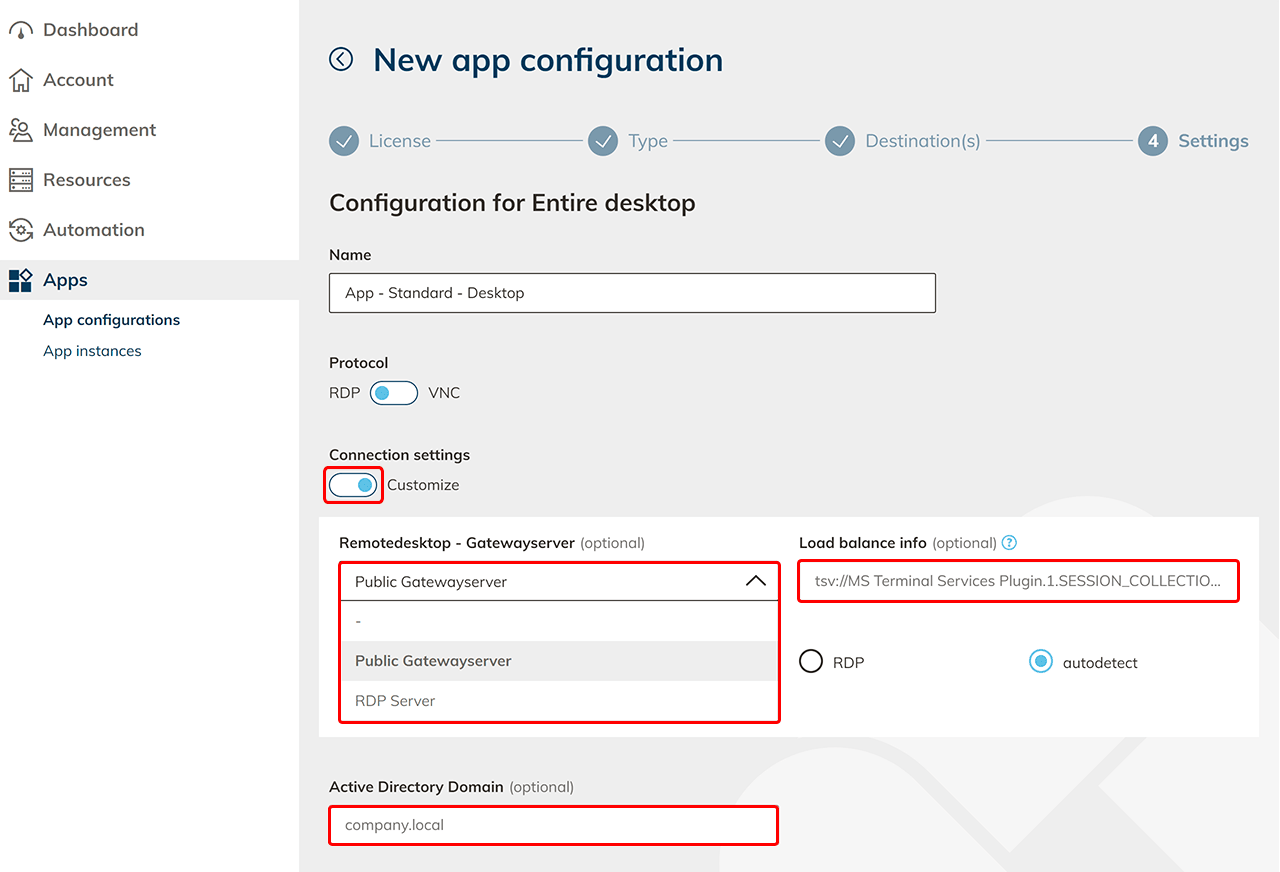
- Click Customize connection settings. In the "Remote Desktop - Gateway Server" dropdown, select the created destination to your gateway server, specify the path to the "Load Balancer" and enter the "Active Directory Domain". Make further settings if required and click Save.
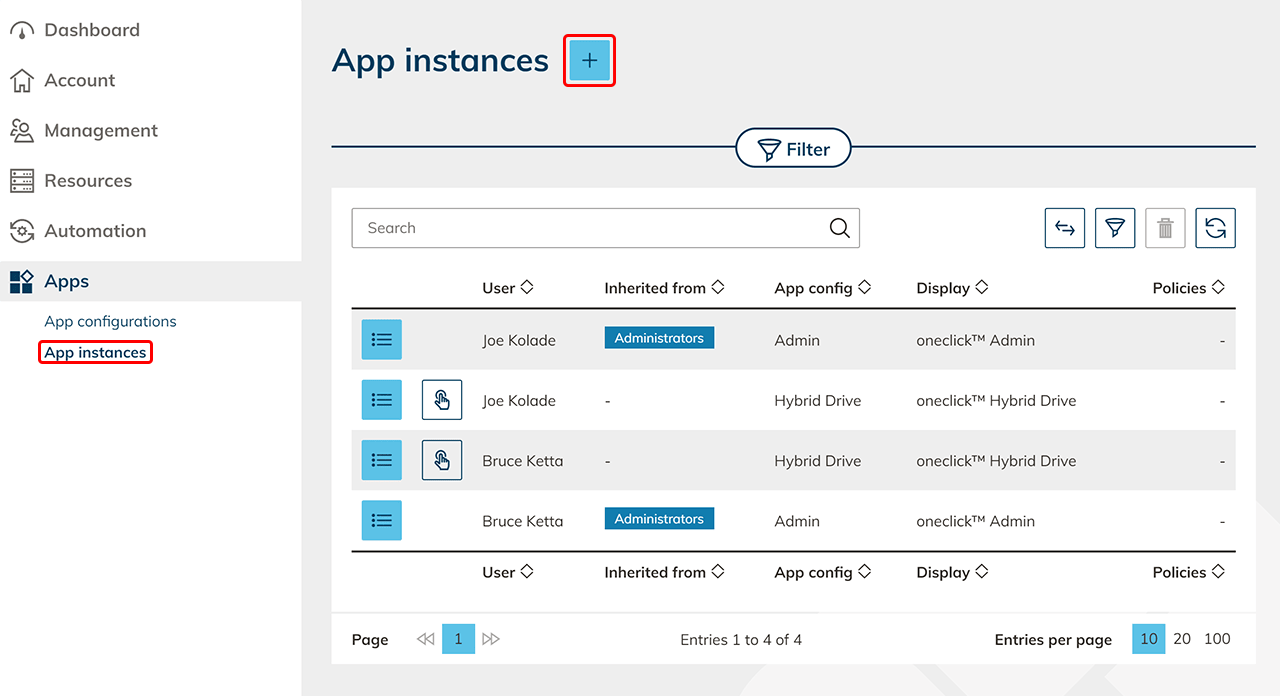
5. Create app instance
- Switch to the menu item App instances and click on the Plus icon.
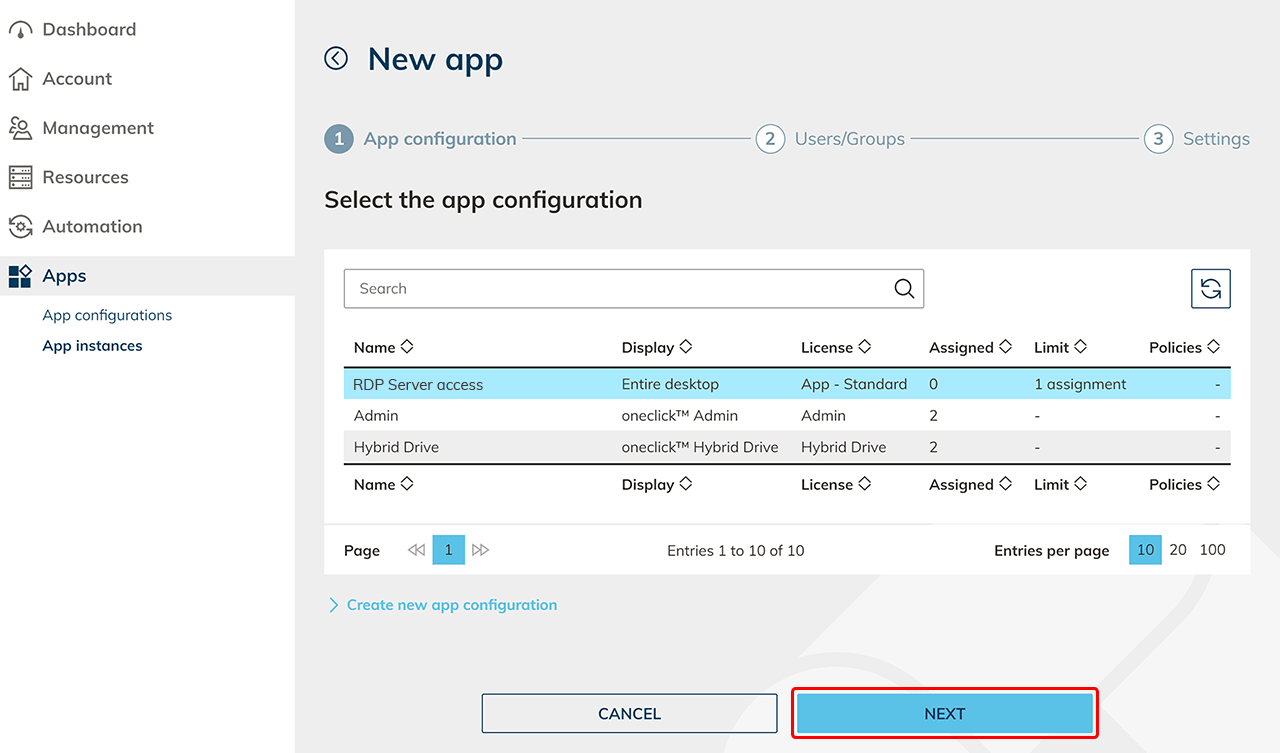
- Select your created configuration and click on Next.
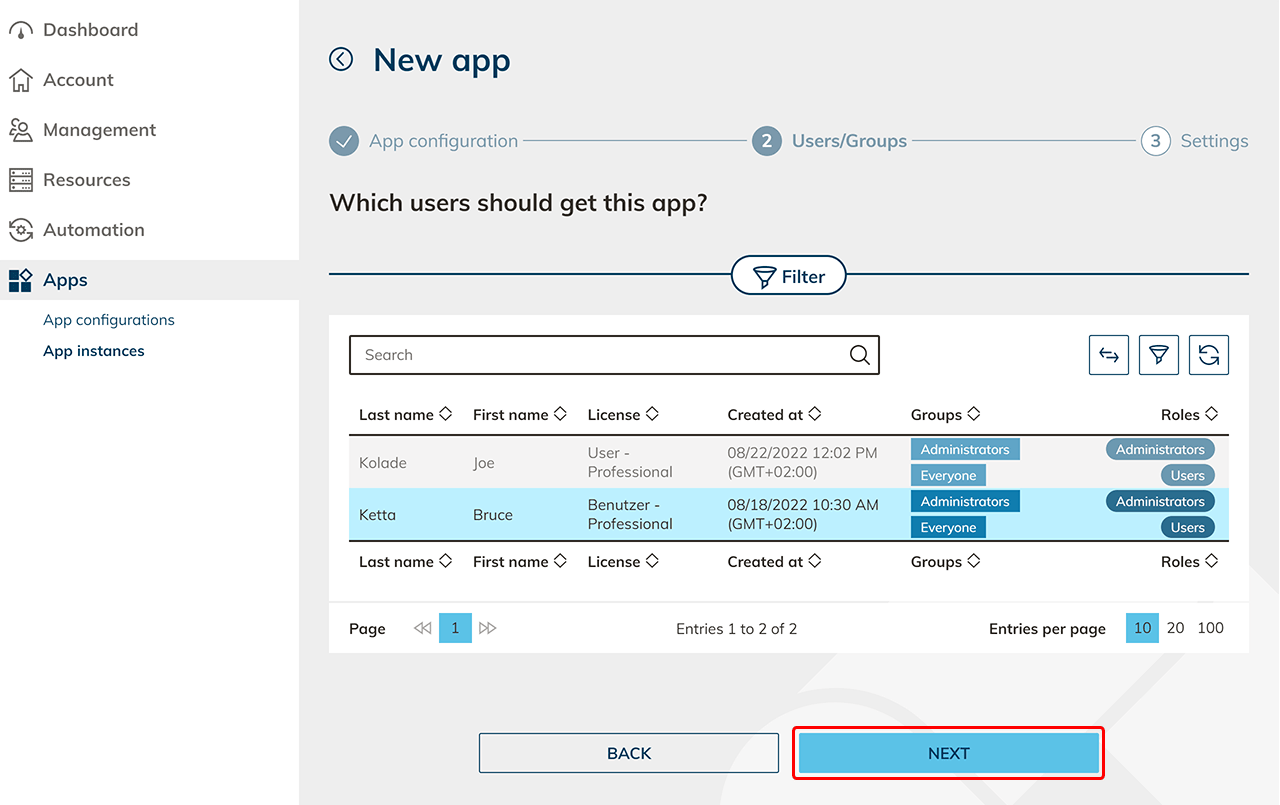
- Select all users who should receive an app with the same configuration. Click Next.
- Now you need to make the settings for each user. Select the RDP server as the connection destination and specify the login details of the gateway server. Click Save to create the app access for your users.
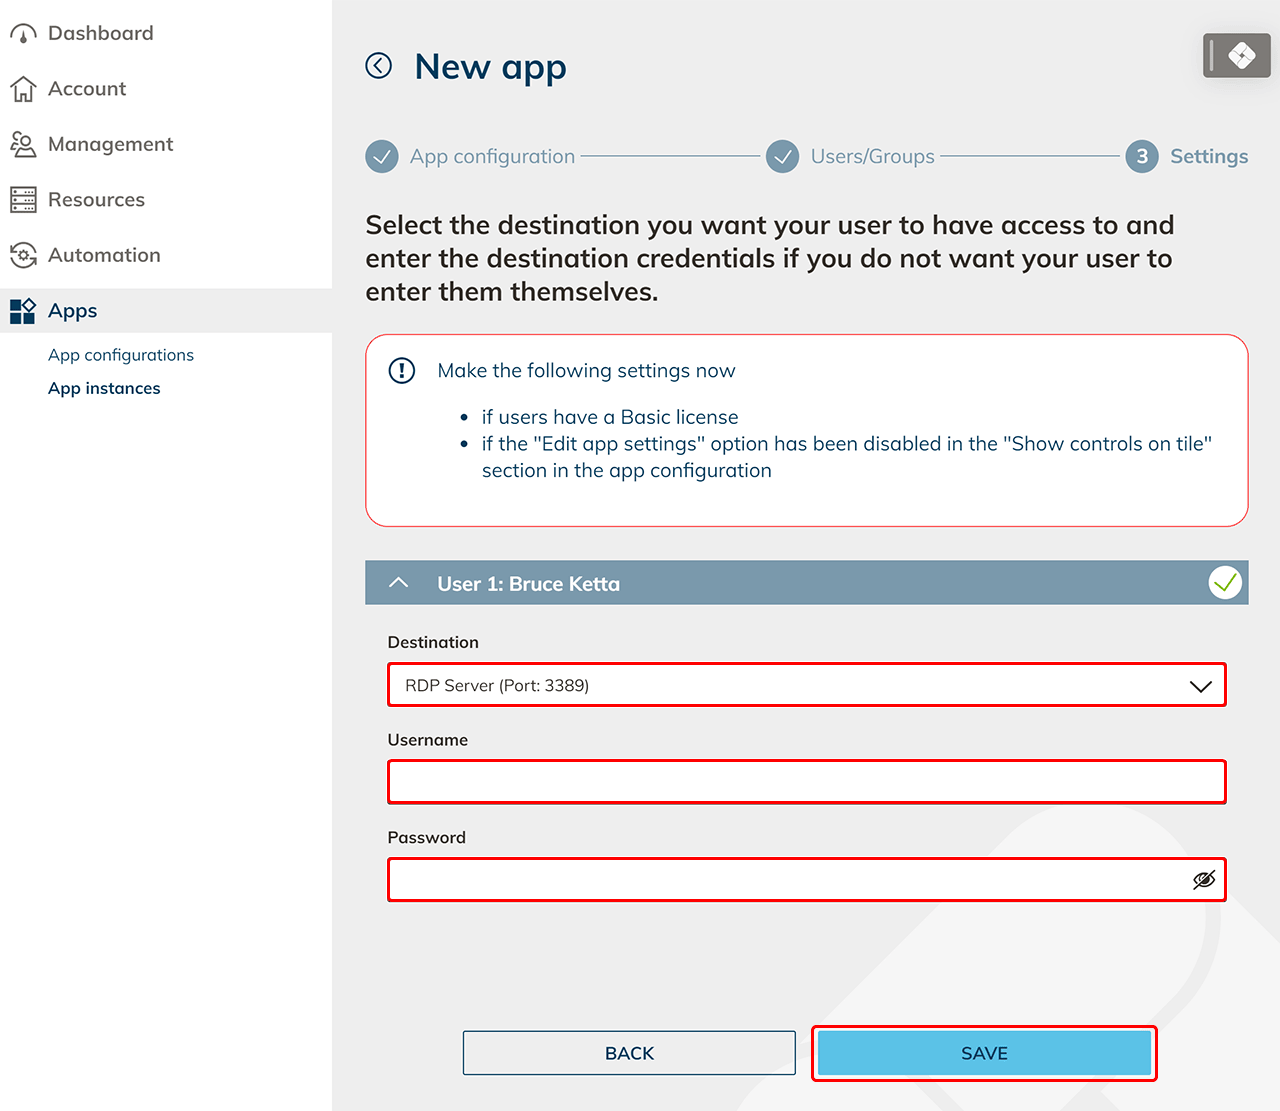
Users now have access to the RDP server.