Graphics acceleration on Azure VMs
To deliver desktops or apps with GPU support through oneclick™, create a destination pool from Azure VMs of the NV series (Azure's NVIDIA GPU-equipped VM family) and activate hardware graphics acceleration in the Windows Remote Desktop settings.
- When you create a cloud resource, use a Windows 11 image. To create a virtual machine with GPU support, select the workload High and then one of the NV-series VMs in the size you need.
- Create a destination pool and add one or more related destinations.
- To access the destinations via oneclick™ Streaming, configure app access for your destination …
- … and create app instances for your oneclick™ users.
Activate GPU support on the VM
Access the app and follow these steps:
- Install the NVIDIA driver on the open VM.
- Enter
gpeditin the Windows search and open Group Policy.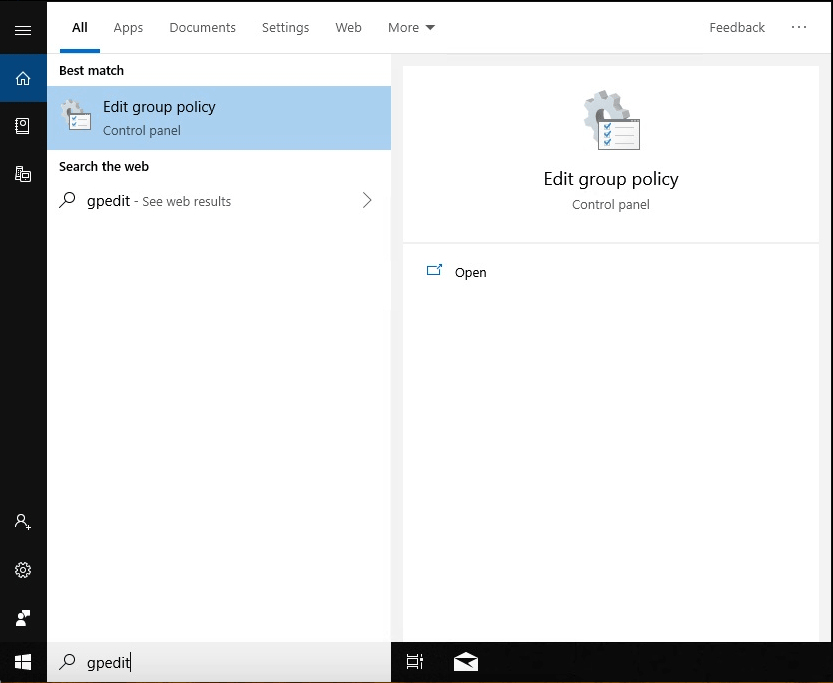
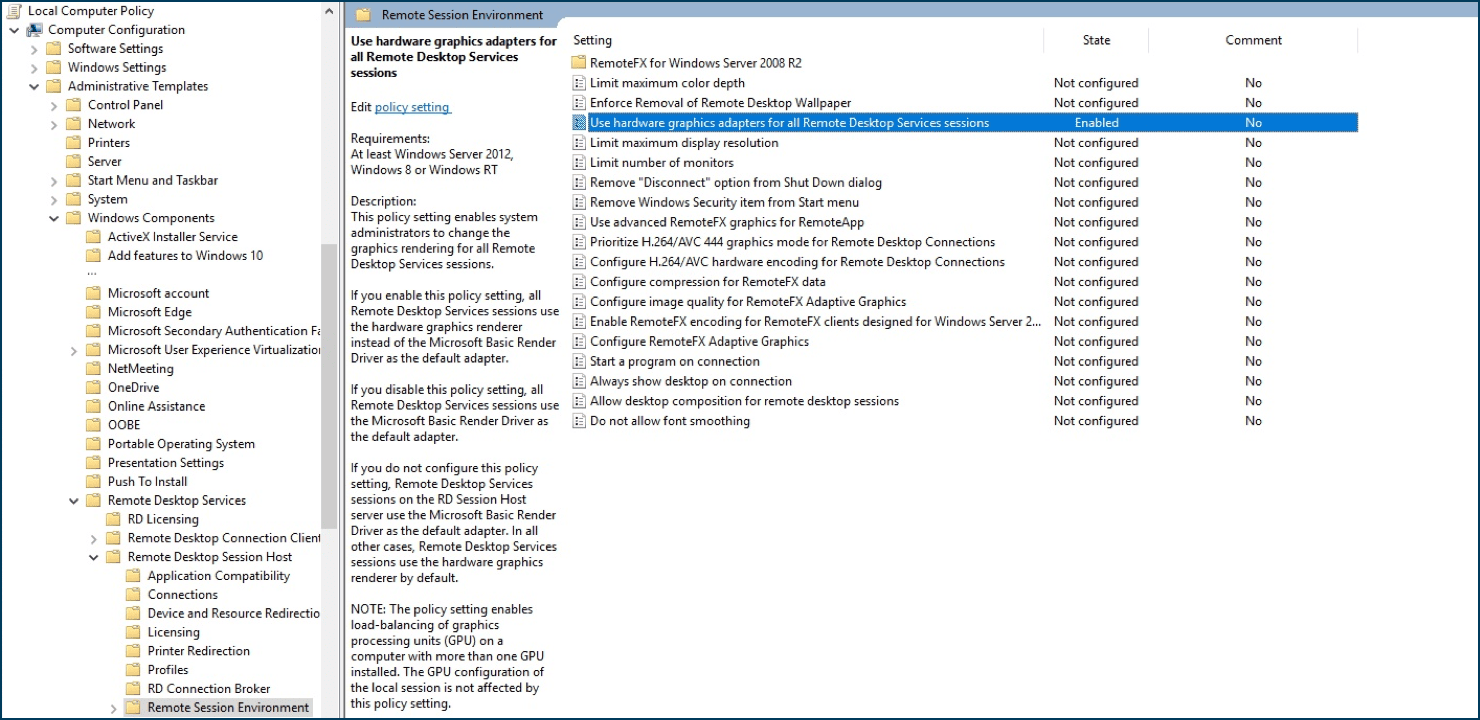
- Go to: Computer Configuration / Administrative Templates / Windows Components / Remote Desktop Services / Remote Desktop Session Host / Remote Session Environment / Use hardware graphics adapters for all Remote Desktop Service sessions. Set the state to Enabled.
- Enter
cmdin the Windows search and open Command Prompt.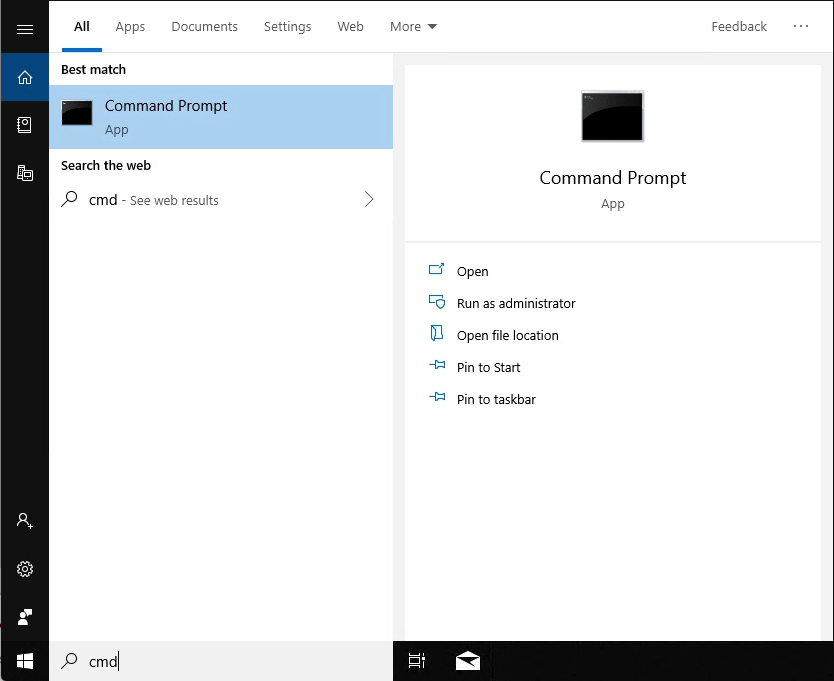
- Enter the following and press Enter:
gpupdate /force

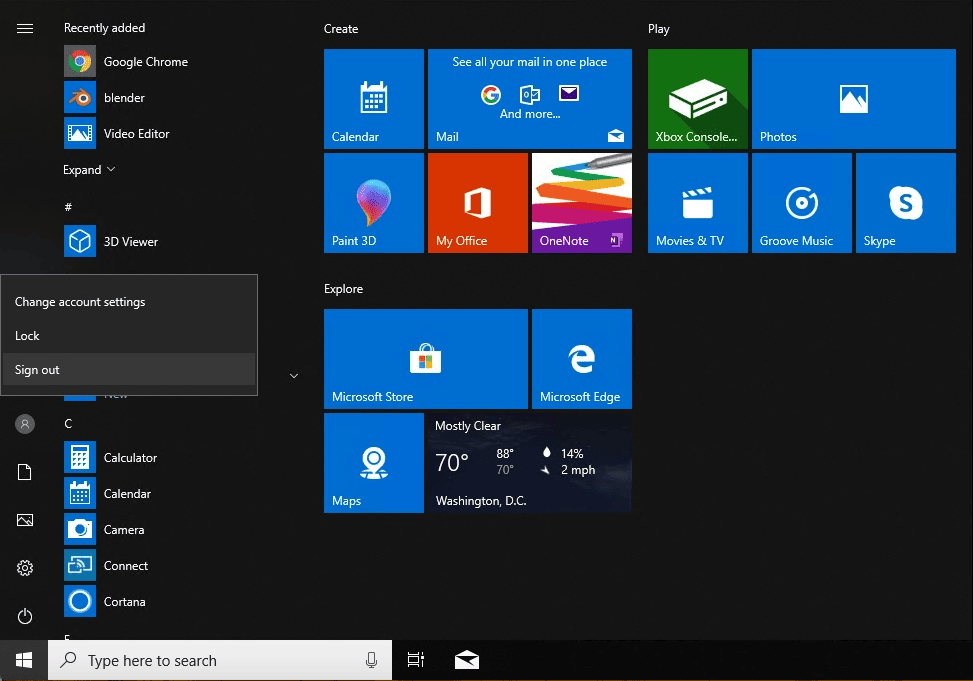
- Sign out of the virtual machine.
- Restart the app. Your app now uses the GPU hardware.
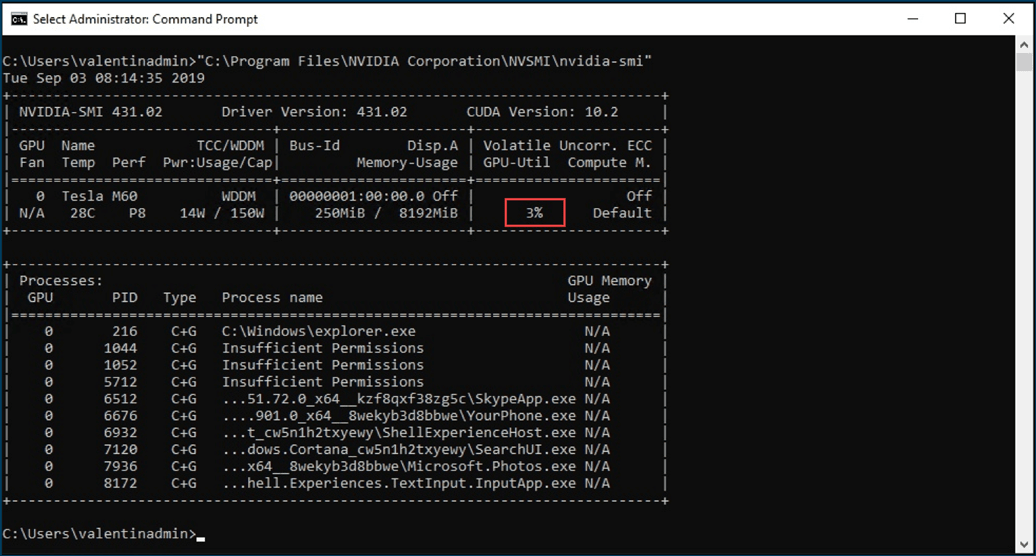
Verify GPU support
- Enter
cmdin the Windows search again and open Command Prompt. - Enter the following and press Enter:
If you see a percentage higher than 0, GPU acceleration is active. If you see 0%, repeat the steps."C:\Program Files\NVIDIA Corporation\NVSMI>nvidia-smi"