Access to entire desktop
To continue here, you need at least one app license. Have you activated one already?
Do you already have a server connected in oneclick™ that you want to display as a remote desktop or entire desktop? Then configure the delivery here.
- Click Apps in the menu and then click App configurations.
- Click on the Plus icon to create a new app configuration.

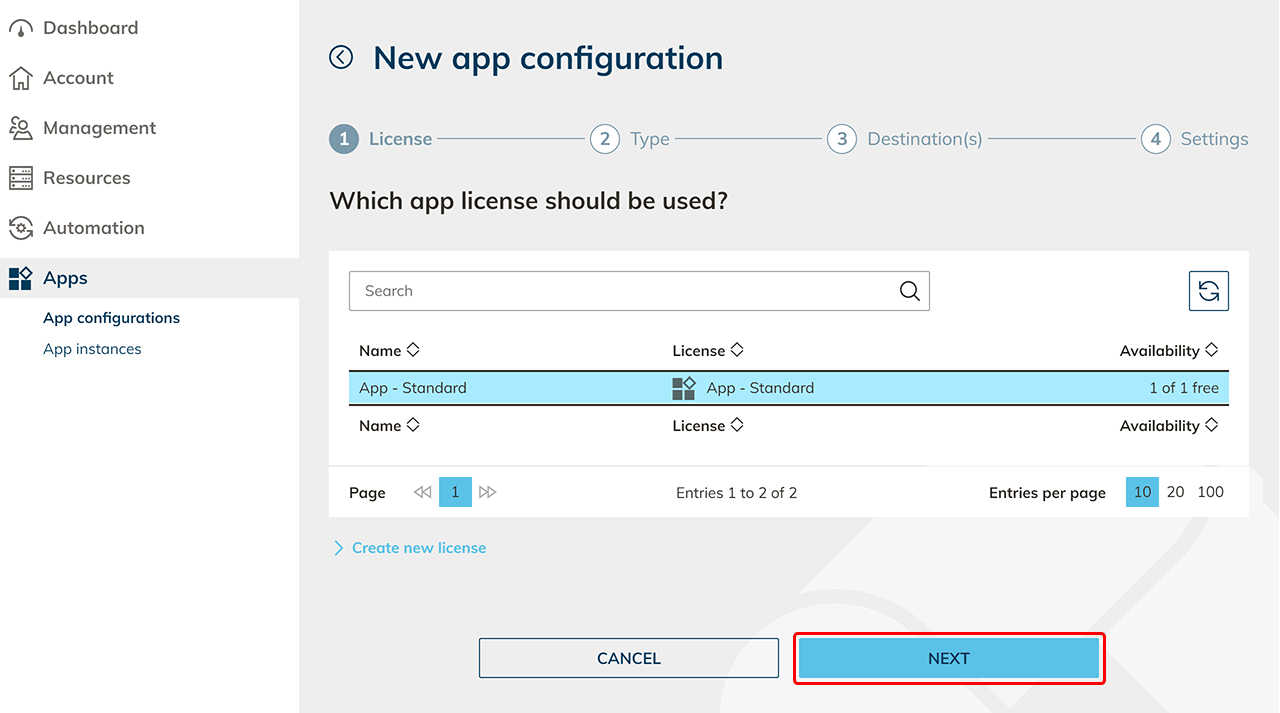
- Select the app license you want to use for this configuration and click Next. Please note that a group license (pay-per-use) can later only be assigned to groups. Individual licenses (Pay-Per-License) can later only be assigned to individual users. You can recognize a group license by the ∞ sign under "Availability".
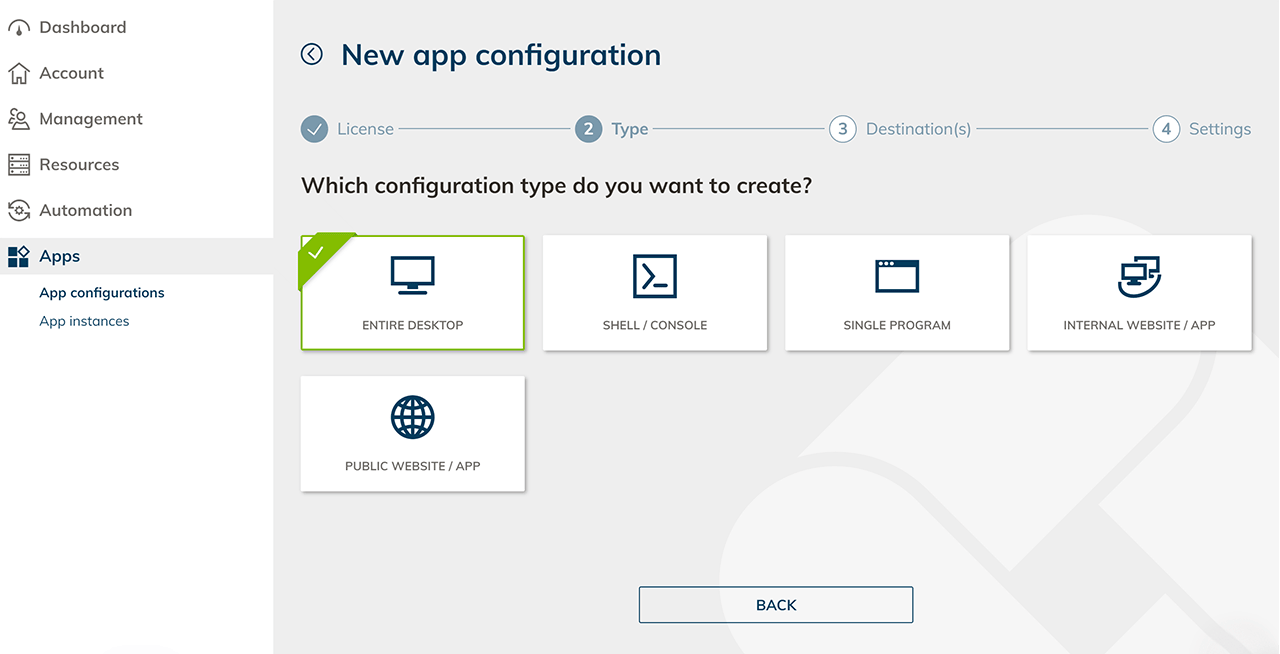
- In the next step you can select the appropriate configuration type (entire desktop) for access to your resources.
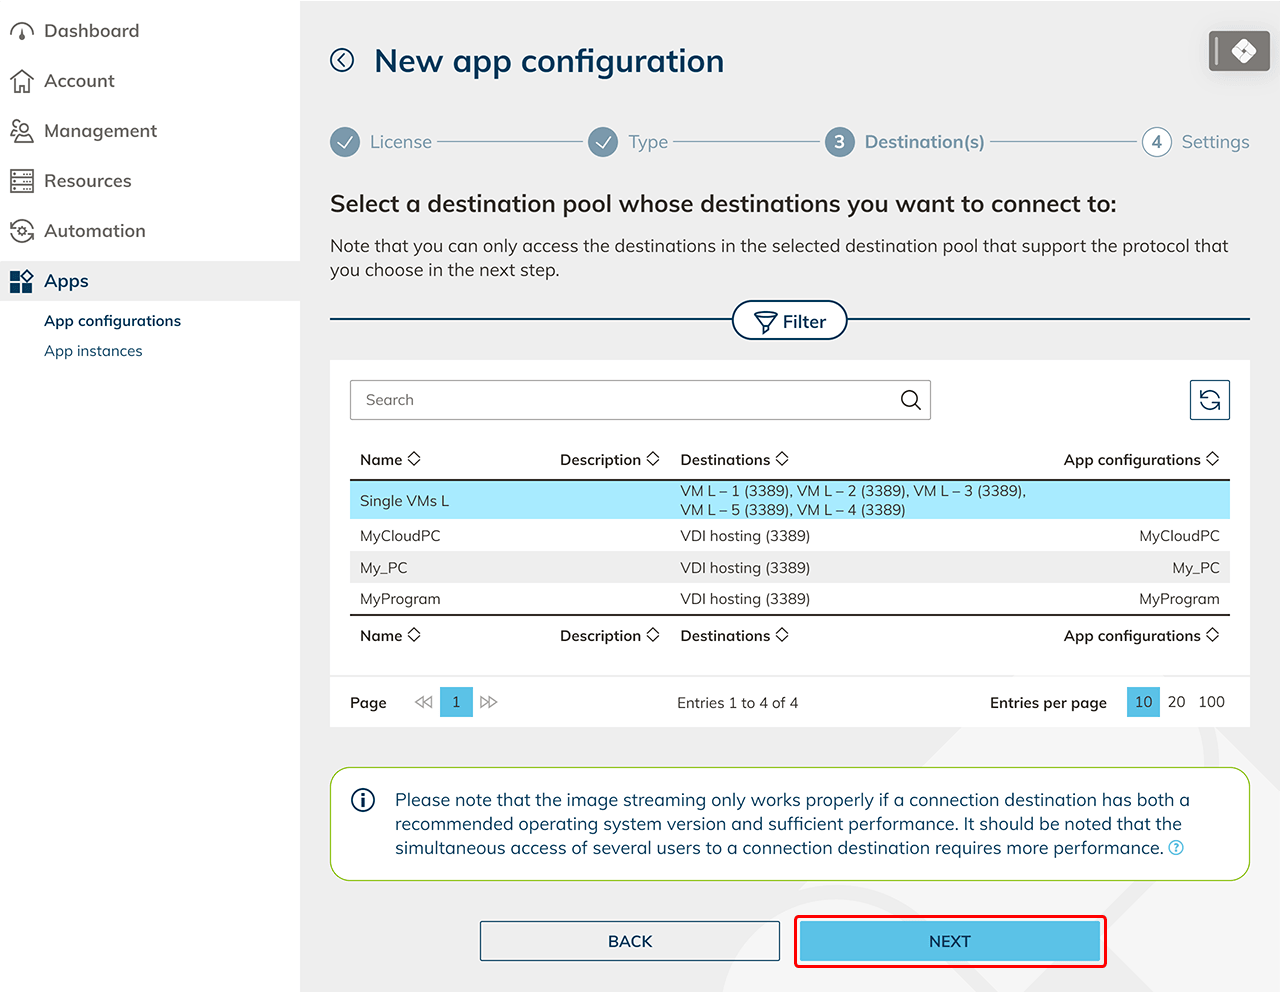
- Select the destination pool to whose destinations you want to connect to and click Next. Note that you can only access the destinations in a pool you picked that supports the protocol you are about to select in the next step.
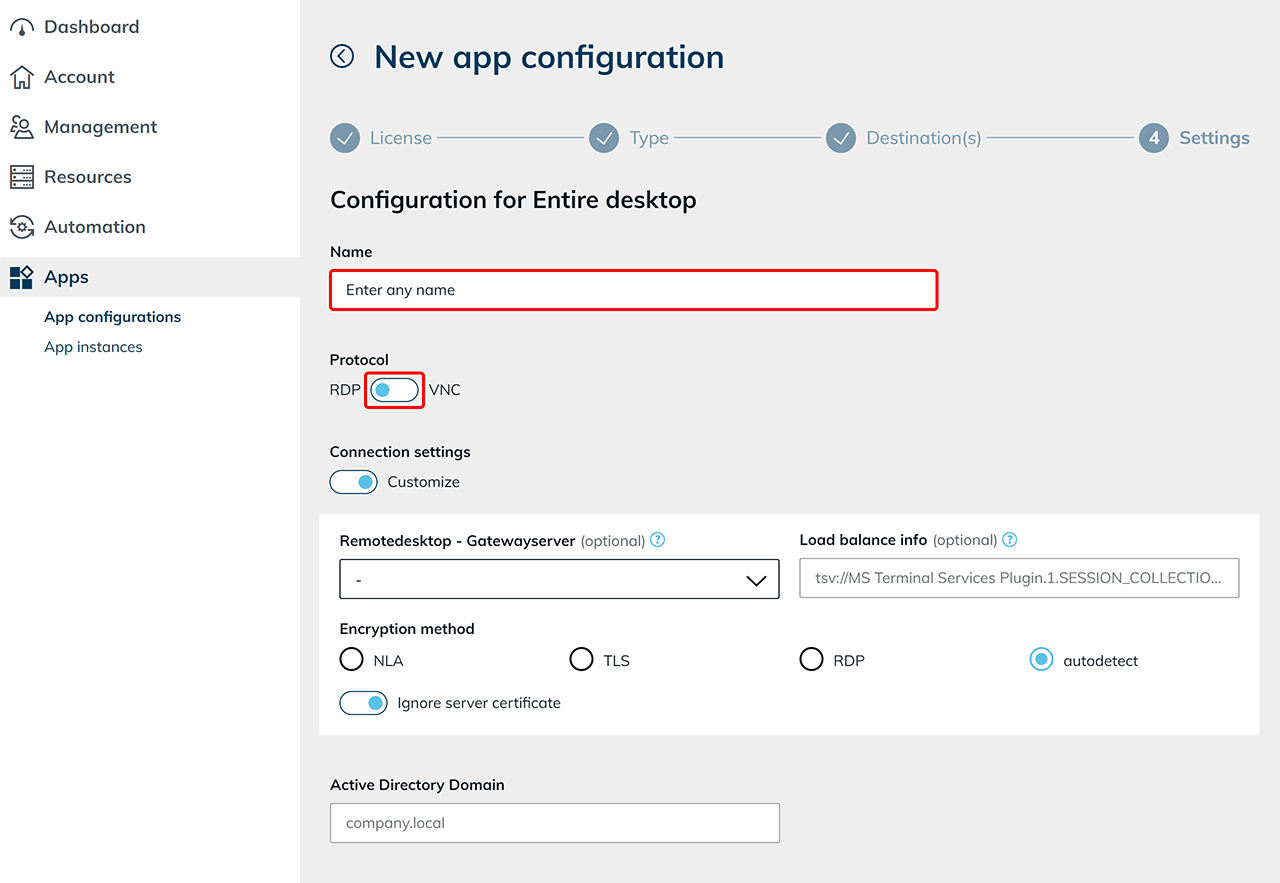
- In the next step, make the settings for access.
- Give your configuration a name that you can relate to your destinations.
- Choose the appropriate protocol for your destination (RDP or VNC). Mac end devices only support the VNC protocol.
- Optionally, you can adjust connection settings for special applications (e.g. for using a gateway server).
- If you set the encryption method to TLS or RDP, you can now start the Remote Desktop without entering your user data, provided that you have previously selected RDP. Your login information is then entered directly via the Windows login window.
- You can optionally enter an Active Directory domain. If you select “TLS” as the encryption method here, an Active Directory domain must be entered!
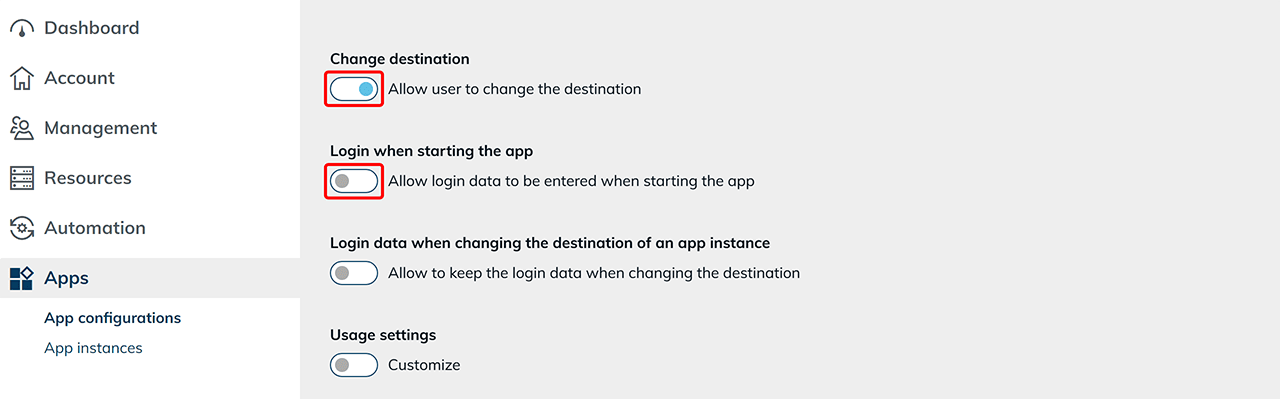
- The option “Allow user to change destination” is enabled by default. If you do not want your users to change the destination independently, disable the corresponding toggle. If you are unsure, you can also restrict the permission later.
- Entering the user's login data is switched off by default when the app is started.
- In this case, you as the administrator must store the credentials for the destination in the step App Instances or you may assign the app to Professional users only, with the option to edit app settings on the tile.
- For users who should enter their data themselves, we recommend to allow entering the login data when starting the app and saving it, if necessary.
- Optionally, you can enable the system to keep the login data in an app instance or on the desk tile when switching the destination. This prevents the data from being deleted from the fields when switching.
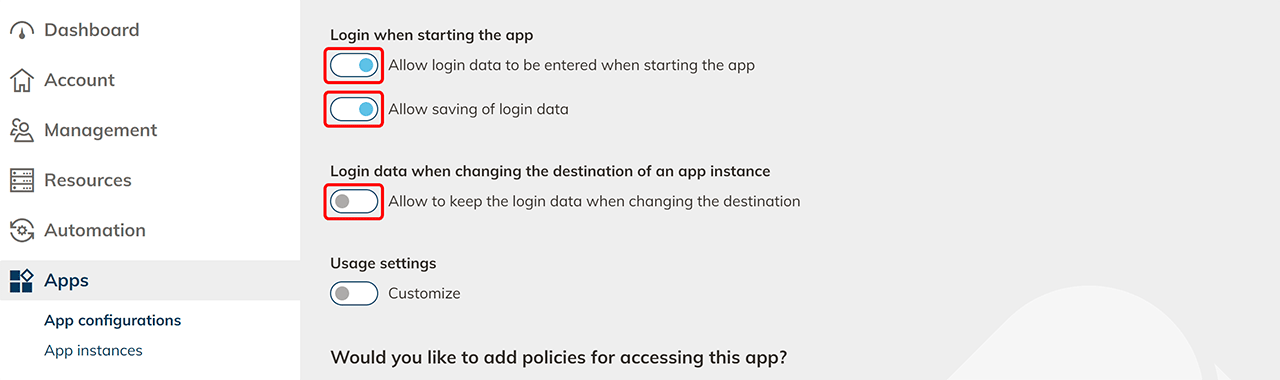
- In this case, you as the administrator must store the credentials for the destination in the step App Instances or you may assign the app to Professional users only, with the option to edit app settings on the tile.
- You can optionally customize the usage settings. Here you define the connection mode and configure the available access settings.
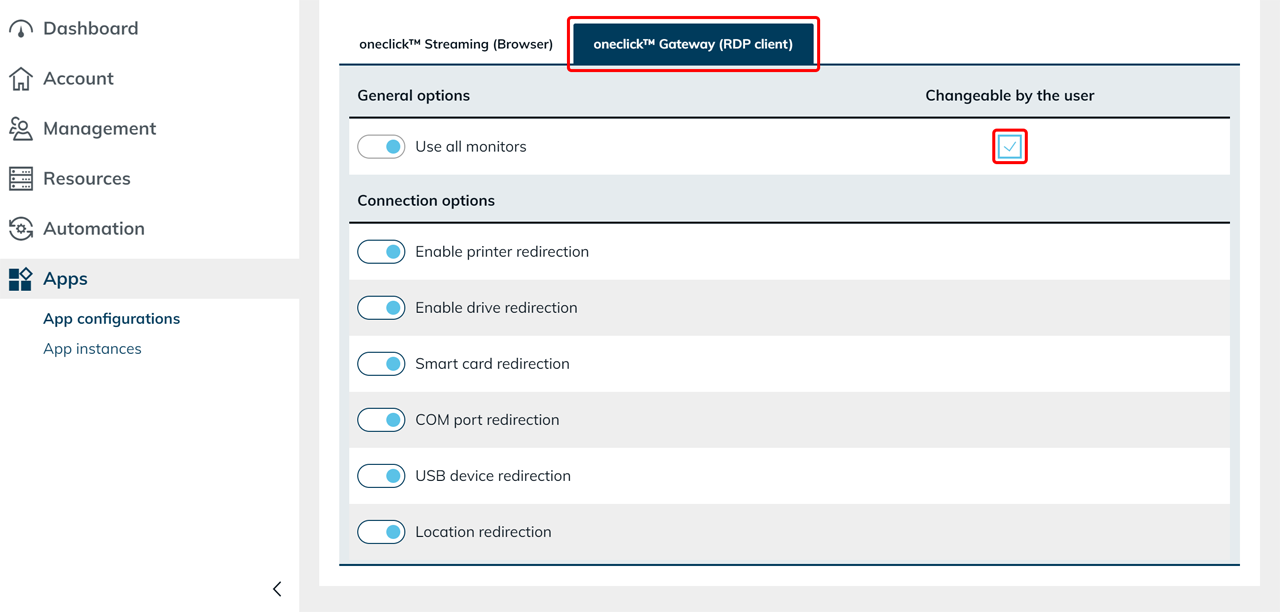
Under Usage settings, select the required connection mode in the row oneclick™ Streaming (Browser) / oneclick™ Gateway (RDP Client). To allow the user to change the connection mode later, select the checkbox Changeable by the user on the right in the same row.
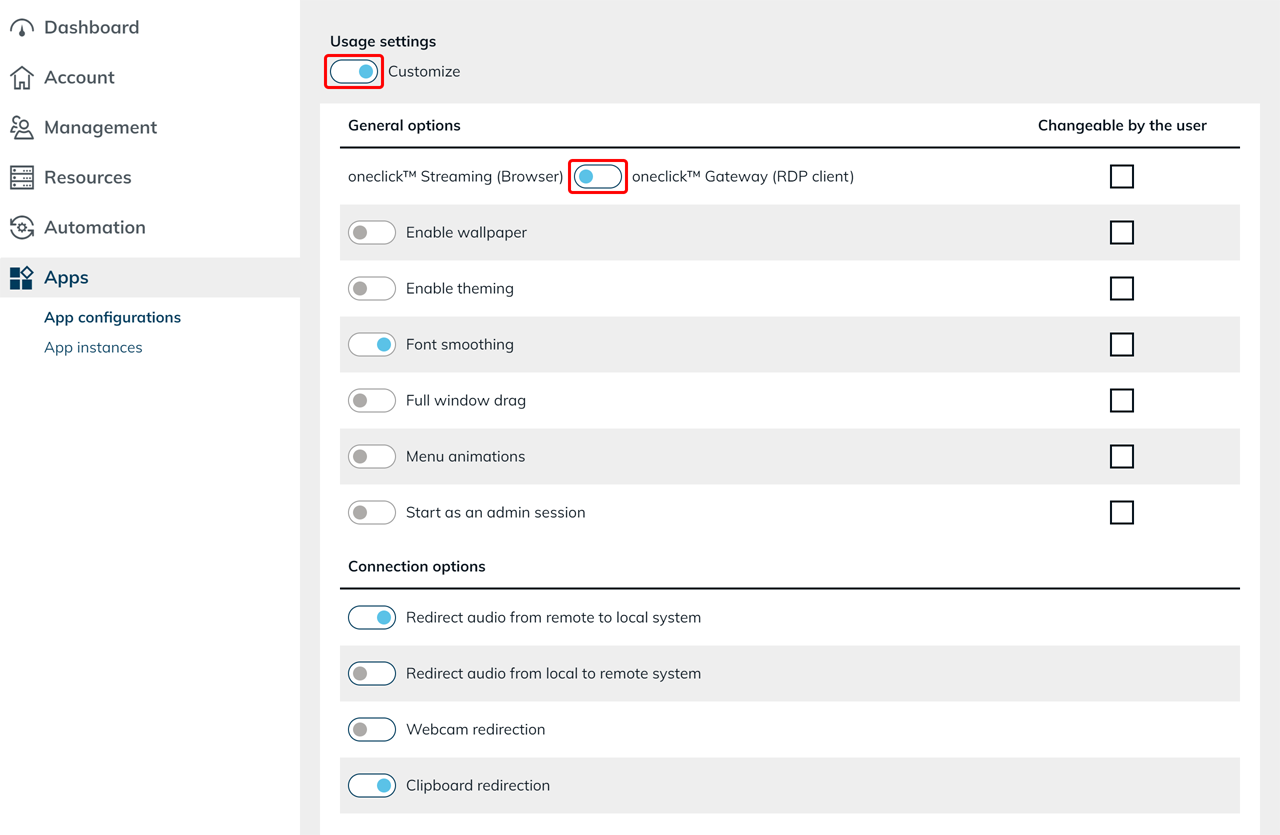
- You can find the settings for each connection mode below in the tabs oneclick™ Streaming (Browser) and oneclick™ Gateway (RDP Client). Open the relevant tab and configure the general settings and connection settings.
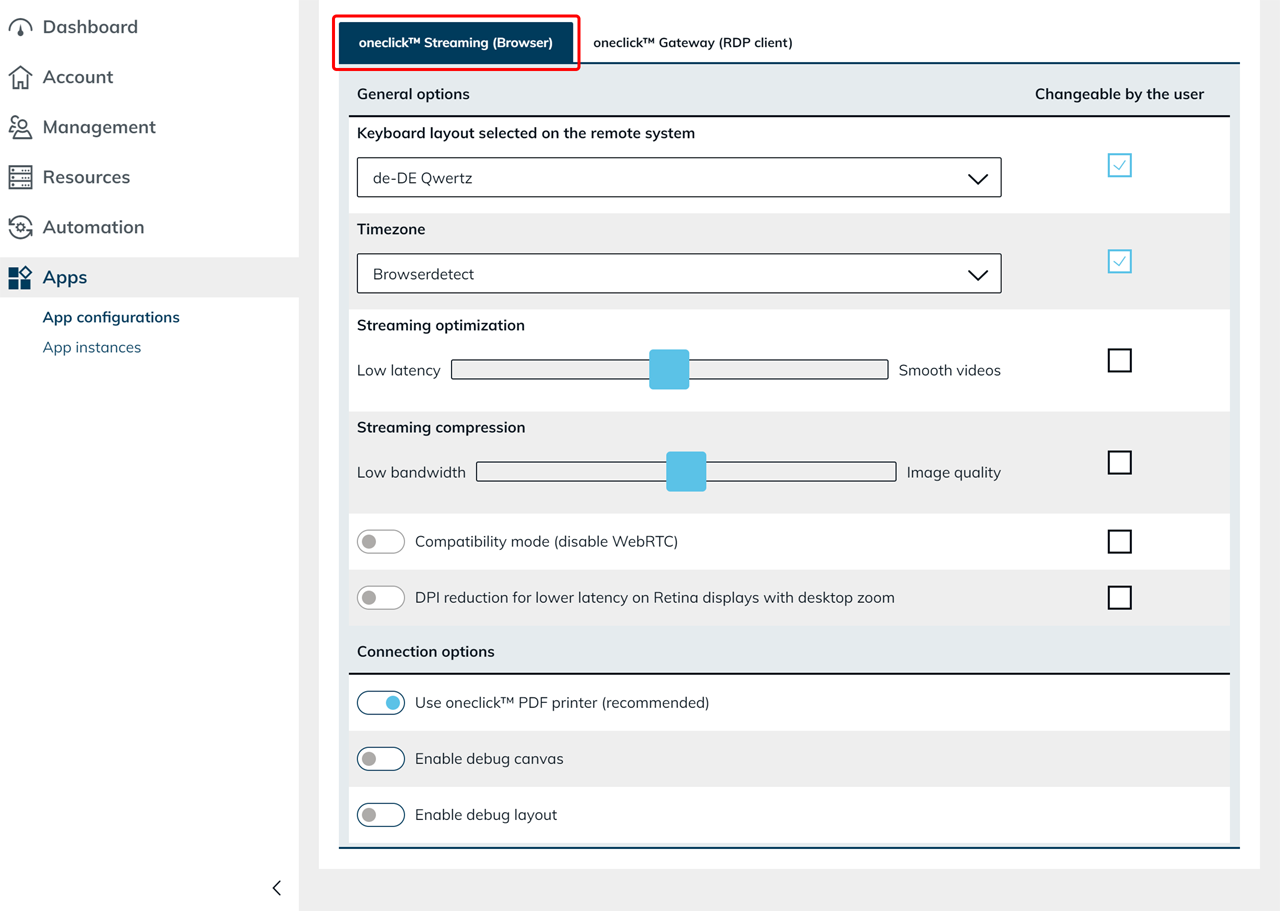
- Select the checkbox Changeable by the user if the user is allowed to change this setting later on the app tile. The user can only change settings that you have enabled for editing.
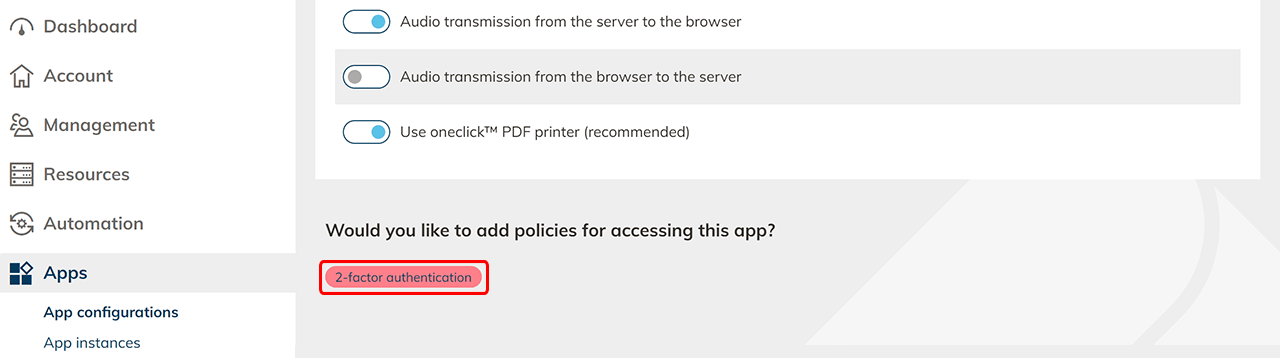
- Select policies if you want to further secure access to apps for this app configuration.
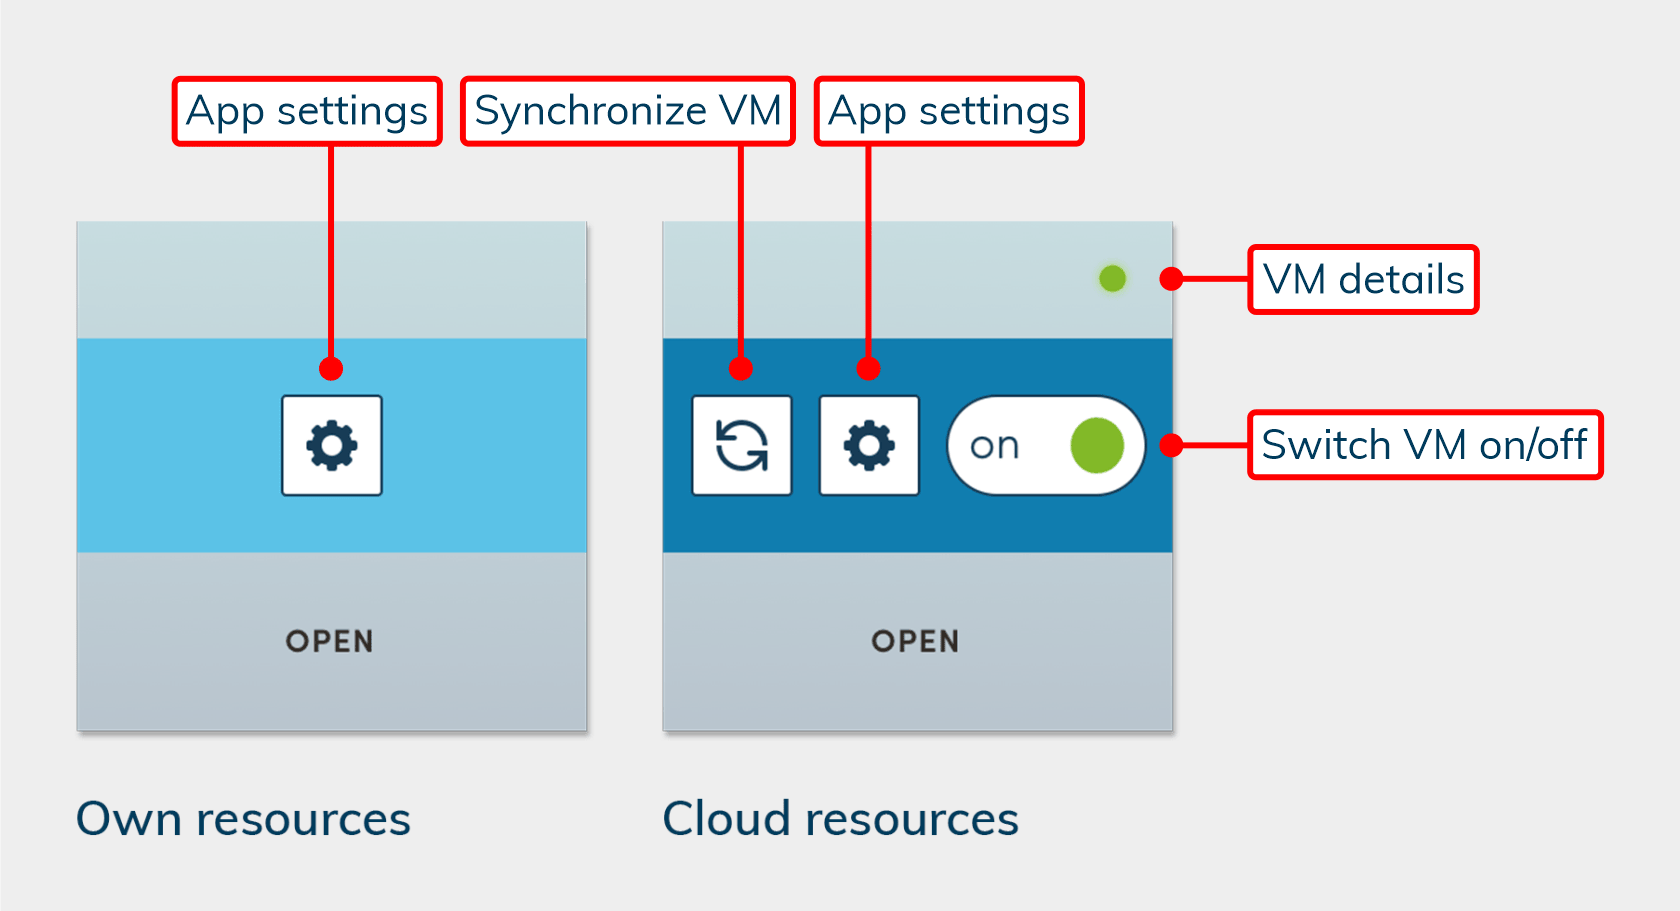
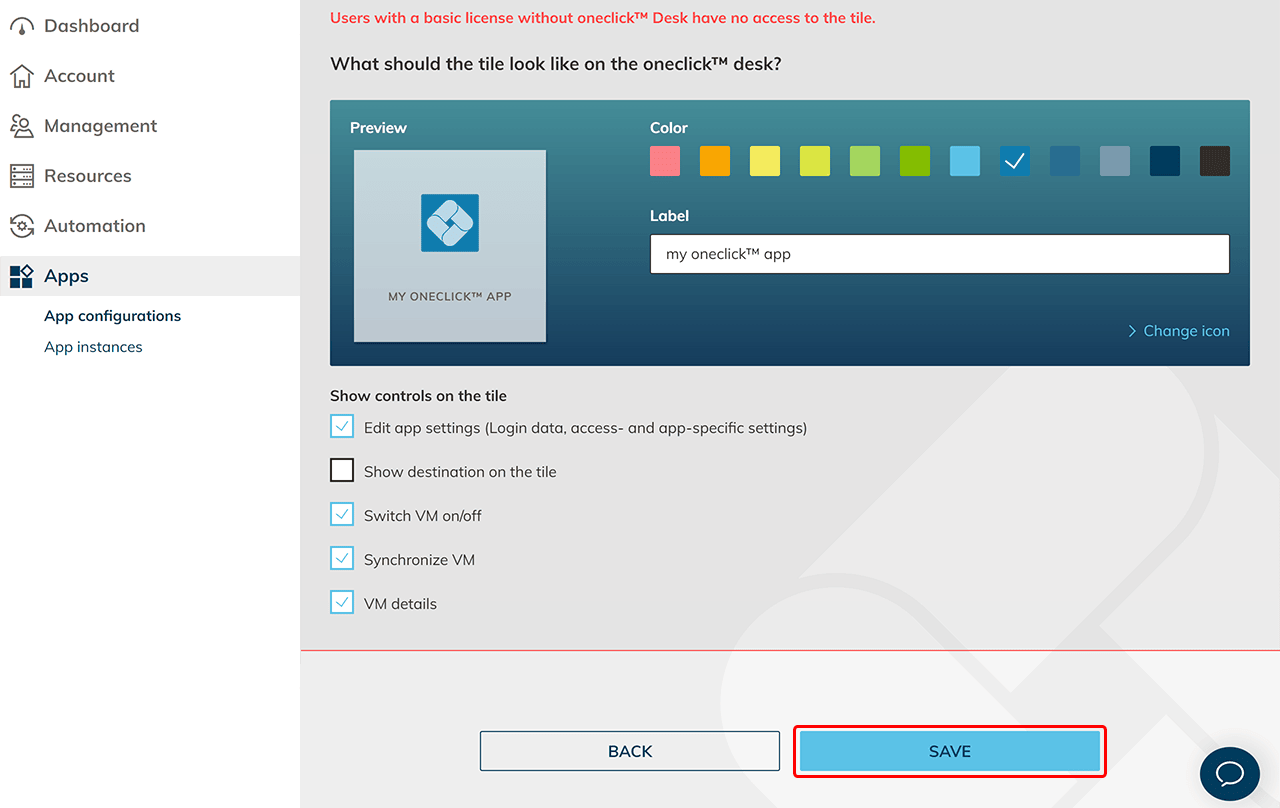
- For Professional users, you can customize the tile in the Unified Workspace by changing the color, label, and icon, or by uploading a custom icon.
- You can choose which controls are displayed on the tile. The following controls can be displayed depending on the type of connection:
 If you do not want the user to be able to use the gear: Edit app settings, make sure to prohibit the "Change password" on the linked remote desktop.
 - Decide whether the name of the destination should also be displayed on the tile.
- Click on Save. The configuration is now created.
- Create an app instance for all users who should have access.