Access to an internal website
To continue at this point you need at least one app license. Have you already one activated?
Have you already connected the server on which the website is hosted in oneclick™? Then configure the delivery of an internal website or web application here. Your website will be opened in an isolated container on the host server and is therefore not vulnerable from the outside (Website Access Protection).
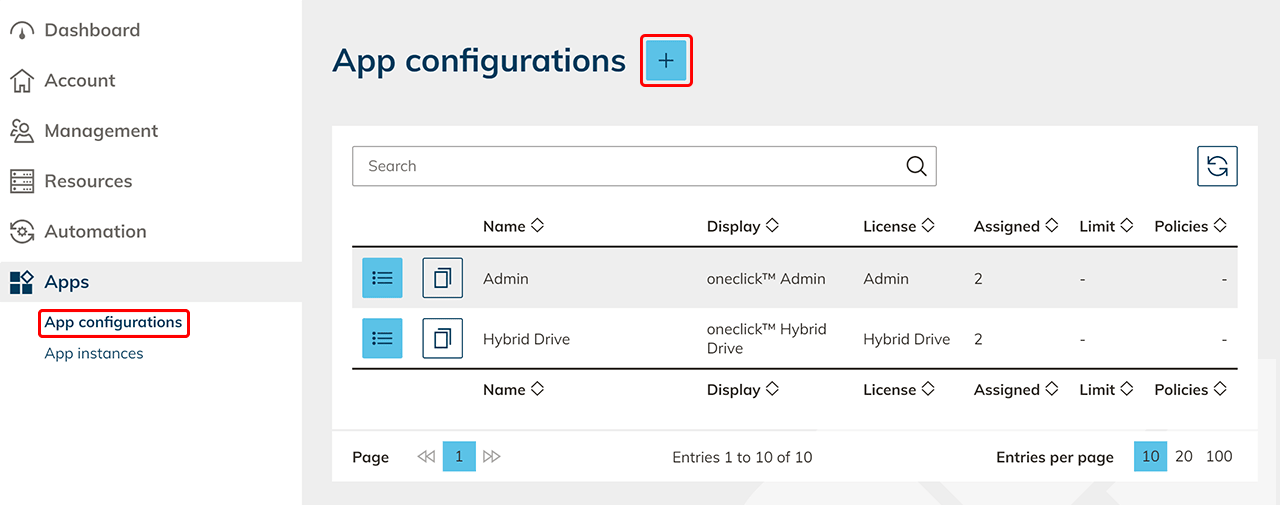
- Click Apps in the menu and then click App Configurations.
- Click the Plus icon to create a new app configuration.
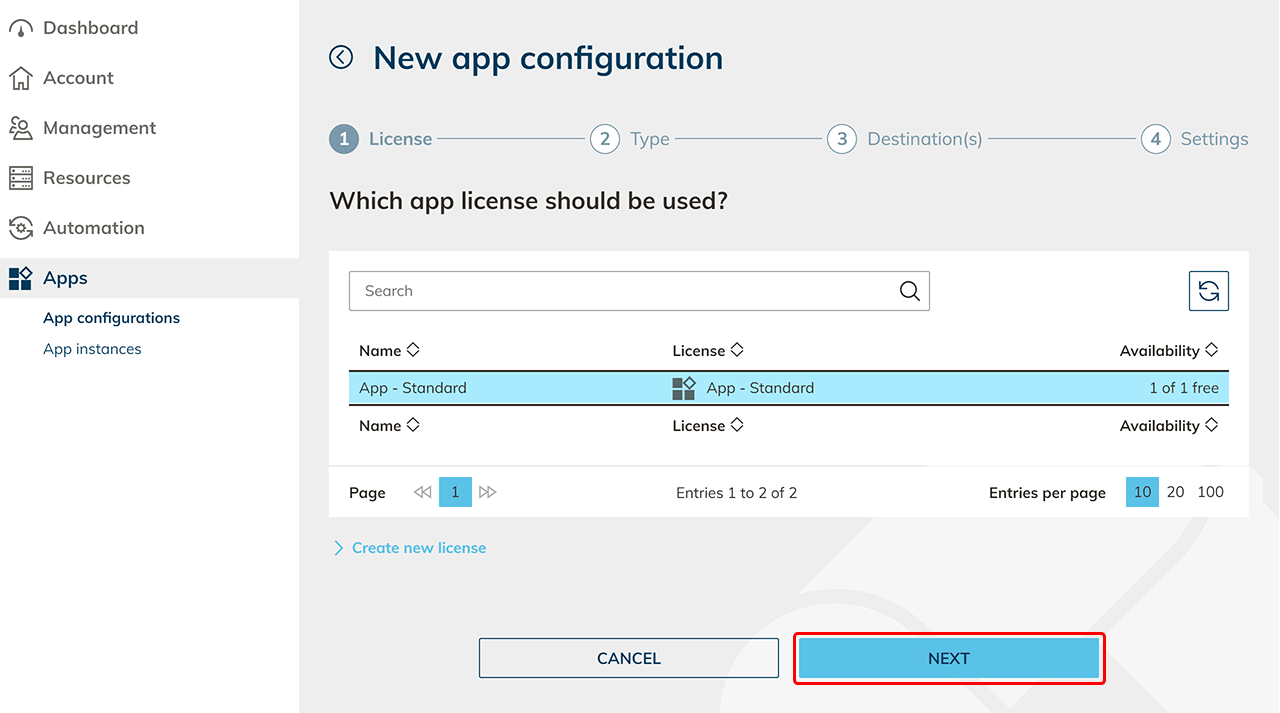
- Select the app license you want to use for this configuration and click Next. Keep in mind that a group license (Pay-Per-Use) can only be assigned to groups later. Individual licenses (Pay-Per-License) can later only be assigned to individual users. You can recognize a group license by the ∞ sign under Availability.
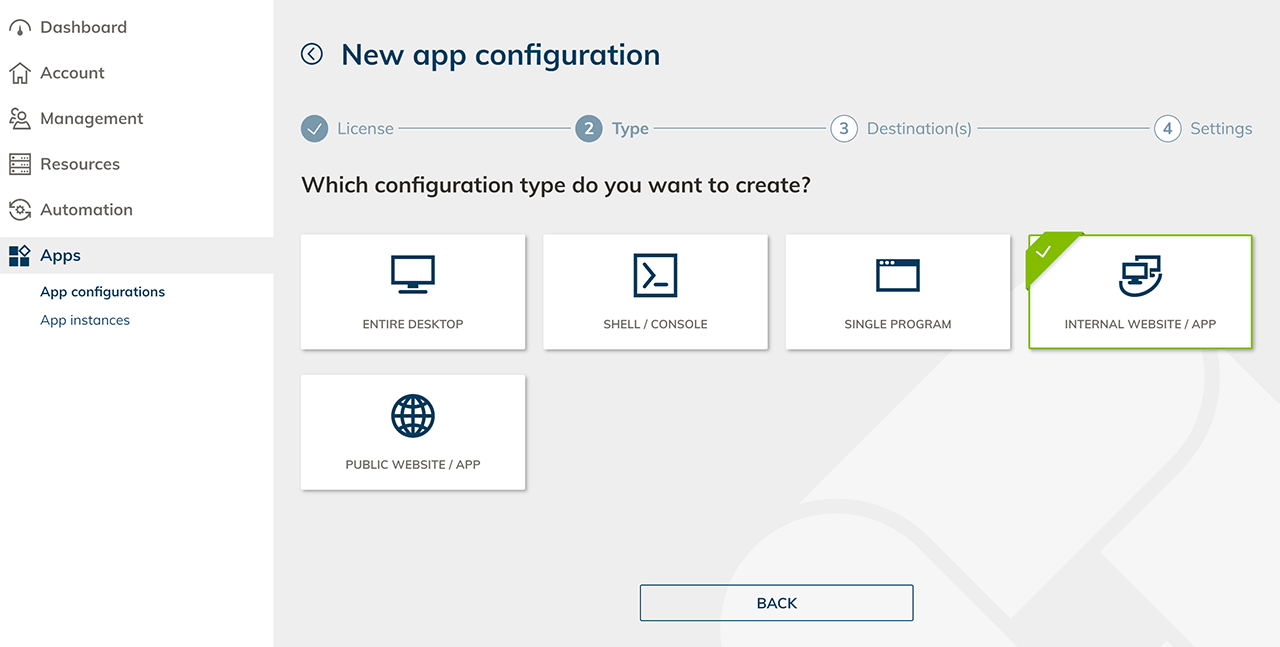
- In the next step you can choose the appropriate configuration type (internal website/app) for accessing your resources.
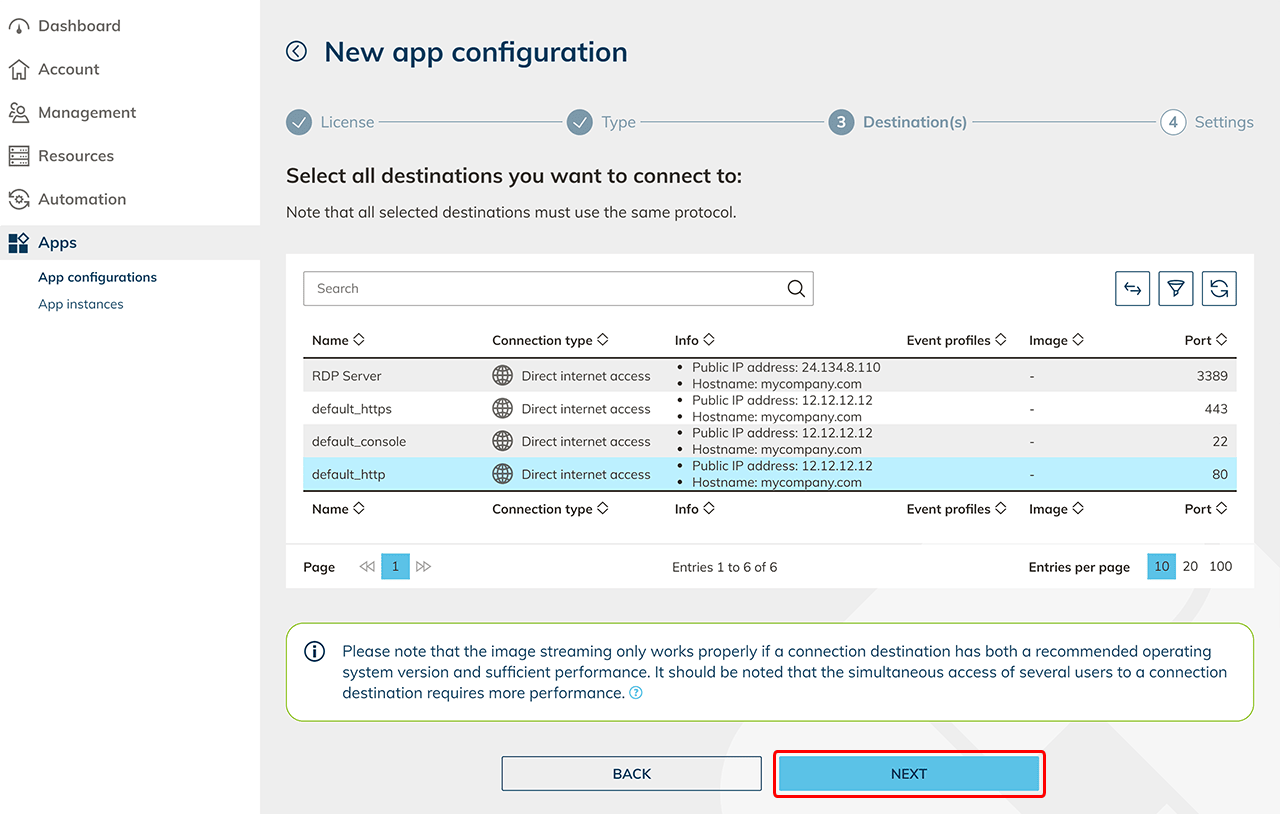
- Select the destination where you hosted the website and click Next.
- In the next step choose the access settings.
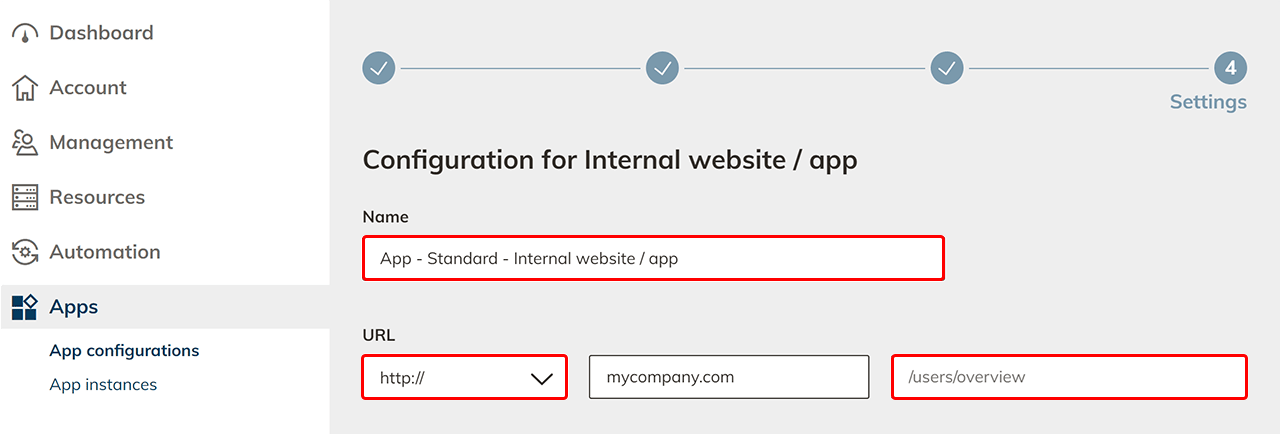
- Specify a name for your configuration.
- Choose between HTTP or HTTPS and enter the path of the internal web page.
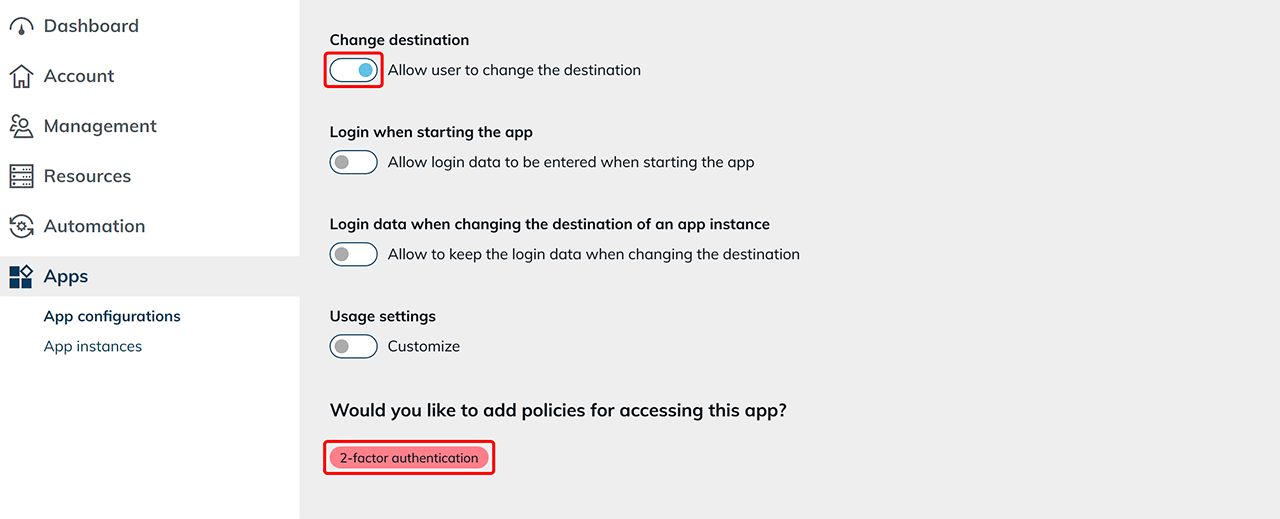
- The option “Allow user to change destination” is enabled by default. If you do not want your users to change the destination independently, disable the corresponding toggle. If you are unsure, you can also restrict the permission later.
- Select policies if you want to especially secure access to this app.
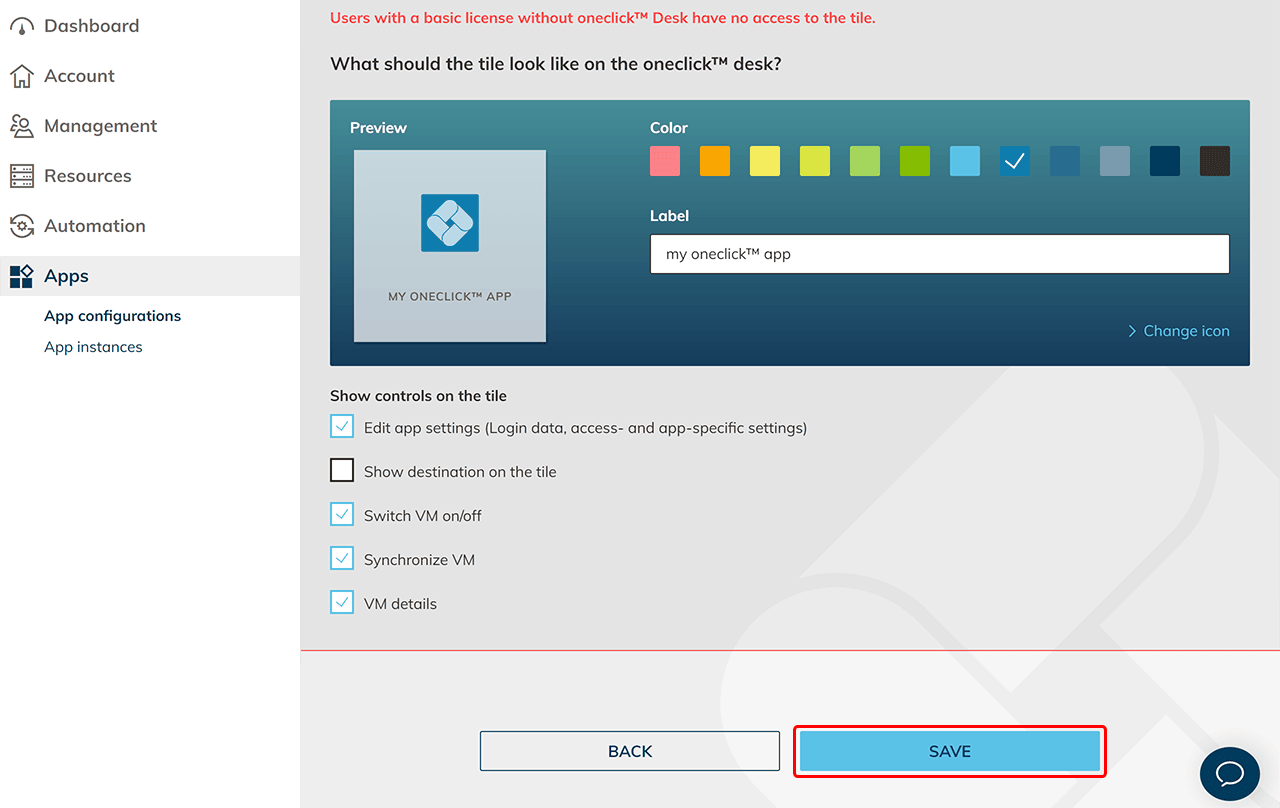
- For Professional users, you can customize the tile in the Unified Workspace by changing the color, label, and icon, or by uploading a custom icon.
- You can choose the controls that are displayed on the tile.
If you do not want to allow the user to use the Edit App Settings make sure to disallow Change Password on the linked remote desktop. - Decide whether the name of the destination should also be displayed on the tile.
- You can choose the controls that are displayed on the tile.
-
- Click on Save. The configuration is now created.
- Click on Save. The configuration is now created.
- Create an app instance for all users who are to have access.