Create tags and organize objects
Create global tags and structure your environment in the administrator area.
Tags are used in the areas Account, Management, Resources, Automation, and Apps to organize objects clearly and identify relationships more quickly.
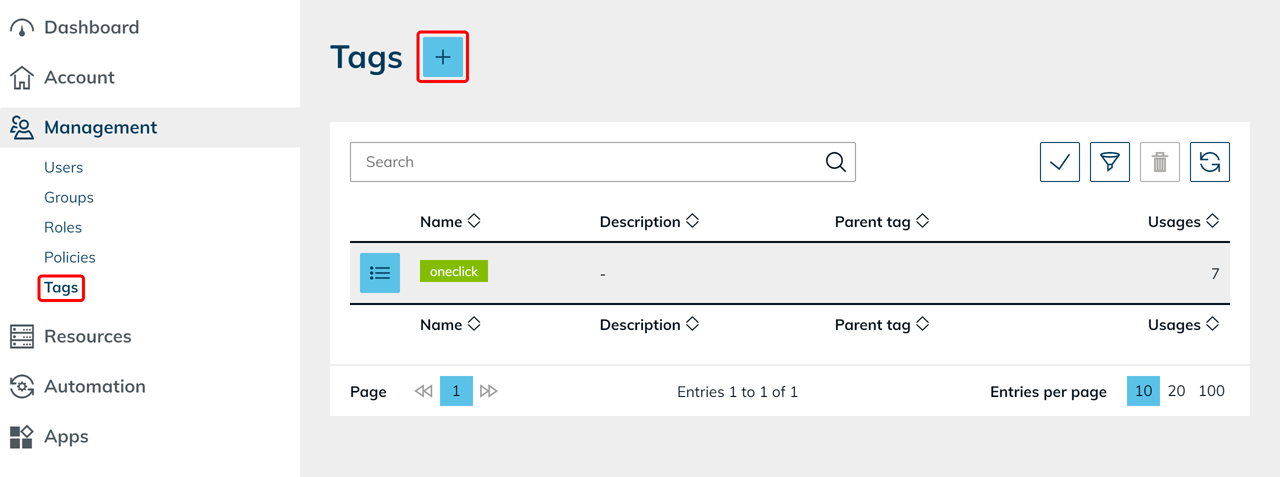
Create tags
- Open Management in the administrator area.
- Click Tags.
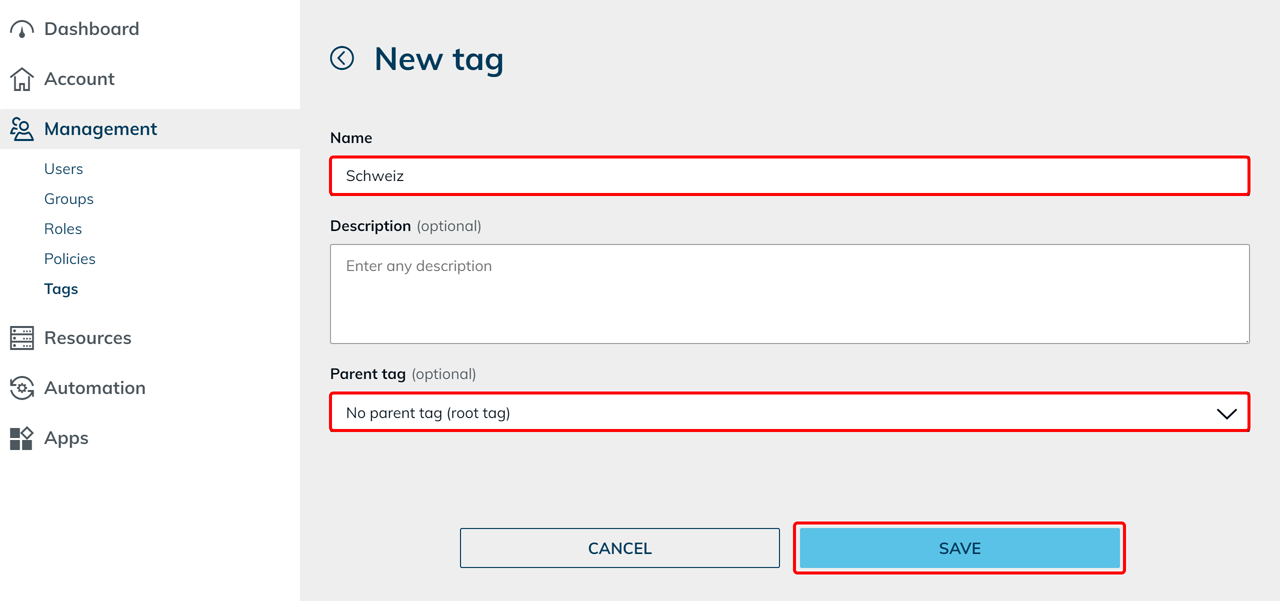
- Click the Plus icon to create a new tag.
- Enter a Name for the tag.
- By default, “No parent tag” is selected. This creates the tag at the top level.
- Optionally select a parent tag to classify the new tag as a subordinate tag (child tag).
- Save the tag.
The tag is then available system-wide.
Use hierarchies to organize tags by topic, location, or responsibility.
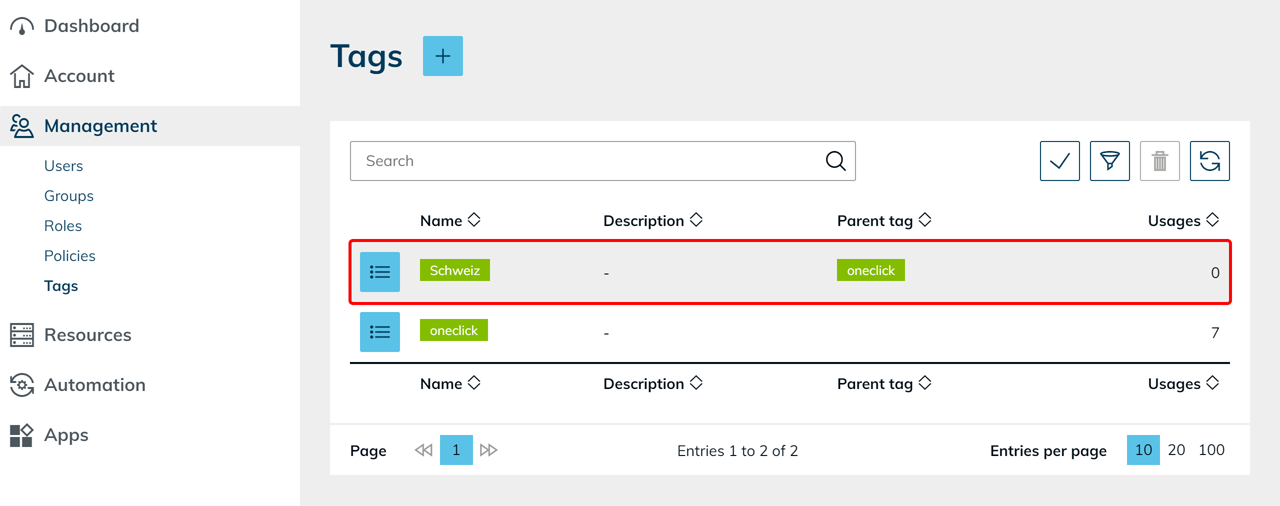
Edit tags
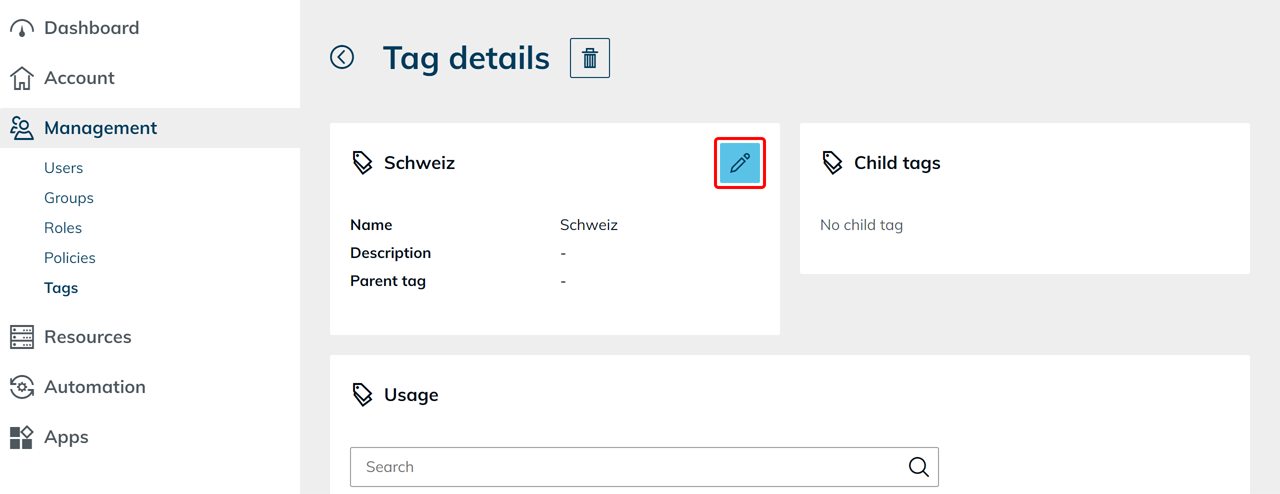
- Open Management in the administrator area and click Tags.
- Click the List icon.

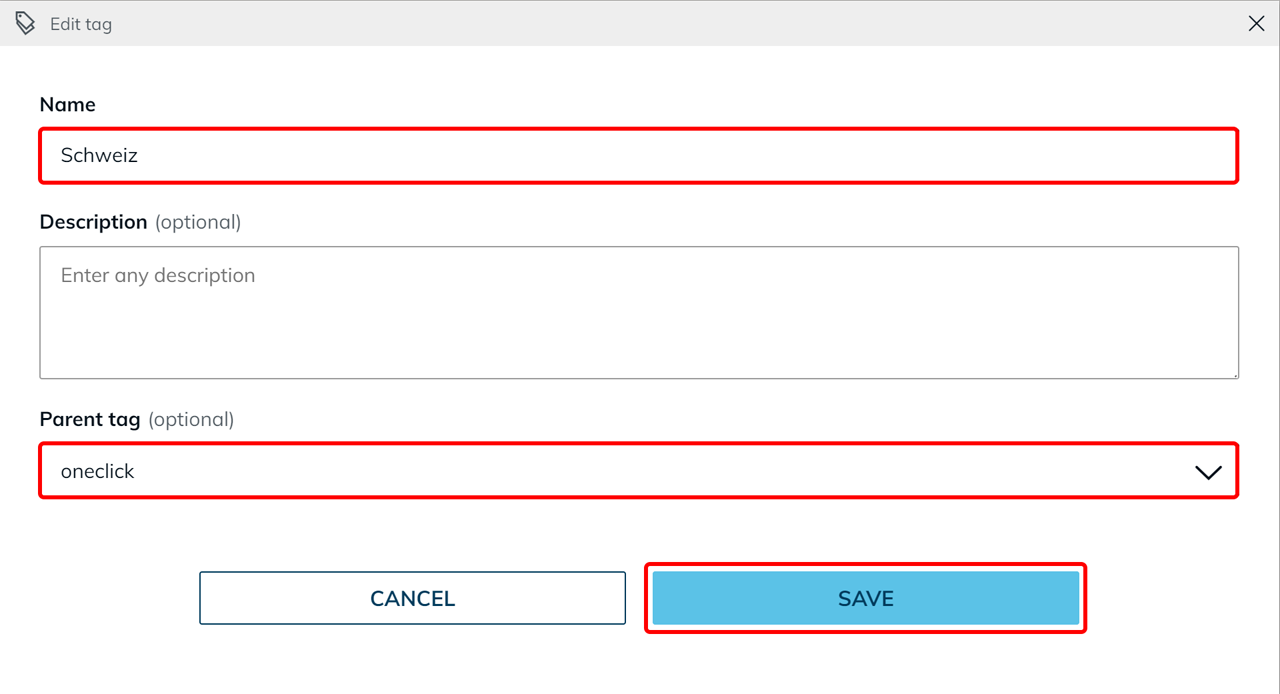
- Click the Pencil icon to edit the tag.
- Adjust the Name or assign a Parent tag.
- Save the change.
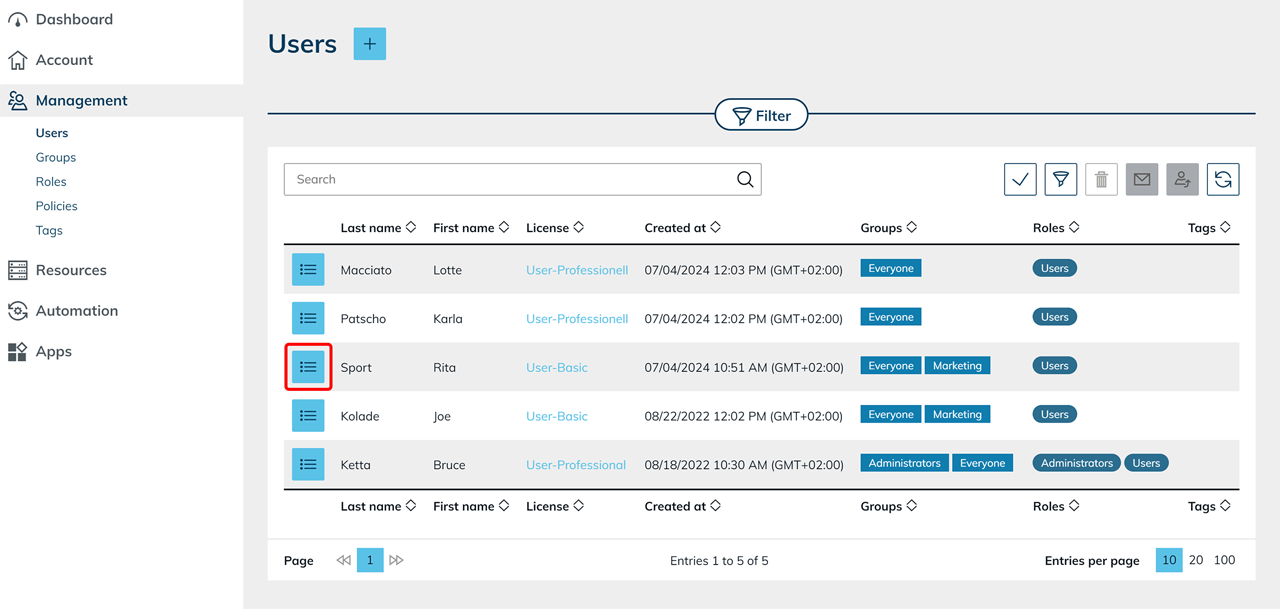
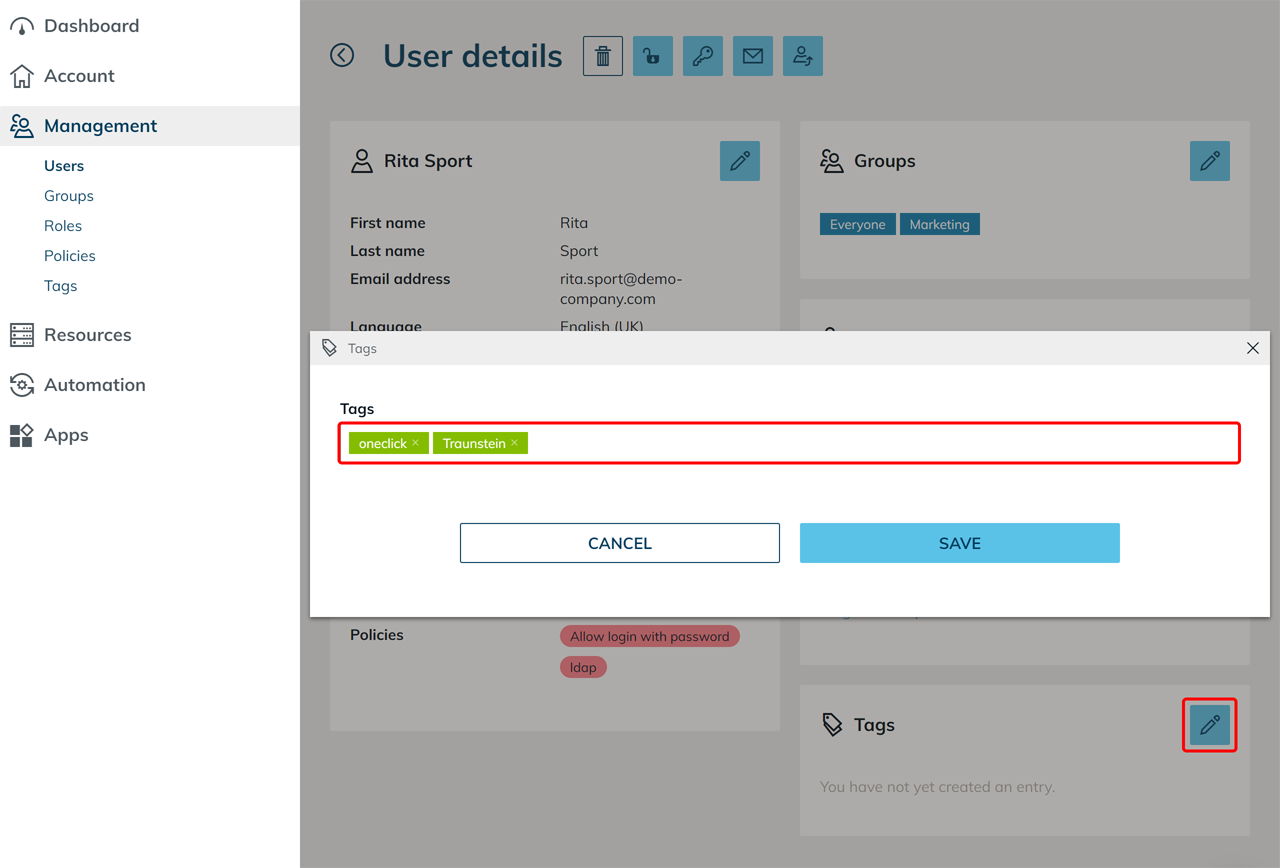
Assign tags to objects
- Open the desired area in the administrator area.
- Select the object from the list and click the List icon to open the detail page.
- In the "Tags" tile, click the Pencil icon.
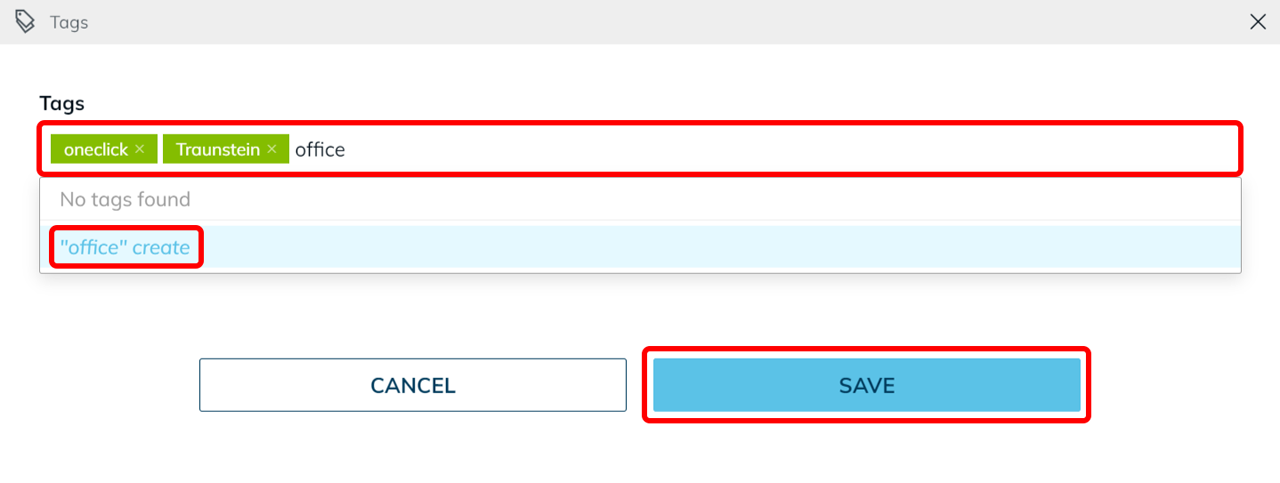
- Select the appropriate tags.
You can also create new tags directly by entering a Name in the field.
Click "Name create" to add a new tag, or confirm the entry with Enter. Press Escape to cancel the input or Delete to remove a tag. - Save the changes.
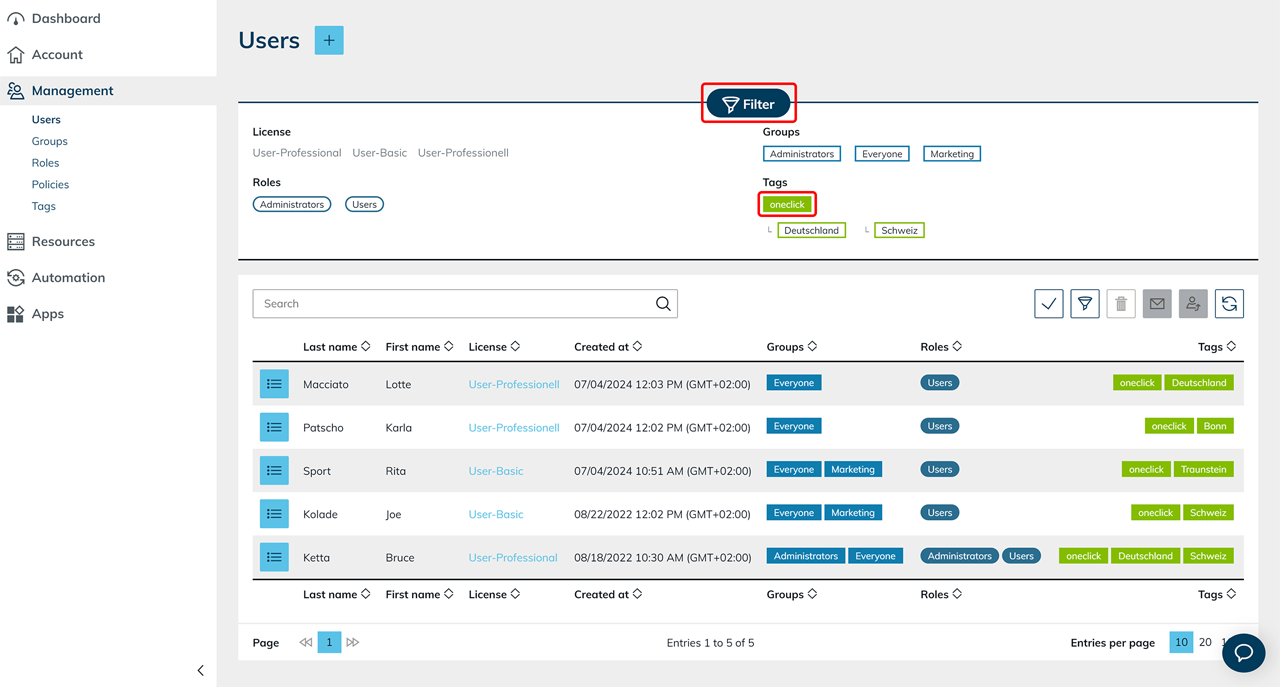
Filter objects by tags
- Open the desired area in the administrator area.
- Click Filter to open the filter options. This allows you to find relevant objects faster.

Assign tags directly
You can also assign tags when creating new objects.