
Groups

Create groups

To manage your users, you can organize them into groups. You can use groups to selectively enable policies (such as two-factor authentication).

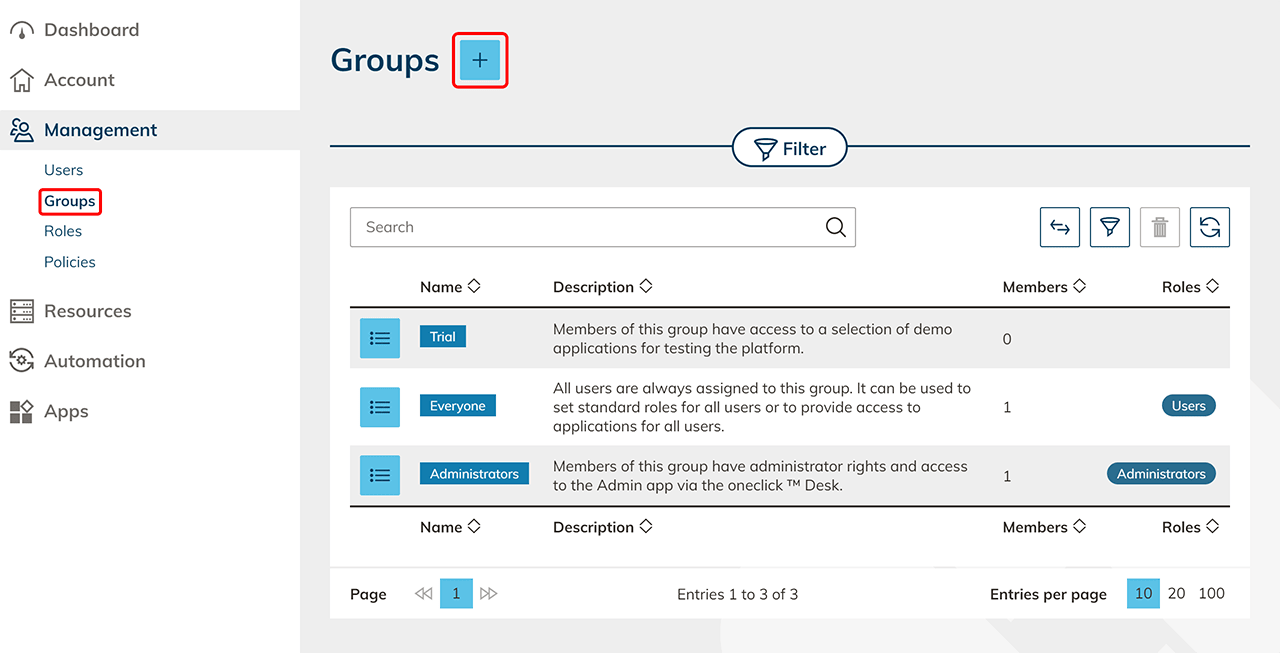
  1. In the "Management" menu, click Groups.
  2. By clicking on the + Icon you create a new group.
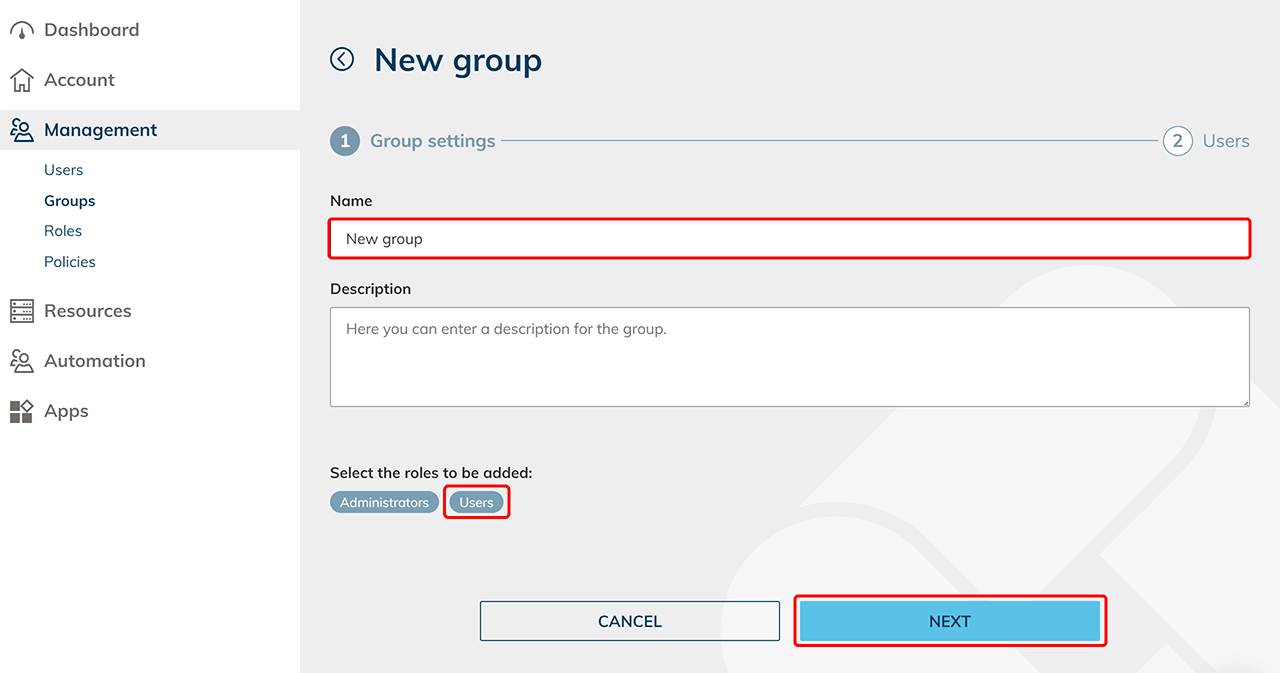
  3. Name it, optionally select roles and click Next.
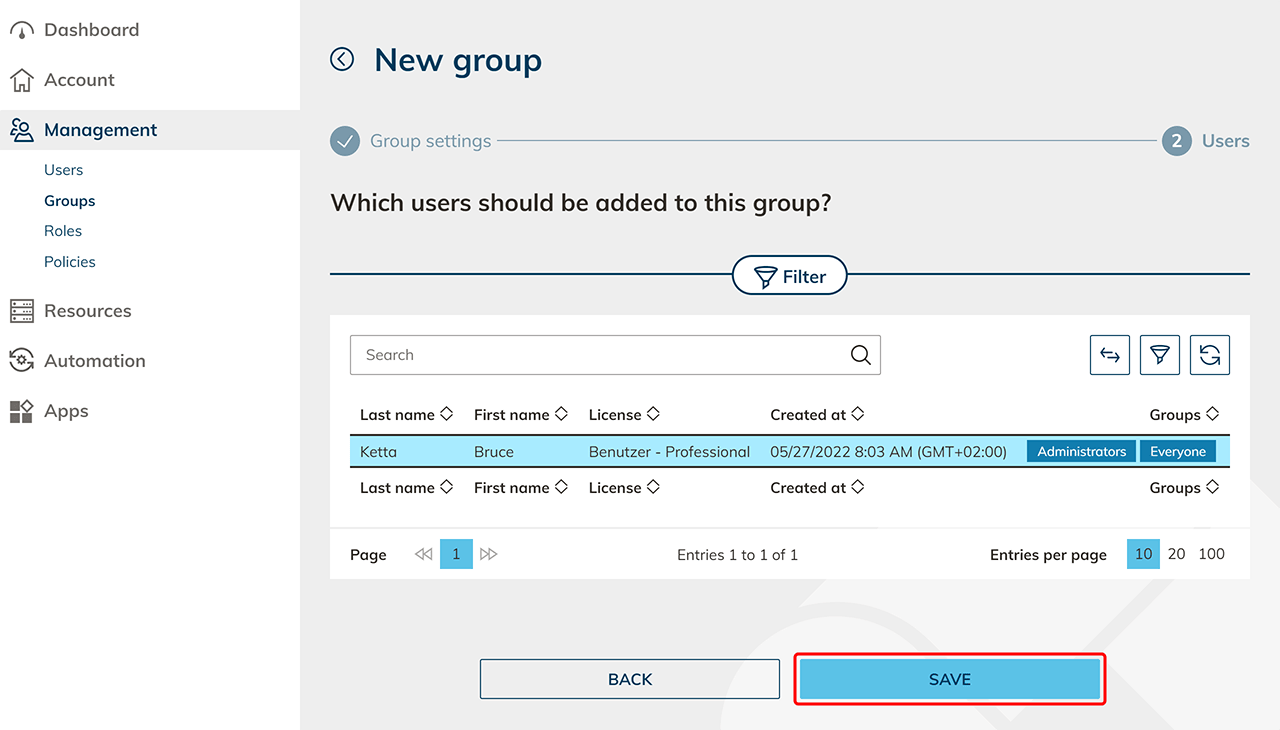
  4. Select all users you want to add to the group and click Save.

Add apps

You can assign apps to the group and make them available to one or more users within the group, even multiple times.

In order for an app to be assigned to a group, the Group license option must be selected in the app license. Note: A group app license is always billed based on usage.

  1. Click on the List icon in the row of the group to which you want to add apps.
  2. In the “Apps” tile, click either on the + Icon to assign a new app to the group or on the Pencil icon if there are already assigned apps to add more.
  3. Select all the apps you want to add and click Next.
  4. Make the settings for each user if you do not want the Professional users to enter their login details on the tile themselves and click Next. You can edit these settings afterwards by clicking on the Gear icon in the “Apps” tile.
  5. Check your settings and click on Save.
  6. An additional Gear icon appears on the “Apps” tile after an app assignment. Click on it to change the setting for the group of apps per user.
  7. You have the option of assigning multiple apps to one or more users within this group. To do so, click on the + Icon. Make the settings for each user and Save your entries.