Direct Internet access
Connecting on-premises resources with direct internet access is ideal for individual target systems with a public IP address or a publicly accessible hostname (e.g., DynDNS).
To increase security, we recommend that you optionally include the oneclick™ IP address in the whitelist of your firewall.
To set up a destination with direct internet access, proceed as follows:
-
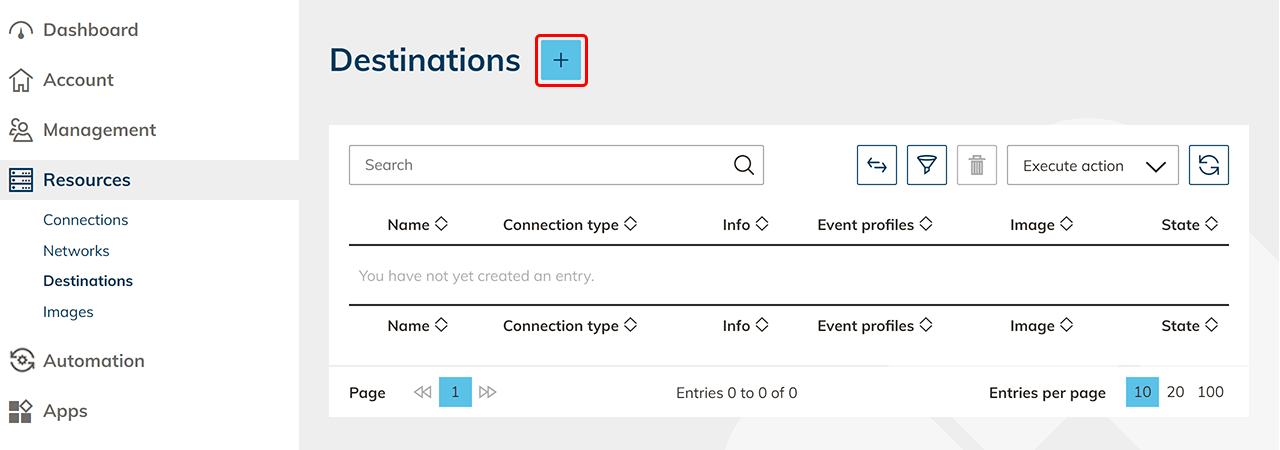
Start oneclick™ directly via the Resources tab in the Destinations item. Click on the Plus icon to create a new target system with direct internet access.
-
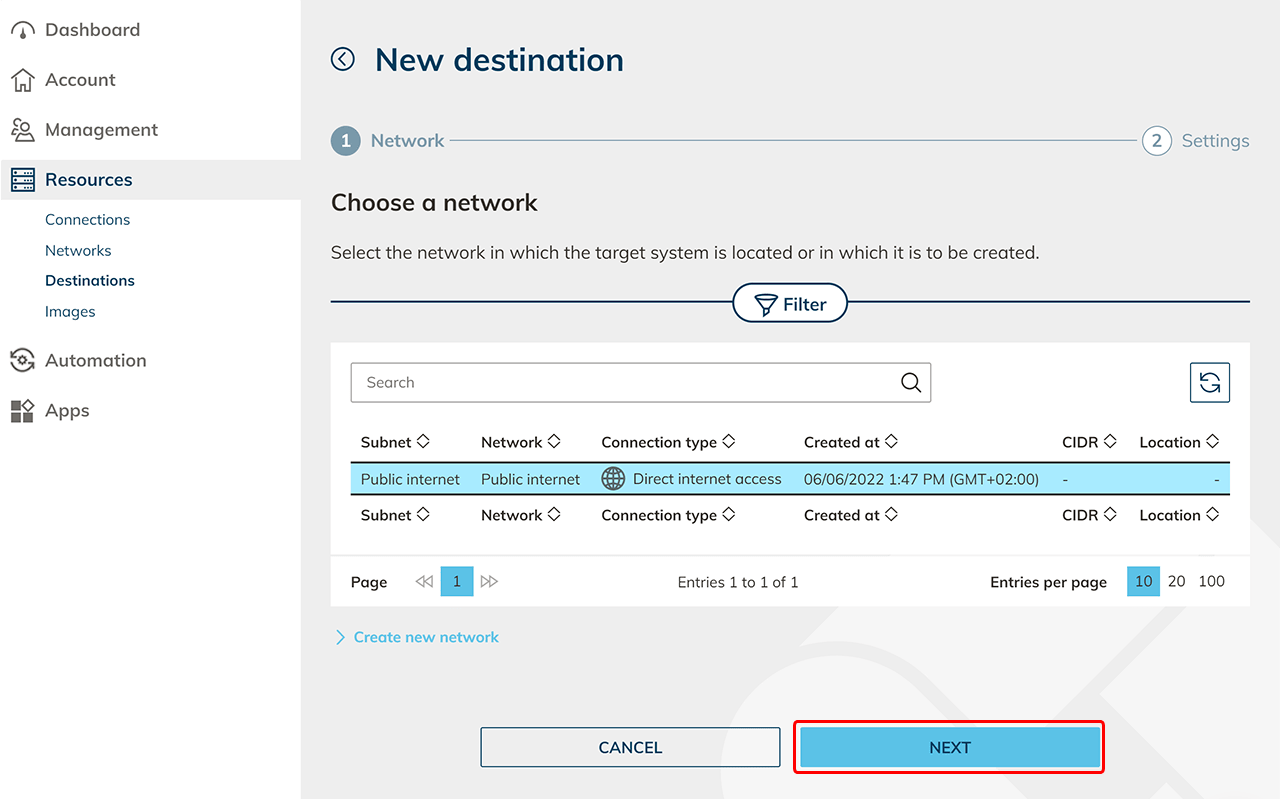
Select the network Public Internet and click Next. This network entry already exists by default.
-
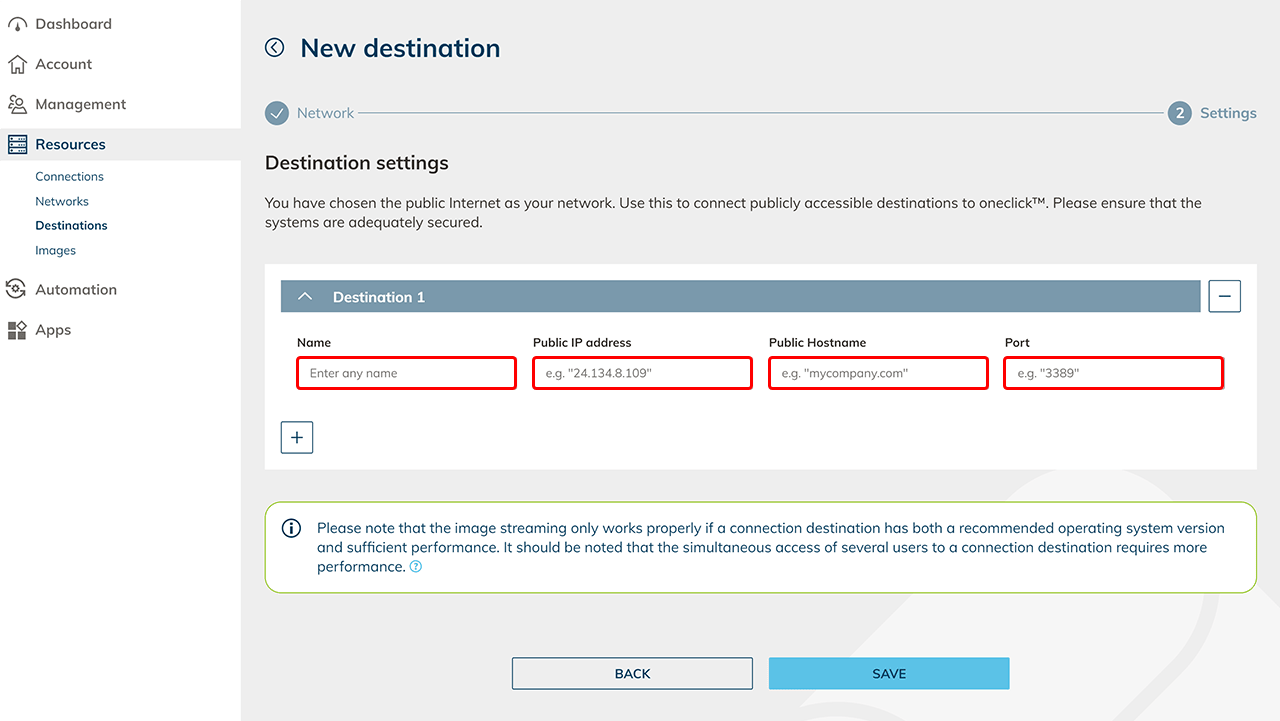
Give the Destination a descriptive name and enter the public IP address or Public Hostname and the port.
-
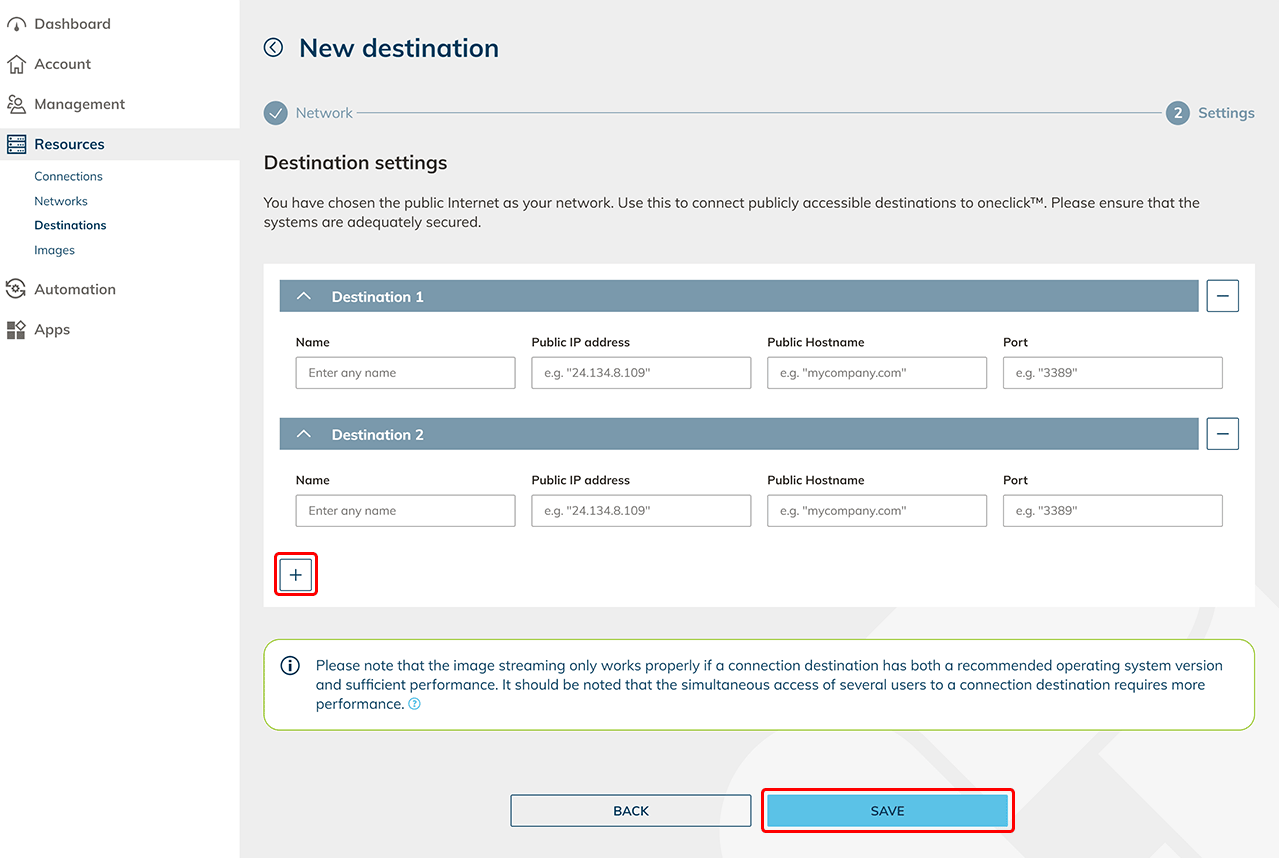
Click on the Plus icon to create additional Destinations. Then click on Save.
-
Create destination pools Next, create a destination pool in which you can include one or more destinations that belong together. This step is not necessary if you want to connect an internal website or a private Active Directory.
-
Check connectivity and assign apps in oneclick™ Click on the check status icon in the row to check the connectivity.

If you want to access the destination via oneclick™ streaming, then configure app access and create app instances for your oneclick™ users. 7. Send oneclick™ registration link Once you have completed all the steps above, you can give your users access to oneclick™ by sending the registration link.