Assign an app to one or more groups
note
You need an existing app configuration with a group license — either created by you or generated automatically through the Marketplace. Apps with a single license cannot be assigned to a group; see Assign an app to one or more users instead.
The app instance is assigned to the groups as a whole — all members of the selected groups get access through their membership. You can assign the app to one group or to several groups in a single step.
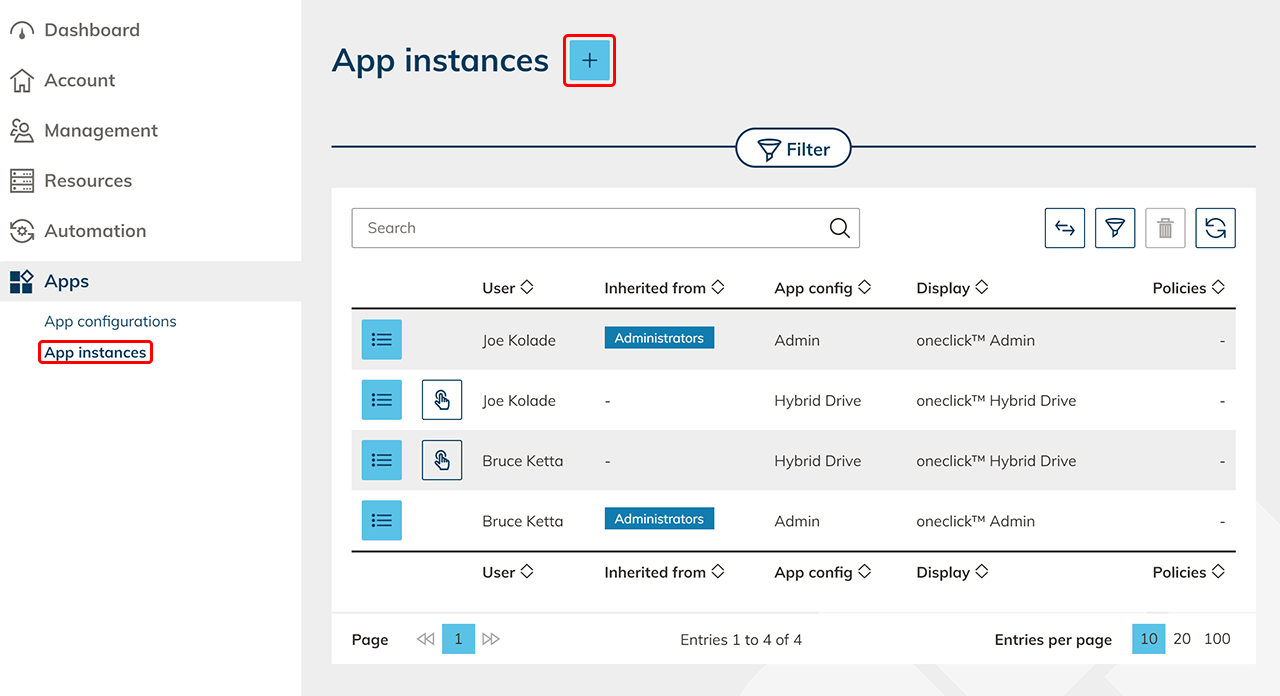
- In the menu, click Apps and then App instances.
- Click on the Plus icon to create a new app instance.
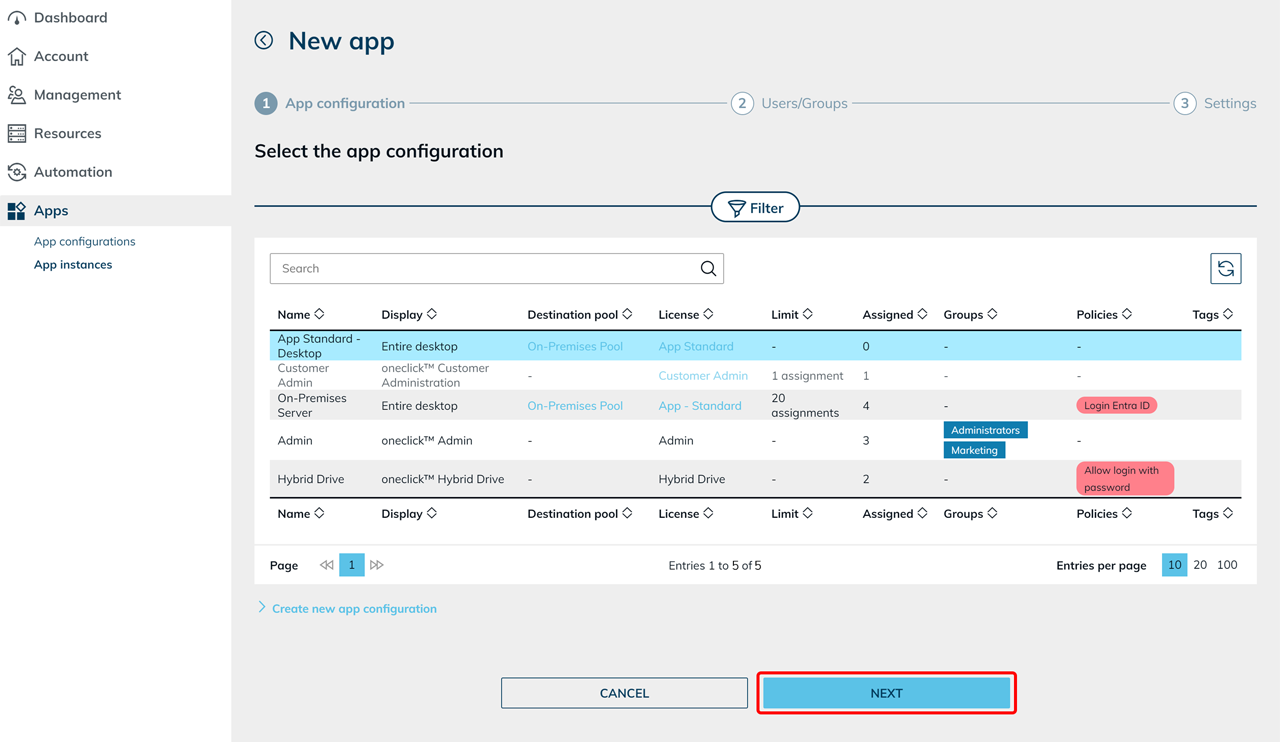
- Select the app configuration from which you want to create an app instance and click Next. The configuration must use a group license for groups to be selectable in the next step.
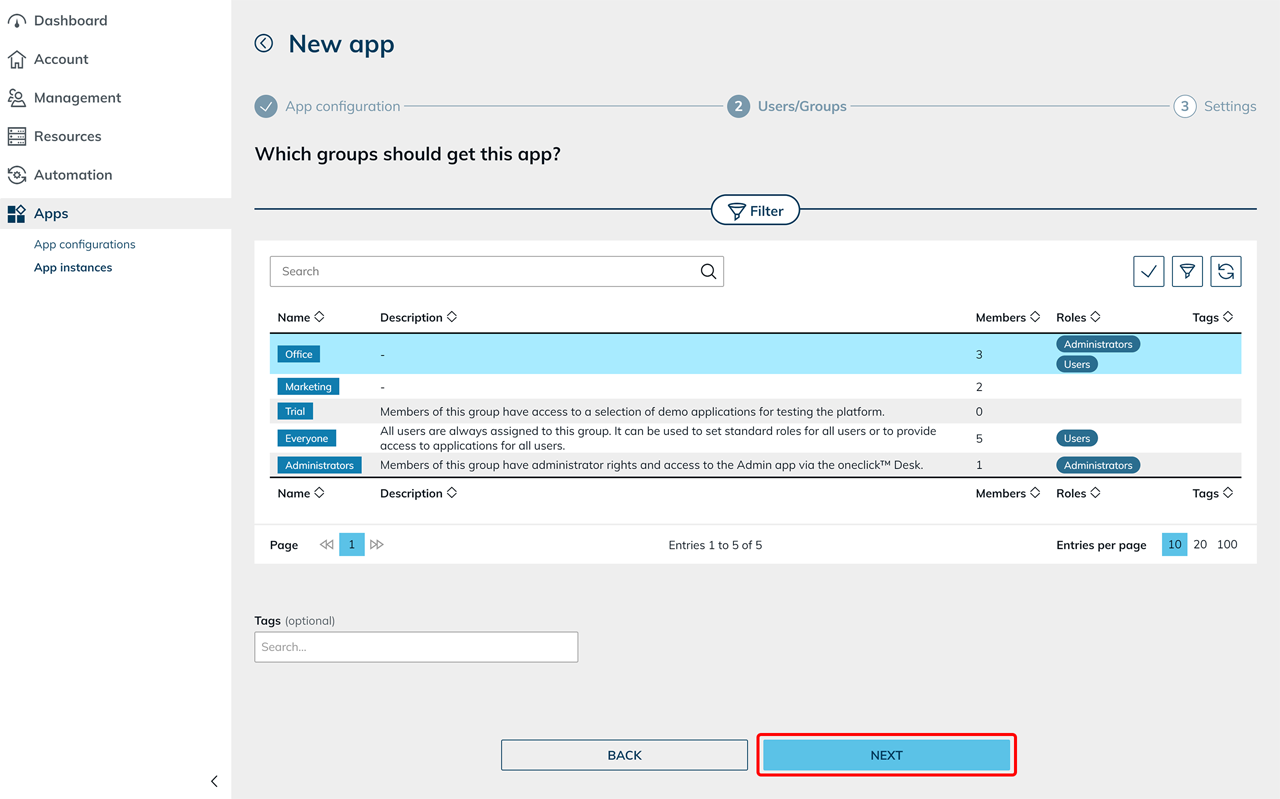
- Select one or more groups for which the app instance should be created and click Next.
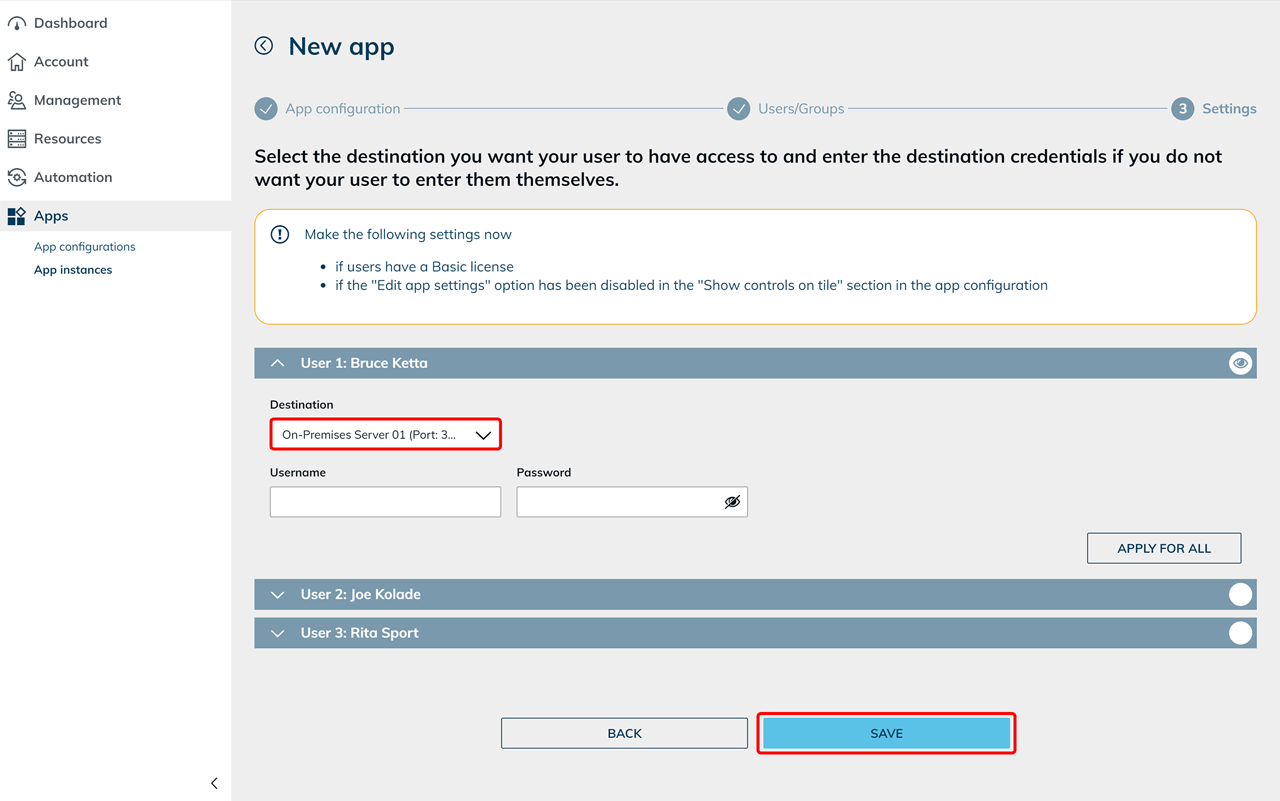
- Configure the settings for the group(s). Select the destination from the destination pool. Enter the credentials stored in the respective resource — or leave the fields empty so that users can enter them themselves later via the app tile on the oneclick™ Desk. Save your entries.
- Send the oneclick™ registration link to your group members.
Alternative
You can also assign the app configuration via group details.