Allow user to enter credentials
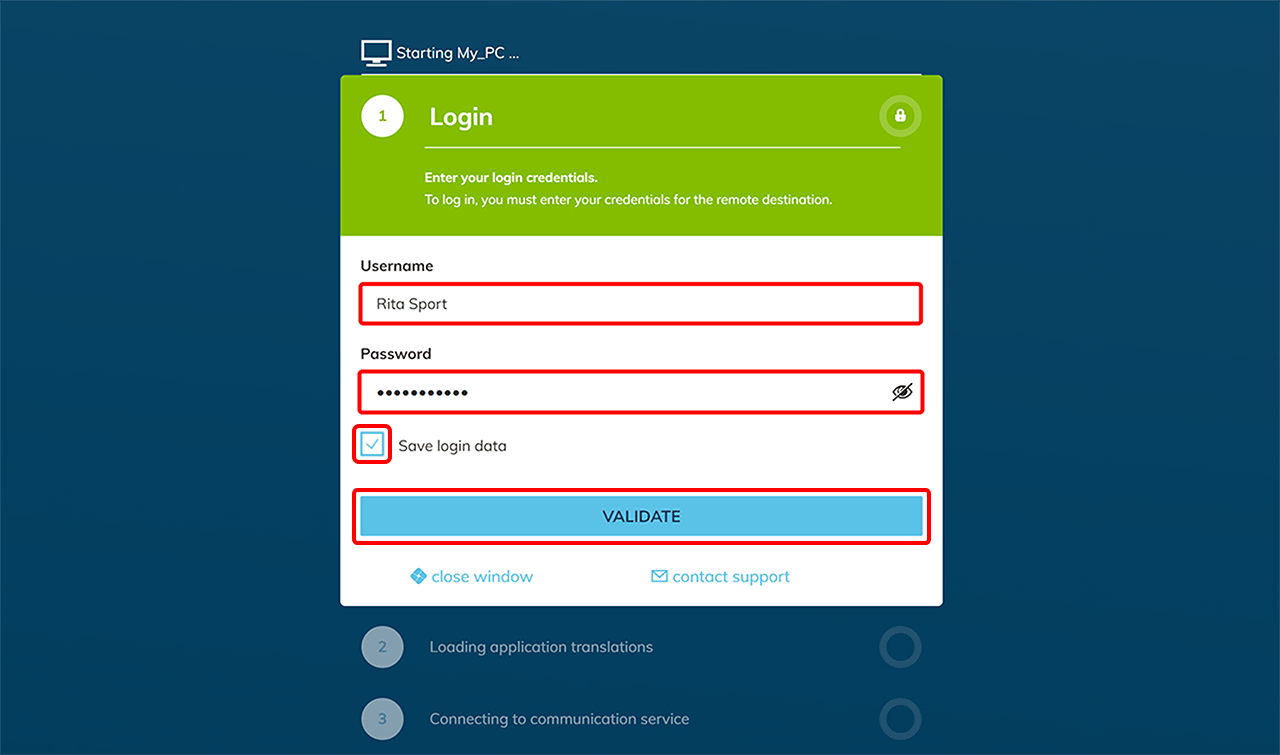
Your users know their credentials and should log in to destination themselves, e.g. the Windows desktop.
Note that the login data below must correspond to the data set on the destination, e.g. the Windows desktop.
If you want to allow your oneclick™ users to log in by themselves and save their login, check the following settings in the app configuration.
To be able to make the following settings, you must already have created a user license, a user, an app license, cloud resources or on-premises resources you want to connect to, and an app configuration.
Edit app configuration
-
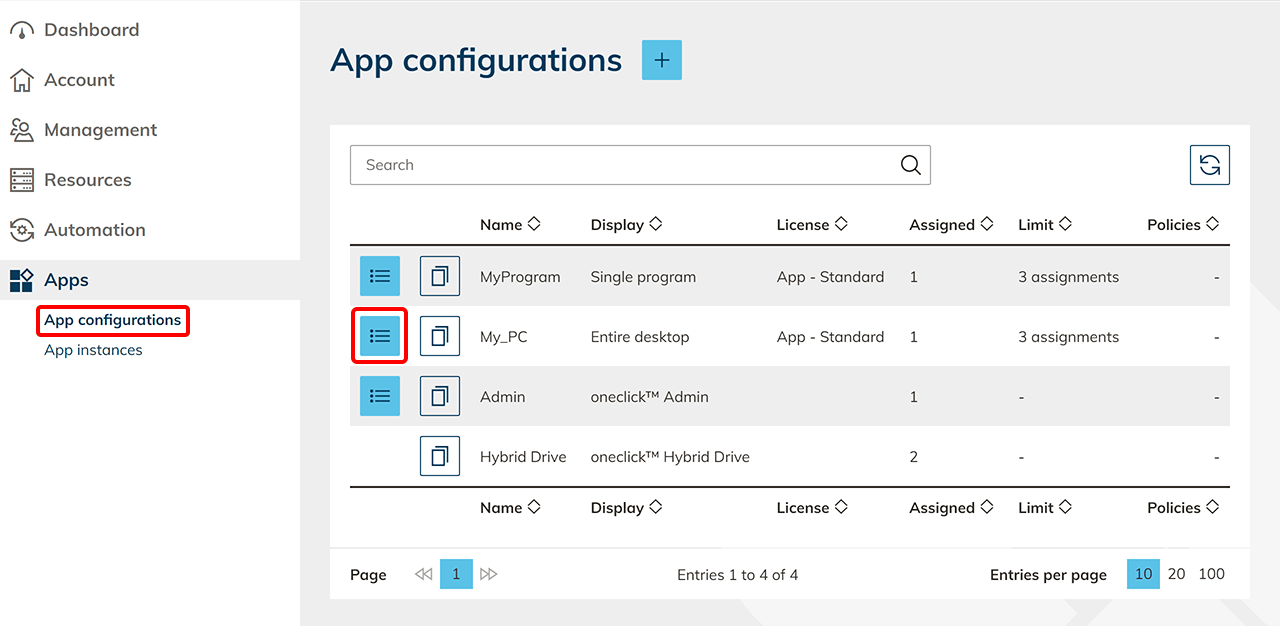
In the menu, click Apps and then App configurations.
-
Select your app configuration and click the List icon to get to the details page.
-
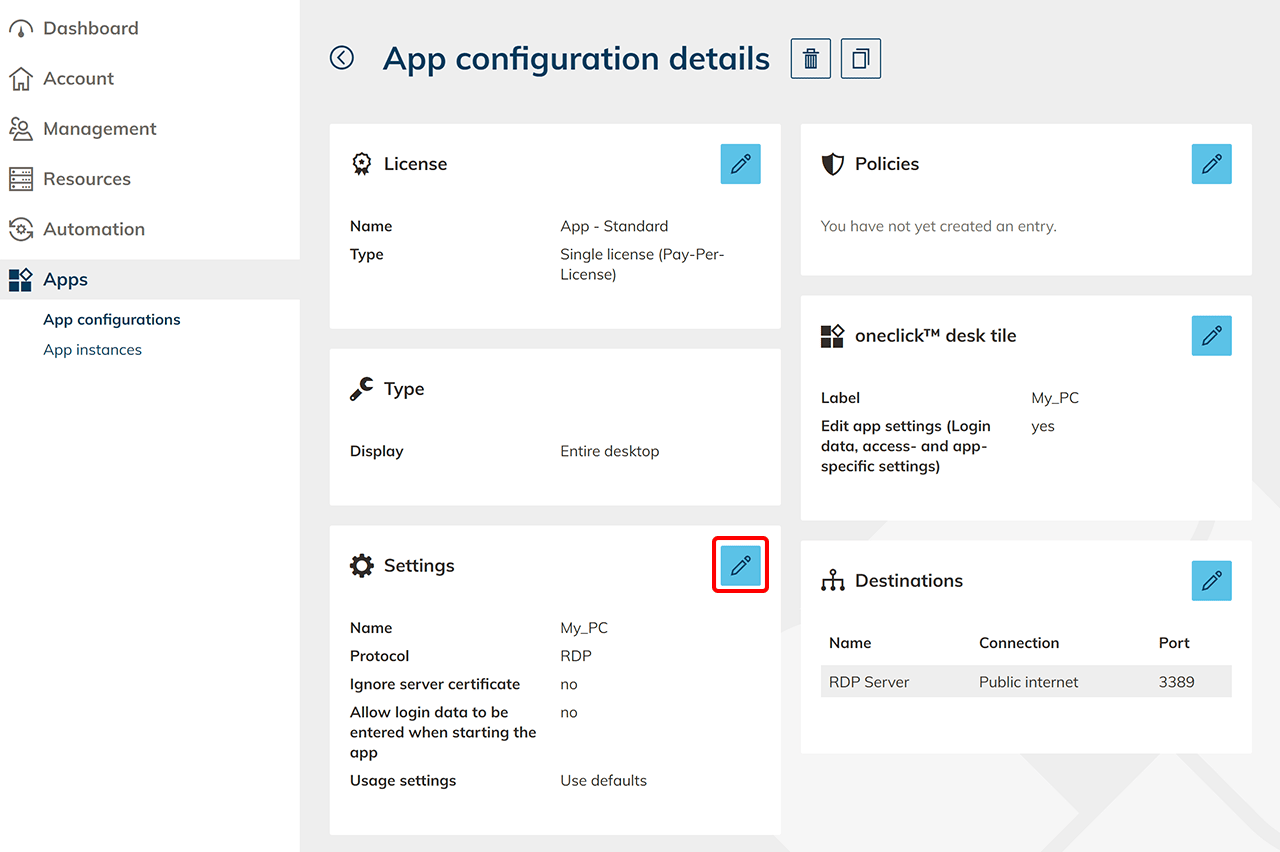
On the “Settings” tile, click the Pencil icon.
-
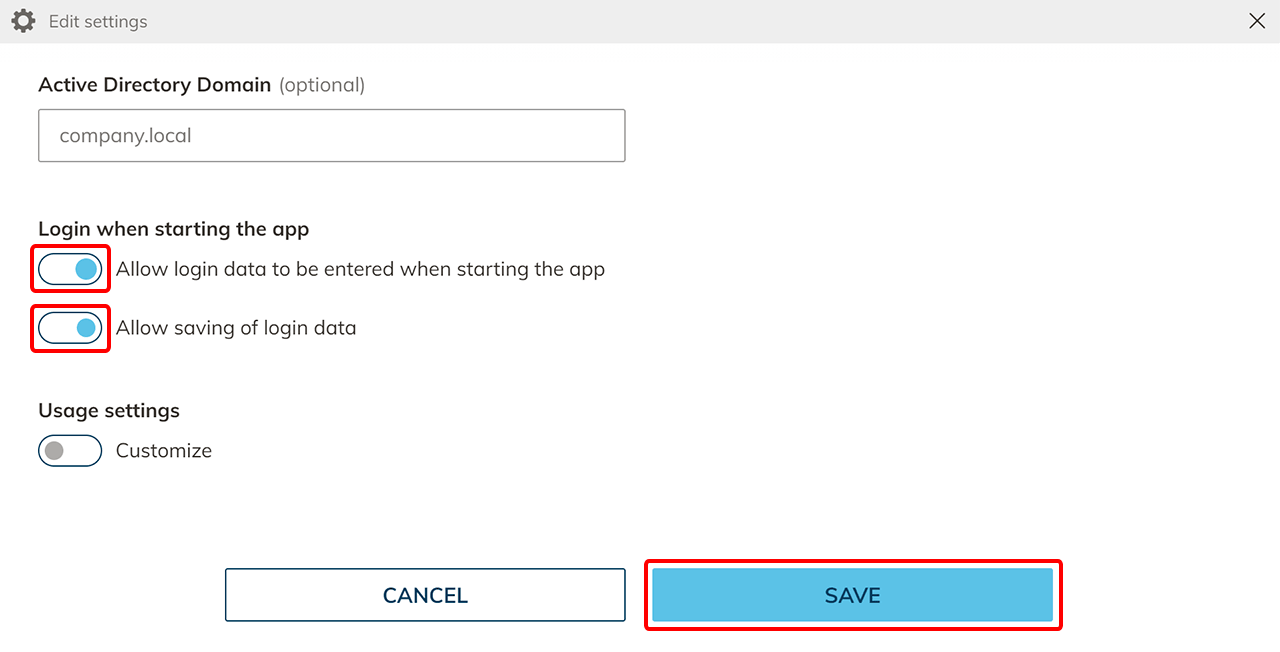
Enable Allow login data to be entered when starting the app and Allow saving of login data. Click Save.
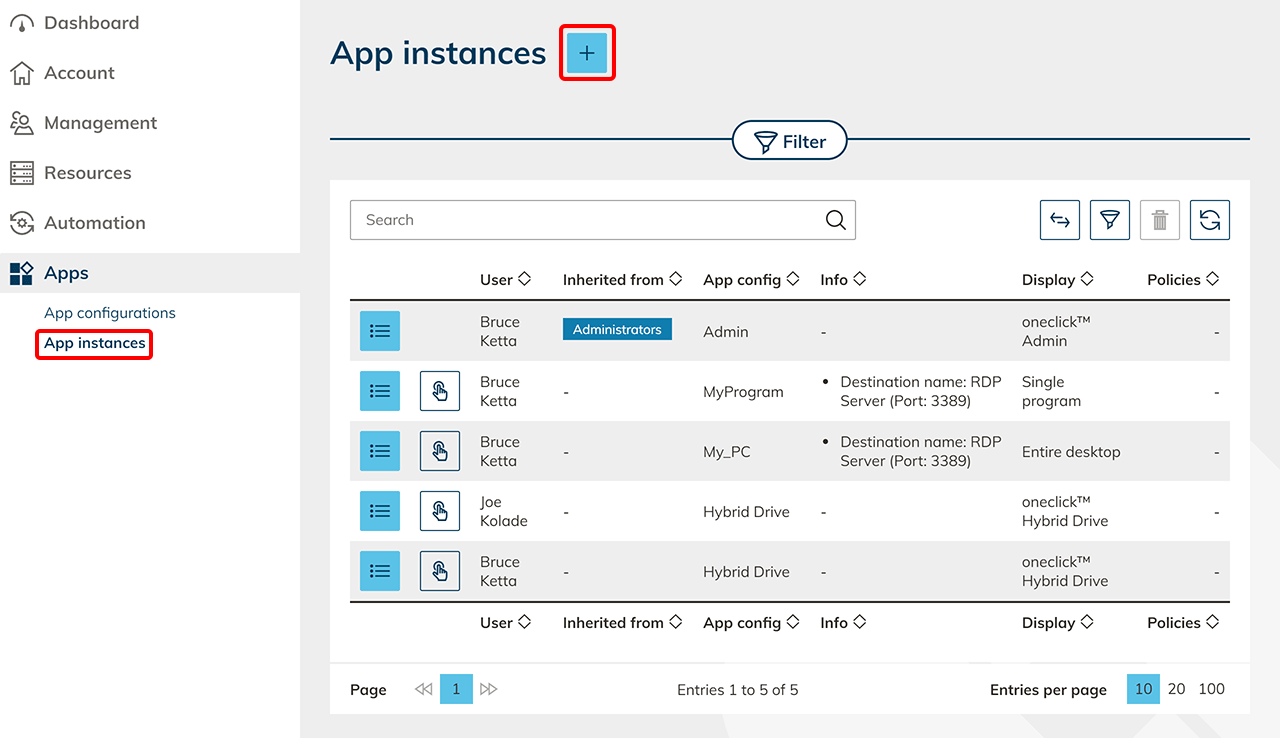
Create app instances
- Click App instances in the Apps menu. Click the Plus icon to create a new app instance.
- Select the app configuration from which an app instance should be created and click Next.
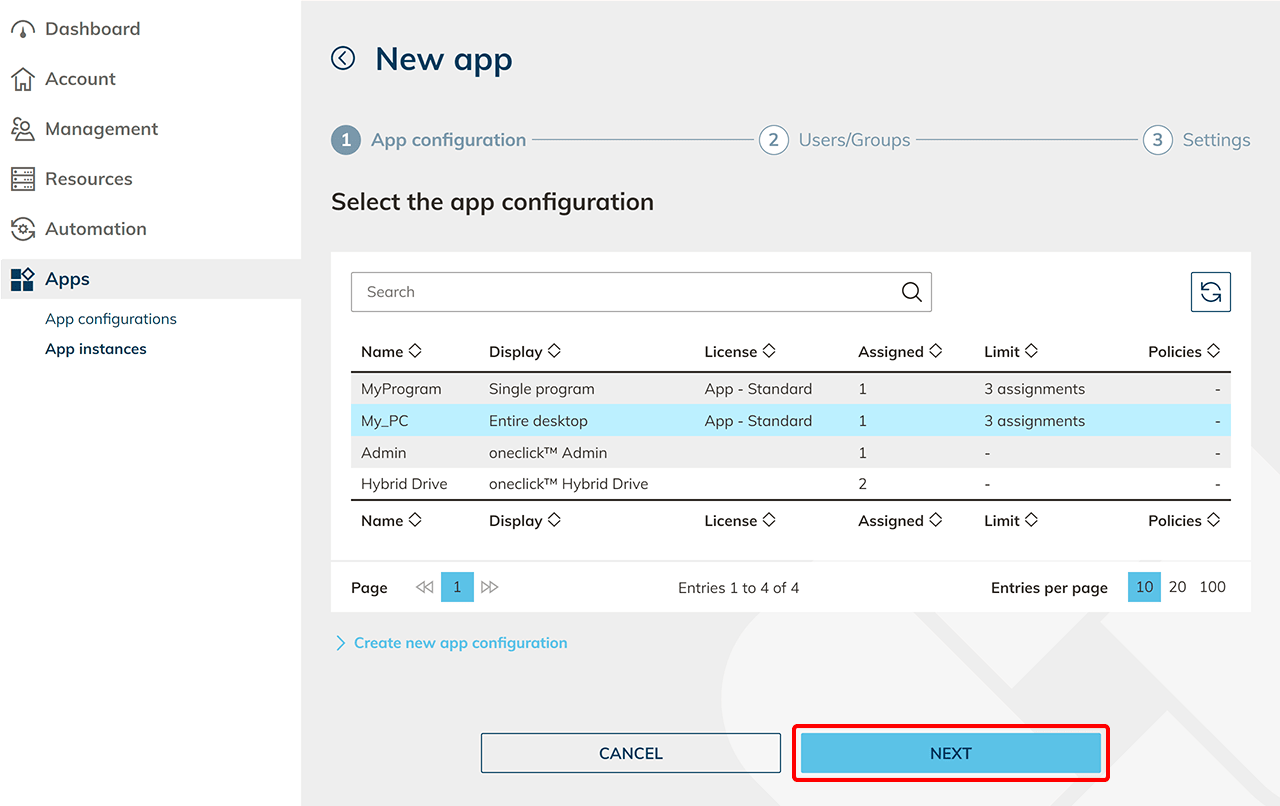
- Select your Users and click Next.

- In the next step, select the connection destination for each user. Leave the Username and Password fields empty if the user should enter both credentials manually when logging in. If you already know the username, you can enter it here.
- If multiple users should have the same destination and/or credentials, click the “Apply for all” button. This automatically applies the currently entered destination and credentials to all users in the list.
The button is only displayed if more than one user exists. The Eye icon indicates that the entry has already been viewed, the fields themselves are not checked or validated.
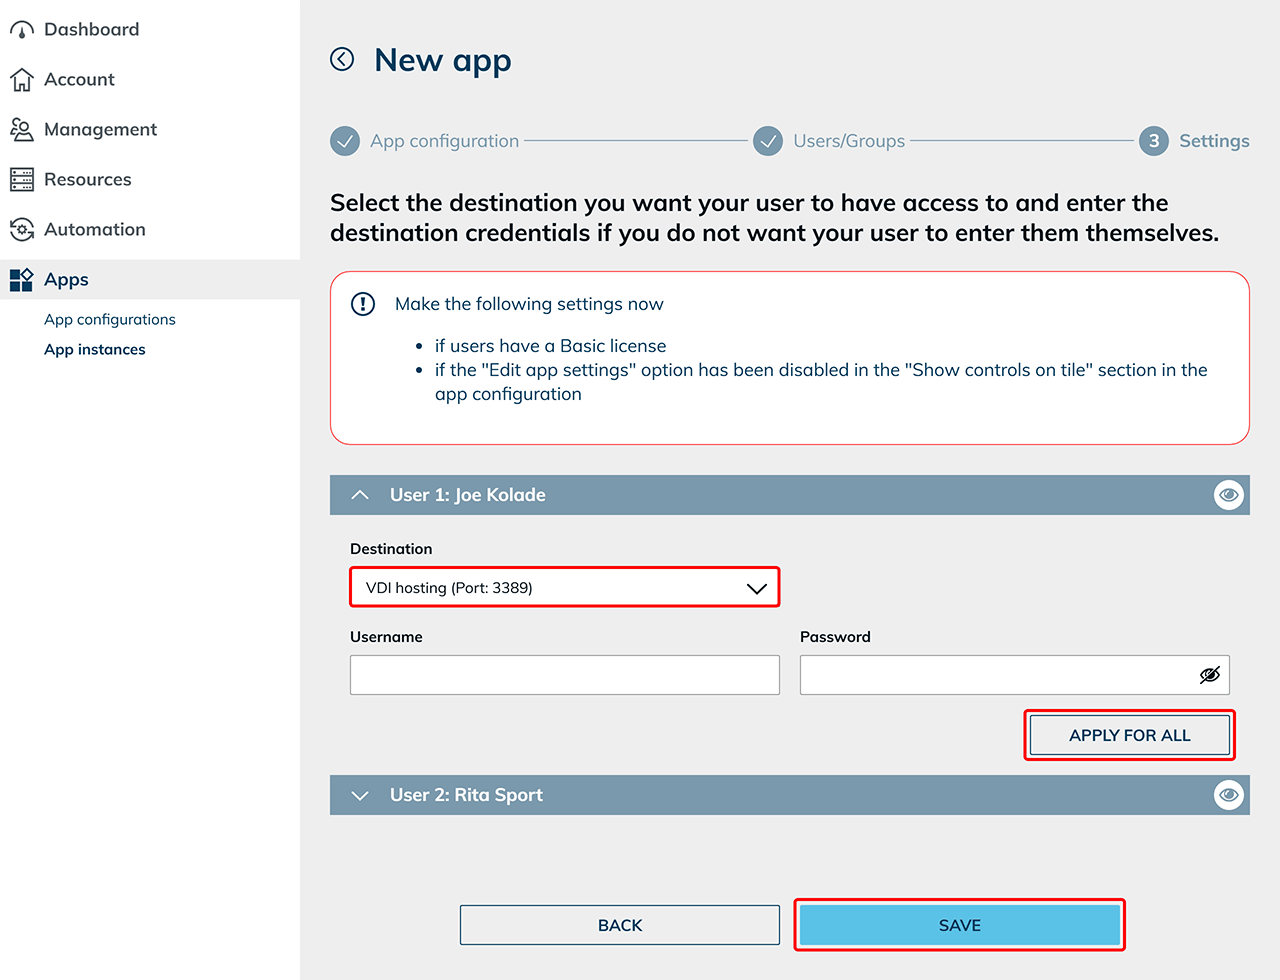
- Your users can now log in themselves with their Windows password the next time they start the app.