oneclick™ Mesh
The connection of on-premises resources via the oneclick™ Mesh is ideal for devices without their own public IP address or with increased security requirements.
Important information
- If you have the option of using a VPN connection, we recommend this in preference.
- When using oneclick™ Mesh, a relay service is used by default, which can limit performance under certain circumstances.
- After setup, check whether the performance is sufficient and whether you can activate “UDP hole punching”.
- Bandwidth: The oneclick™ Mesh itself does not limit bandwidth. The maximum achievable throughput depends on the network interfaces and connections between the systems involved (e.g. internet connections, network hardware, latency, routing). Note that protocols like SMB are inherently slower over the internet compared to protocols optimized for file transfer (e.g. FTP).
If VPN is not practical or technically feasible in your scenario, oneclick™ Mesh can be an alternative. Only use oneclick™ Mesh if a VPN connection is truly impossible or too difficult to set up.
Here, the oneclick™ Mesh offers the ideal solution when:
- the VPN management is getting too complex due to many distributed resources,
- distributed resources at different locations have to access each other,
- access through a public IP address is not wanted for security reasons,
- an upstream bandwidth of more than 1 GBit is available and required at the server location.
The difference between VPN and mesh with the goal that all servers "see" each other:
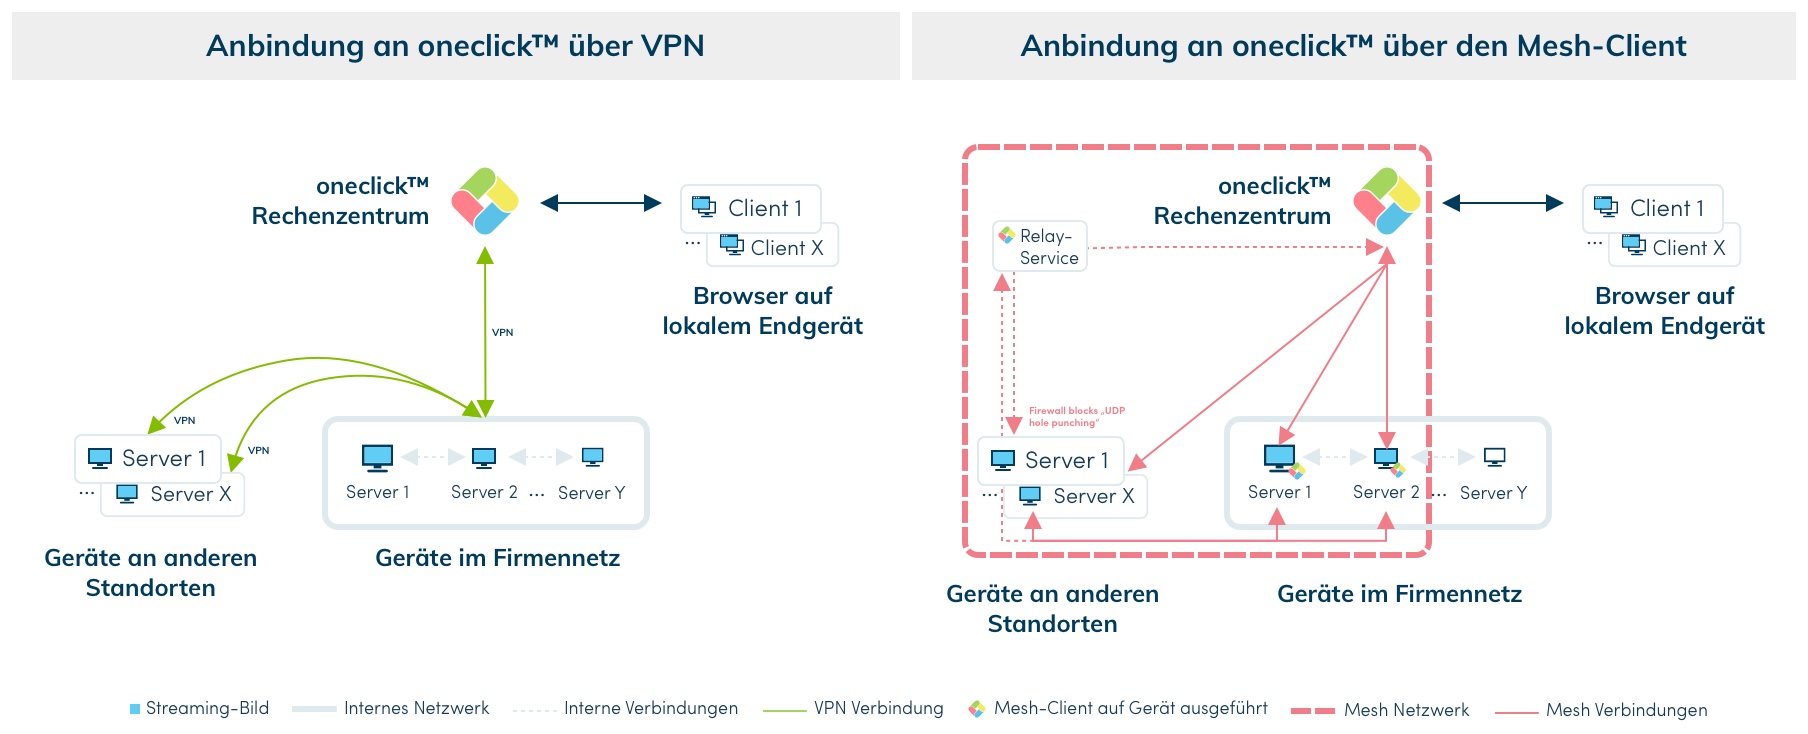
Through a VPN connection, you can connect your entire company network to oneclick™ once. To enable devices at other locations to access resources in your company network, you have to set up and maintain VPN facilities again. All devices that are connected in or to your network can be delivered to users through oneclick™.
The oneclick™ mesh network allows you to connect individual devices to create a network. These devices do not need their own public IP address. On all destinations you want to add to the mesh network, you have to install and run the mesh client once. The "UDP hole punching"-technology (RFC 5128) is used to establish the connection. The connection between the mesh devices runs through encrypted tunnels. In this case, oneclick™ is also a device that communicates with the server and is able to deliver or "stream" its interface to users via the browser. If the firewall does not support UDP hole punching, all traffic is redirected by a relay service.
All devices assigned to the mesh network remain visible to each other within your oneclick™ administration unit and can communicate with each other. If you do not need streaming via oneclick™ for a device, you can still include the device in the mesh network. You can also use a Windows device as an internal router to access a printer, for example.
1. Check the requirements for the use of oneclick™ Mesh
- Your resource can access the Internet directly or via NAT.
- You have at least a Windows Server 2016 or Windows endpoints from Windows 10 with 64 bit operating system, a Mac (Universal) or a Linux with 64 bit operating system.
- You have access to the administrator credentials of the device/server.
- If your firewall restricts outgoing traffic, enable the IP addresses relevant for the oneclick™ mesh network in the firewall of your destination.
Note for corporate firewalls: To achieve the best possible performance from oneclick™ Mesh, ensure that the recommended ports and protocols are enabled in your corporate firewall. A complete overview can be found here: Allowlisting of oneclick™ IP addresses
2. Enable "UDP hole punching" technology in the firewall (optional for better performance)
If you want to access the device with oneclick™ streaming, we recommend activating “UDP hole punching” in your company firewall for optimum performance. End user devices such as the Fritzbox support this out-of-the-box. By securely activating “UDP hole punching”, a direct connection can be established without a bypass through the relay service. You can make these settings later.
Take a look at a sample configuration.
If you use streaming via the Germany – Magdeburg data centre, UDP hole punching can generally work, provided it is supported on the end device side. If UDP is not possible, a fallback via the relay service occurs automatically, which can affect performance. In this case, check whether the speed is sufficient for your application or whether another connection method is more suitable. Not sure which is the correct data center? Check your system data.
3. Download the mesh client for each device to be connected
All devices to be accessed must be created as a destination in oneclick™. Each installation file can only be used for one device.
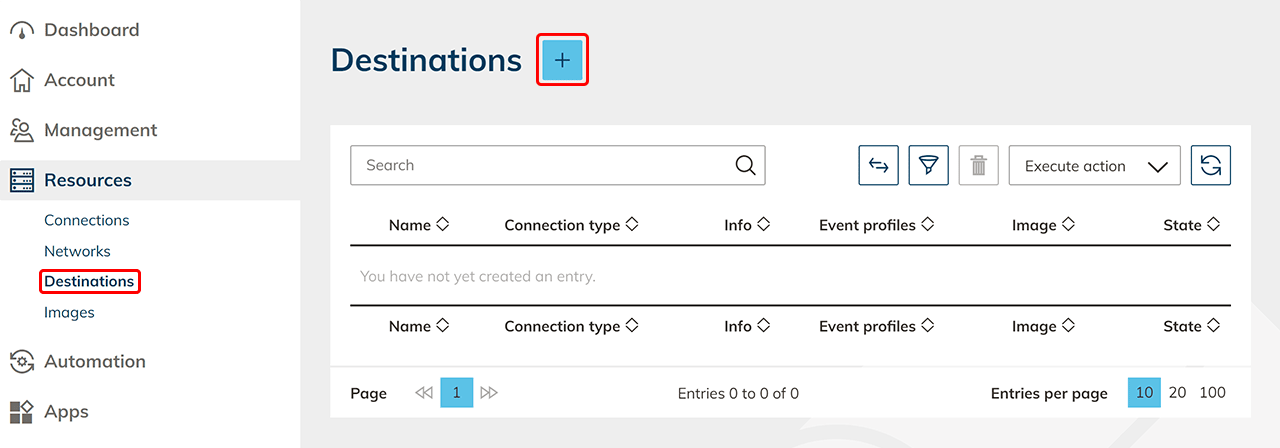
- To do so, go to the Resources menu and then directly to Destinations.
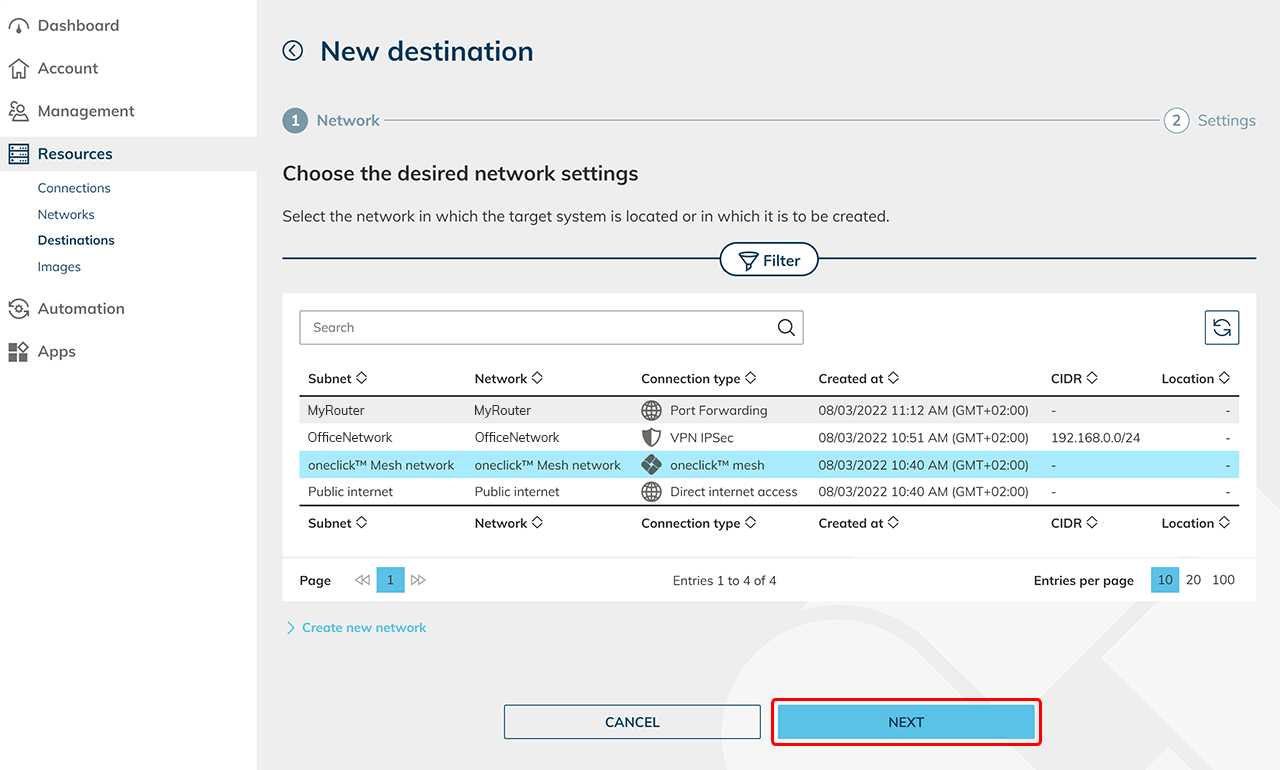
- Click on the Plus icon and select the Mesh network.
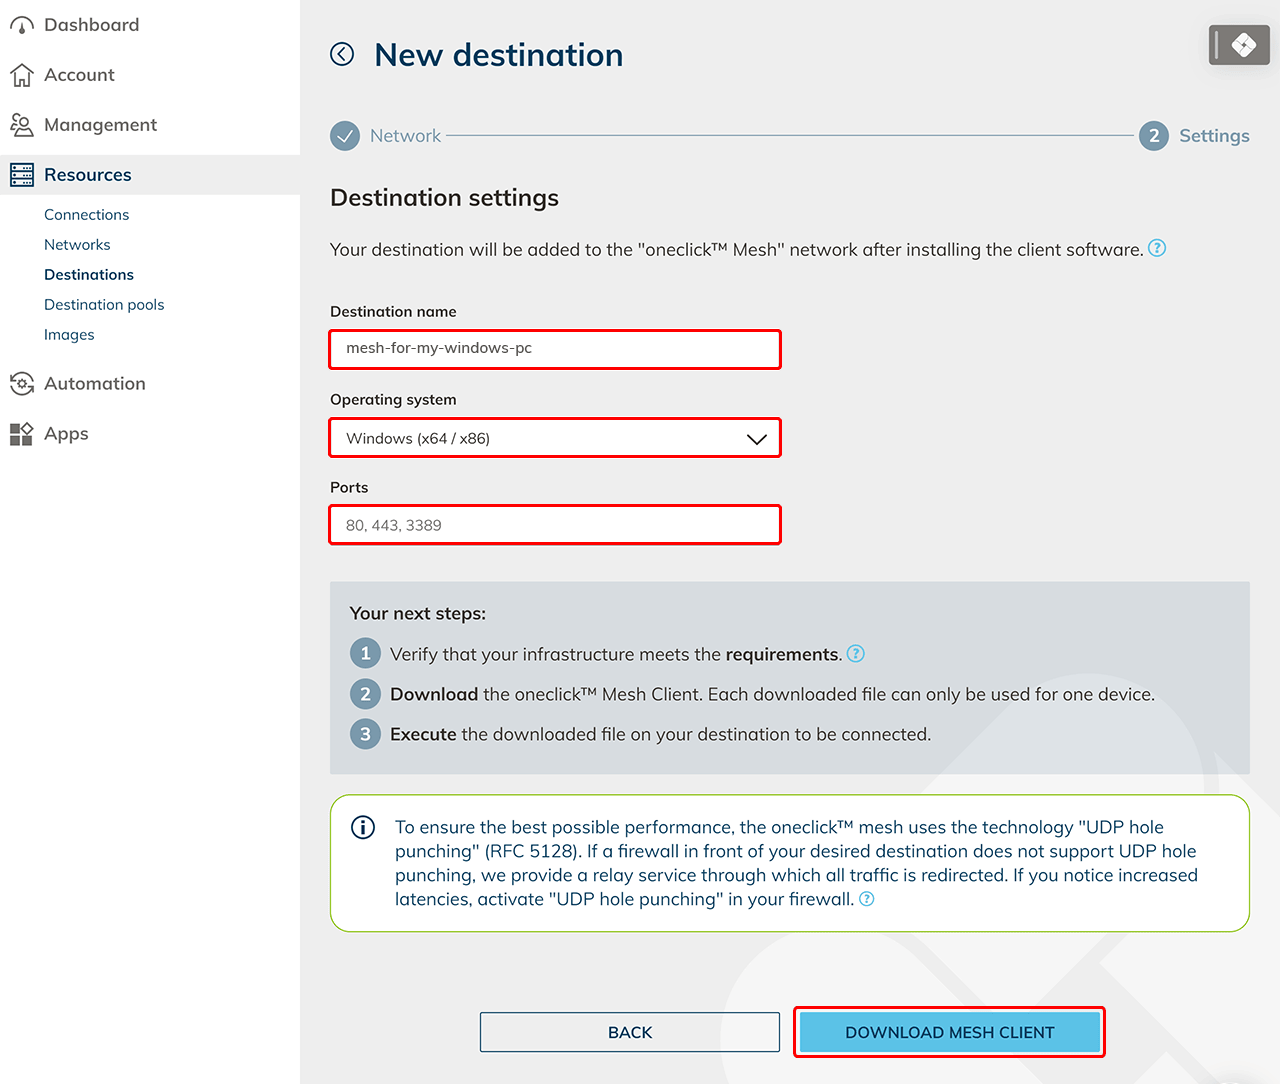
- Give your destination a name, select the operating system on which you want to run Mesh, enter the port (for an entire desktop 3389 from Windows) and click Download Mesh Client. Note that the service behind the port must be active!
4. Install the Mesh Client on your device
Windows
To perform these steps, you need administrator rights.
- Place the downloaded file on the device you want to connect in oneclick™. If you want to use the Hybrid Drive App Share folder for a transfer, drag the file to the remote desktop to be connected first before you run it!
- If RDP (Remote Desktop) is not yet active on your device, turn it on now.
- Install the file on the Windows device you want to connect to oneclick™ by unpacking the file and double-clicking on it.
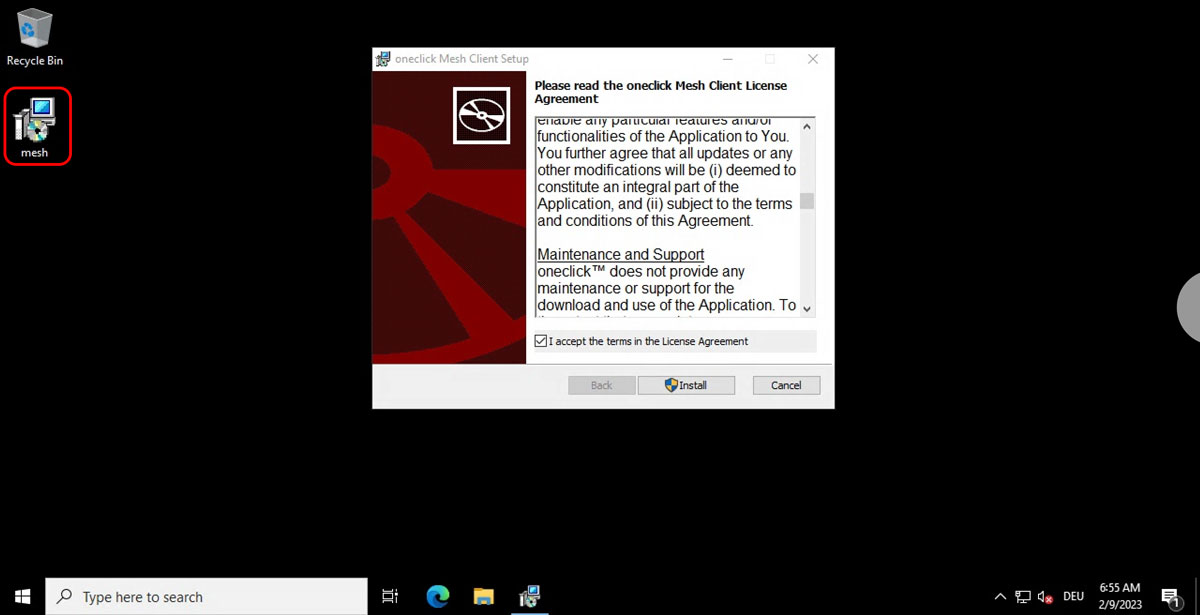
- Accept the license terms and click Install.
- Allow the app to make settings on your device by clicking Yes.

- Allow the PowerShell execution that installs the mesh client by clicking Yes.

- Click Finish.
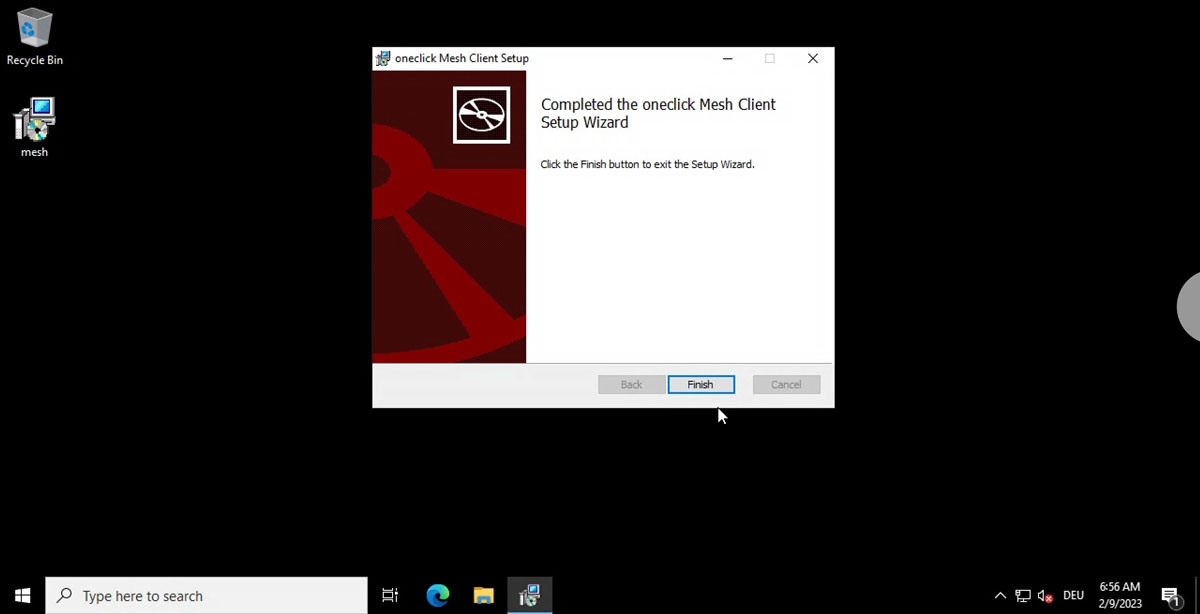
- The end device has been successfully added to the oneclick™ mesh network.
- If you want to access the device with oneclick™ streaming, do not forget to enable RDP (Remote Desktop) on your device and adjust the firewall rules. This only works with a Windows Pro, -Enterprise or -Business version.
Mac OS
To perform these steps, you need administrator rights.
-
Place the downloaded file on the device you want to connect in oneclick™.
-
Unzip the file and open the "start.command" file by right-clicking the menu and then clicking Open.
-
In the appearing pop-up, click Open again.

-
The installation window will open. Please enter your administrator password to install.

- Wait until you receive the message to close the window. The end device has been added to the oneclick™ mesh network if the response was positive.
- If you want to access the device with the oneclick™ streaming, do not forget to enable the desired port on Mac (e.g. by activating "Remote login" in the system settings) and adjust the firewall rules.
Linux
To perform these steps, you need administrator rights.
- Place the downloaded file on the device you want to connect in oneclick™.
- Open the folder.
- If you are logged in as "root" user, execute the ./start.sh file. This works with "sudo" as well.
- The end device has been added to the oneclick™ mesh network if the response was positive.
- If you want to access the device with the oneclick™ streaming, do not forget to install the SSH service.
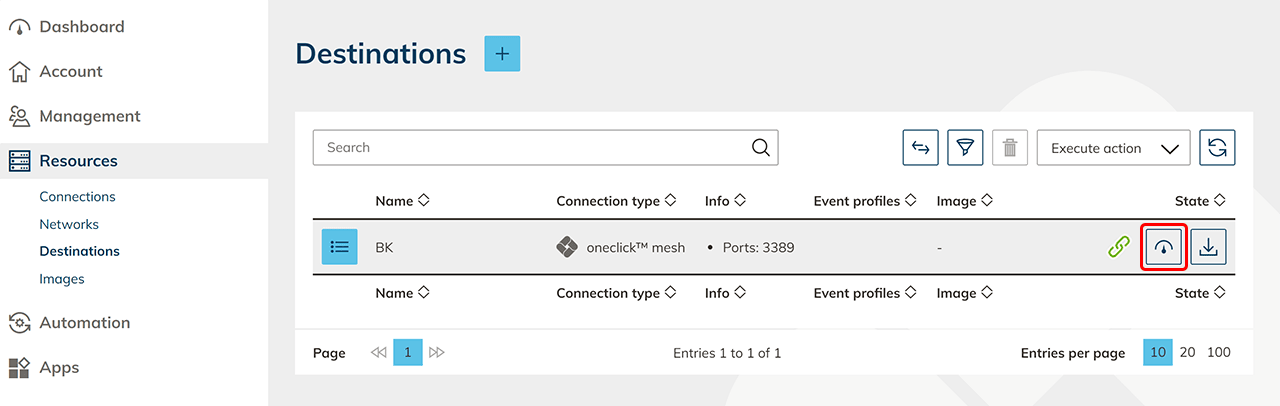
5. Check connectivity and assign apps in oneclick™
- Your device will now appear in the destinations list. Click the check status icon in the row to check connectivity.
- Create destination pools Next, create a destination pool in which you can include one or more destinations that belong together. This step is not necessary if you want to connect an internal website or a private Active Directory.
- Create and assign app configuration If you want to access the destination via oneclick™ streaming, then configure app access and create app instances for your oneclick™ users.
- Send oneclick™ registration link Once you have completed all the steps above, you can give your users access to oneclick™ by sending the registration link.
6. Whitelist IP addresses (optional)
If your firewall restricts outgoing traffic, enable the IP addresses relevant for the oneclick™ mesh network in the firewall of your destination.