Activate Entra ID
Activate Entra ID once at oneclick™
If you and your users have not yet logged into oneclick™ via Entra ID, the oneclick™ login screen will appear the first time you open the app.
The administrator who consents needs one of these Entra ID roles: Global Administrator, Privileged Role Administrator, Cloud Application Administrator, or Application Administrator.
- Now click on Login with Entra ID.
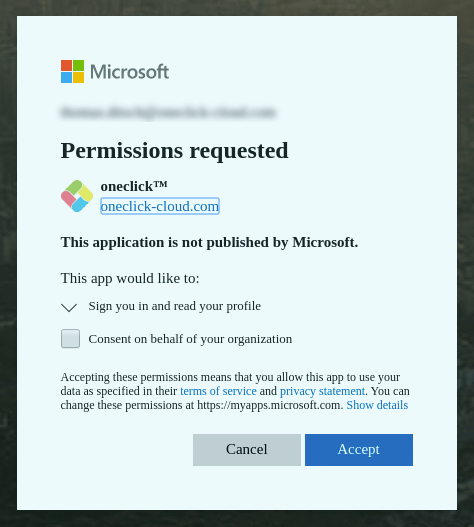
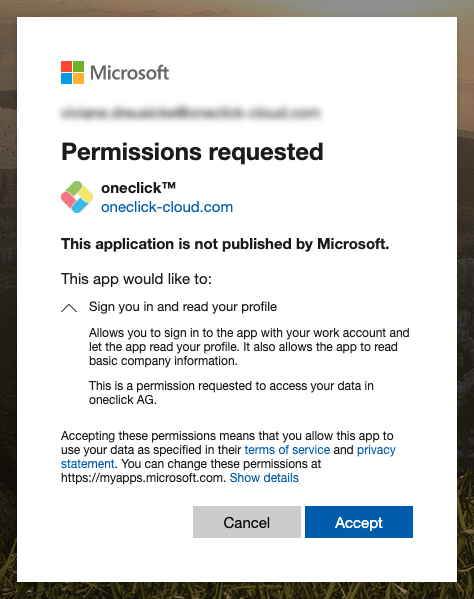
- The first time you log in, you must give oneclick™ permission to use your login data from Entra ID.
-
As an admin you can accept the use of Entra ID for oneclick™ once for all users by checking the box next to “Consent on behalf of your organization” and then clicking Accept.
-
If the administrator has not activated this for all users, each user must click Accept once.
-
Make sure that you are registered in oneclick™ with the e-mail address of your identity provider (e.g. Entra ID). If you are registered in oneclick™ with a different e-mail address, you will have to log in to oneclick™ every time you open the app.
Permissions oneclick™ requests
oneclick™ provides a central Microsoft Entra ID Enterprise App. As a customer, you grant tenant-wide consent once per organization — this single consent covers both login via Entra ID and user imports.
oneclick™ uses the Microsoft Graph API and requests three delegated permissions:
Group.Read.All— to list Entra ID groupsUser.Read.All— to list Entra ID usersUser.Read— to read user details
Because these are delegated permissions, oneclick™ acts with the visibility of the consenting administrator. The Enterprise App cannot access groups or users that this administrator does not have access to.
Reference: Microsoft Graph — Authentication and authorization basics