Create shortcuts in Windows
Create shortcuts to the oneclick™ access window and the RDP file to start your remote connection faster. Optionally, you can assign your shortcut a custom oneclick™ icon.
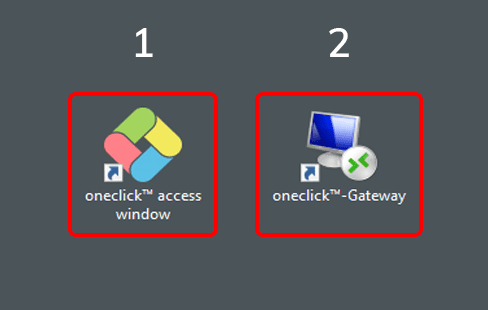
1. Access window
Drag and drop the tile of the oneclick™ access window from the oneclick™ desk to your local desktop. This creates a shortcut that allows you to open the access window directly.
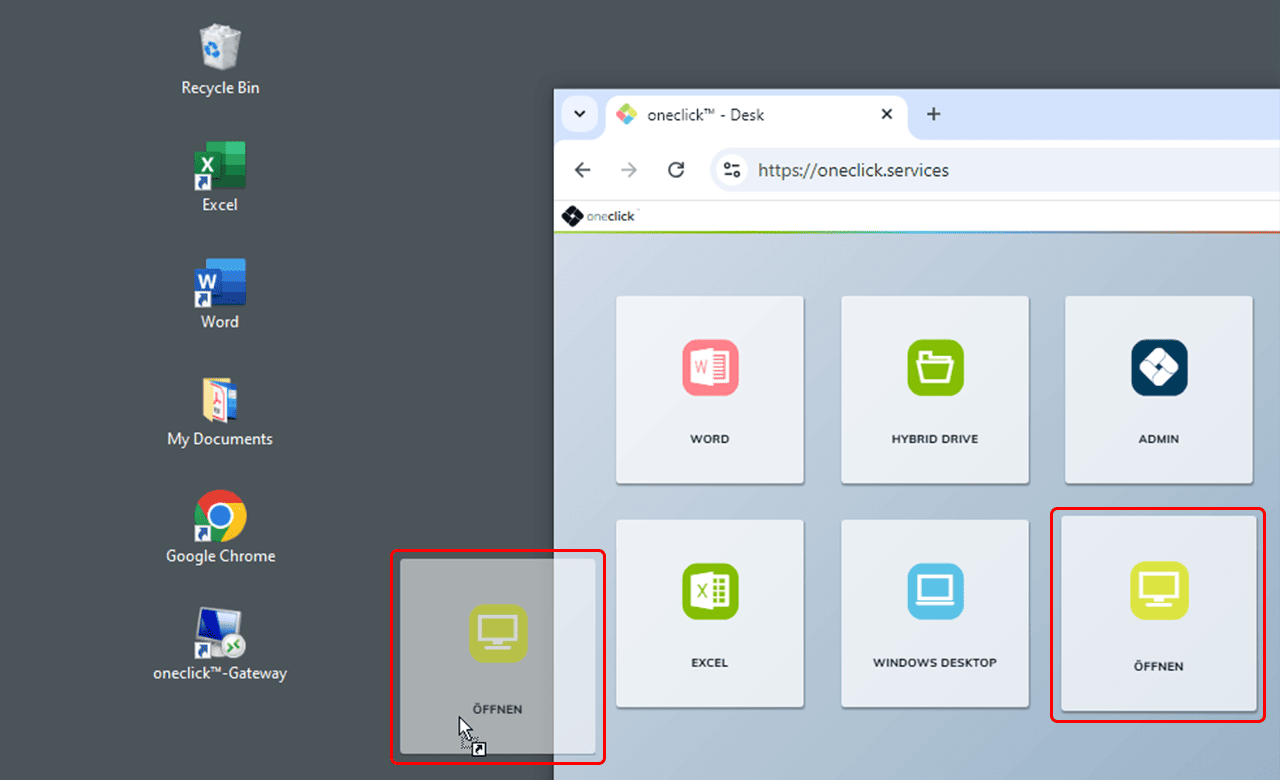
2. RDP file
After downloading the RDP file via the oneclick™ access window:
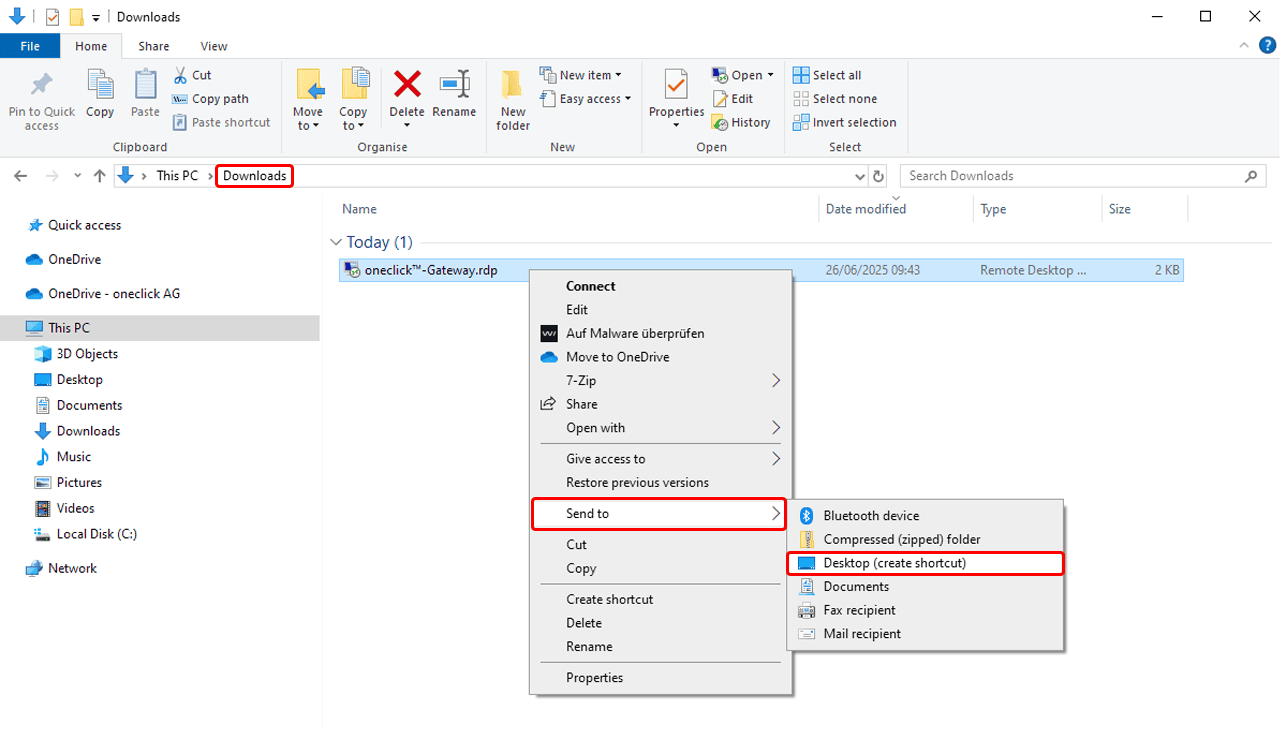
- Open the Downloads folder. There you’ll find the downloaded RDP file.
- Right-click on the file and select: Send to > Desktop (create shortcut).
You can reuse the RDP file for additional connections. Start the app in oneclick™ before each connection. This opens the oneclick™ access window and renews the connection time. The login data is valid for another five minutes. Open the existing RDP file from your shortcut within these five minutes.
Use the downloaded RDP file without making any changes. If you change signed settings and save the changes, the digital signature becomes invalid.
If Windows reports that the RDP file is damaged, or if Connect is grayed out and cannot be clicked, download the RDP file again via oneclick™. For additional steps, see RDP access error.
3. oneclick™ icon for the access window (optional)
You can replace the shortcut icon with the oneclick™ icon.
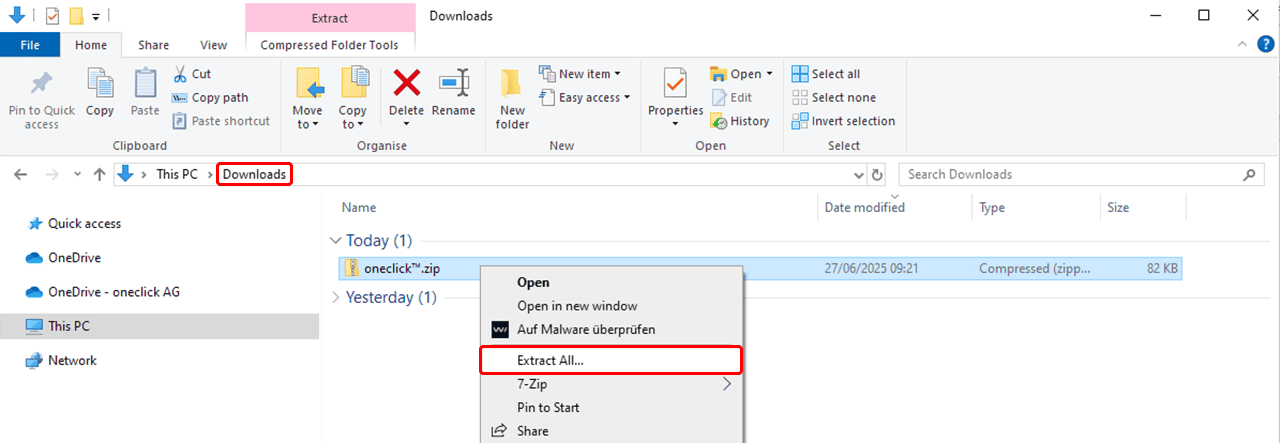
- Download the ZIP file with the icon and unzip it.
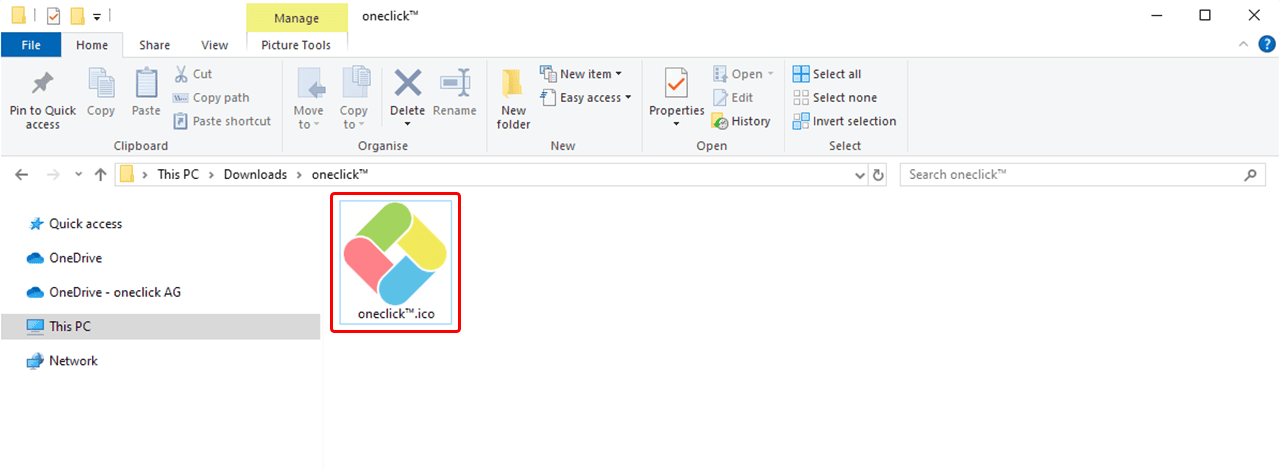
- Move the extracted file oneclick™.ico to a folder of your choice (e.g.,
C:\Users\<YourName>\Pictures\)
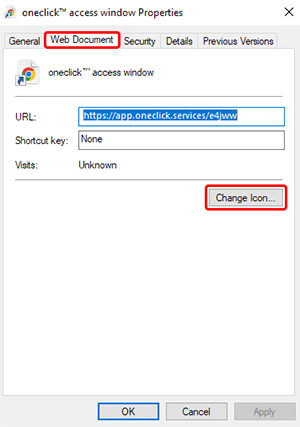
- Right-click on the desktop shortcut > Properties.

- Select “Web Document” and click on Change Icon.
- In the new window, click Browse, go to the folder you previously selected (e.g.,
C:\Users\<YourName>\Pictures\), and select the file oneclick™.ico.


- Confirm with OK and then with Apply/OK.
