Retrieve DN in Active Directory
To correctly configure an LDAP connection or automated access, you need the Distinguished Name (DN) of a user, group, or organizational unit (OU).
The DN can be retrieved via the Active Directory Users and Computers (ADUC) console or alternatively using a PowerShell command.
Prerequisites
- Active Directory Users and Computers (console: dsa.msc)
- Local AD access with sufficient permissions
Retrieve DN via ADUC
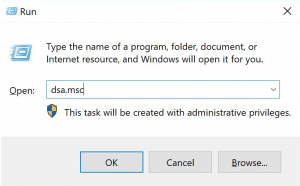
1. Open the Active Directory Users and Computers (ADUC) console:
- Press Windows + R, enter
dsa.msc, and confirm with OK. - Alternatively: Search in the Start menu for "Active Directory Users and Computers" or open the command prompt (cmd)
2. Enable advanced features to display all attributes:
- Click on the "View" menu at the top.
- Enable the option Advanced Features.
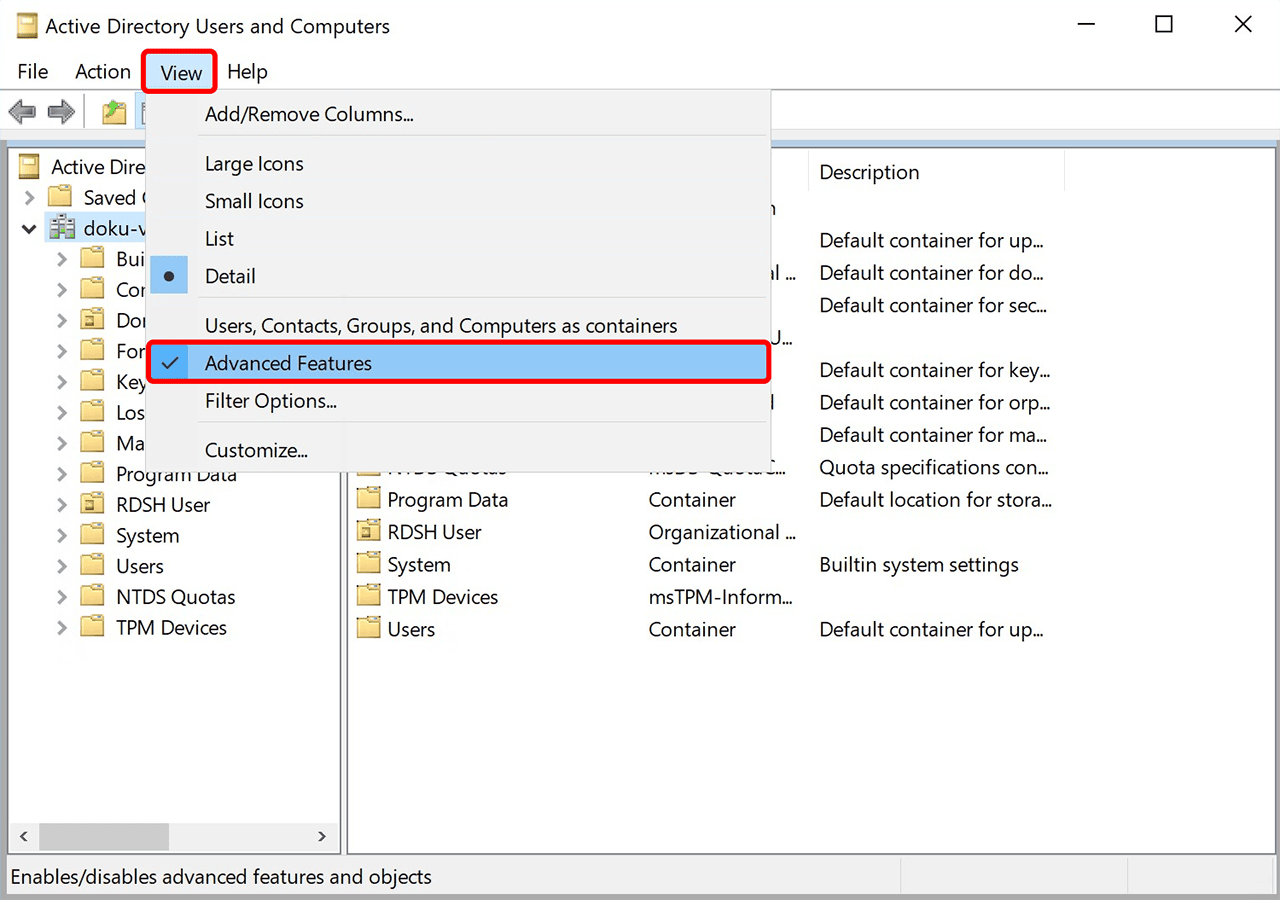
Without this setting, the "Attribute Editor" tab will not be visible.
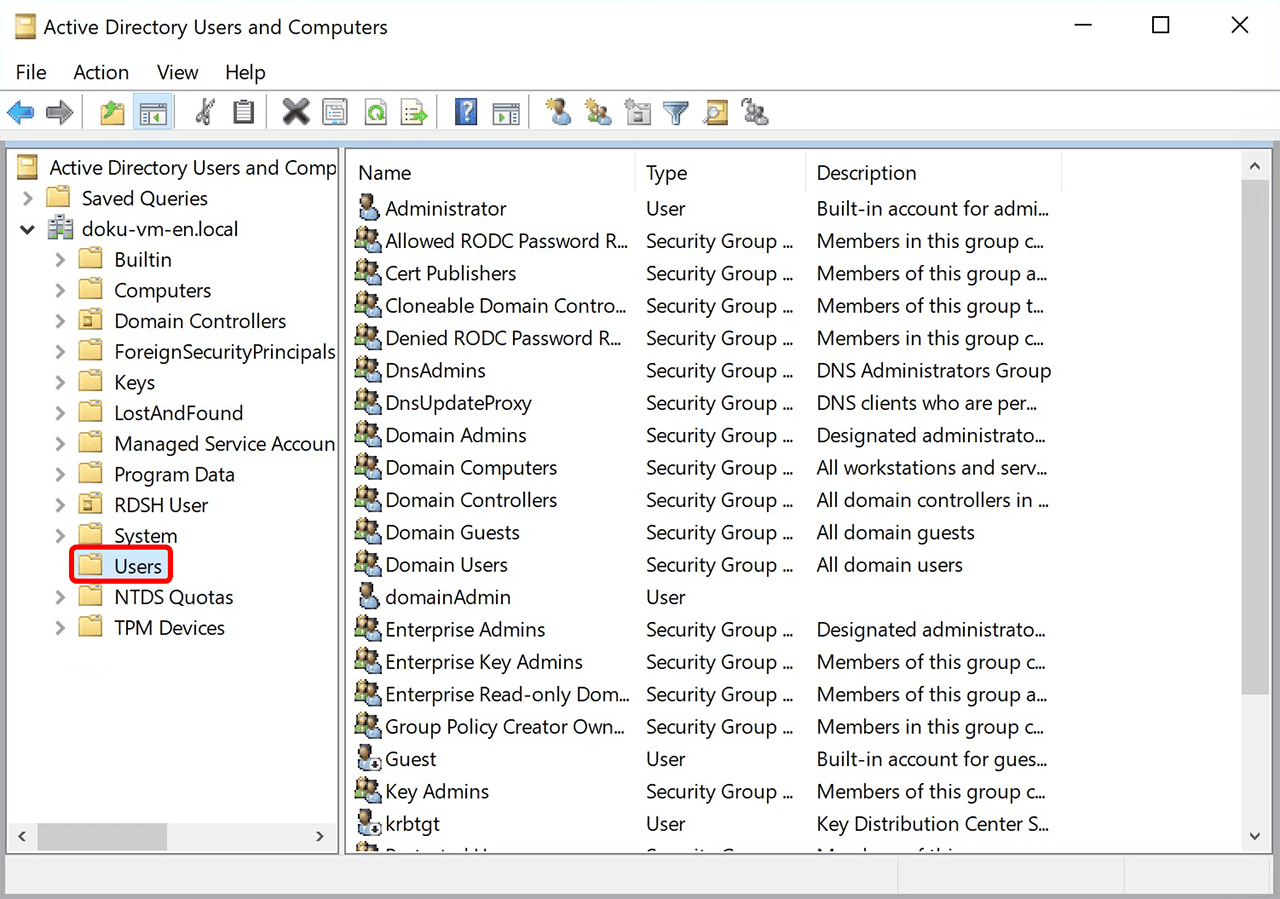
3. Select the object
- In the left column, navigate to the desired OU or container.
- Select the target object (e.g., a user or group) by clicking on it.
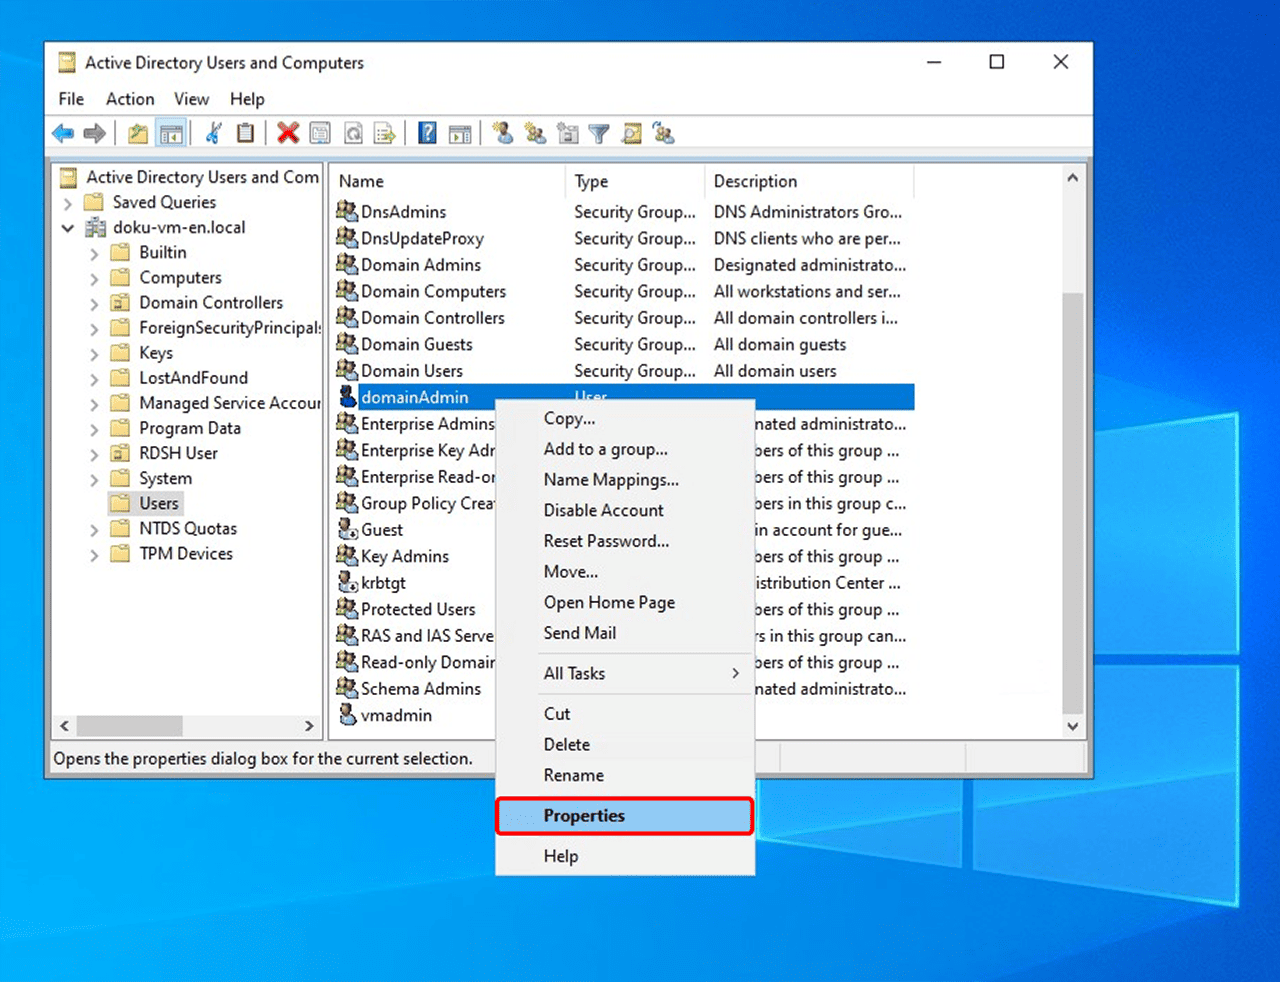
4. Open properties
- Right-click on the object.
- Select Properties from the context menu.
5. Open the Attribute Editor
-
In the Properties window, switch to the "Attribute Editor" tab.
-
Scroll down to the entry “distinguishedName”.
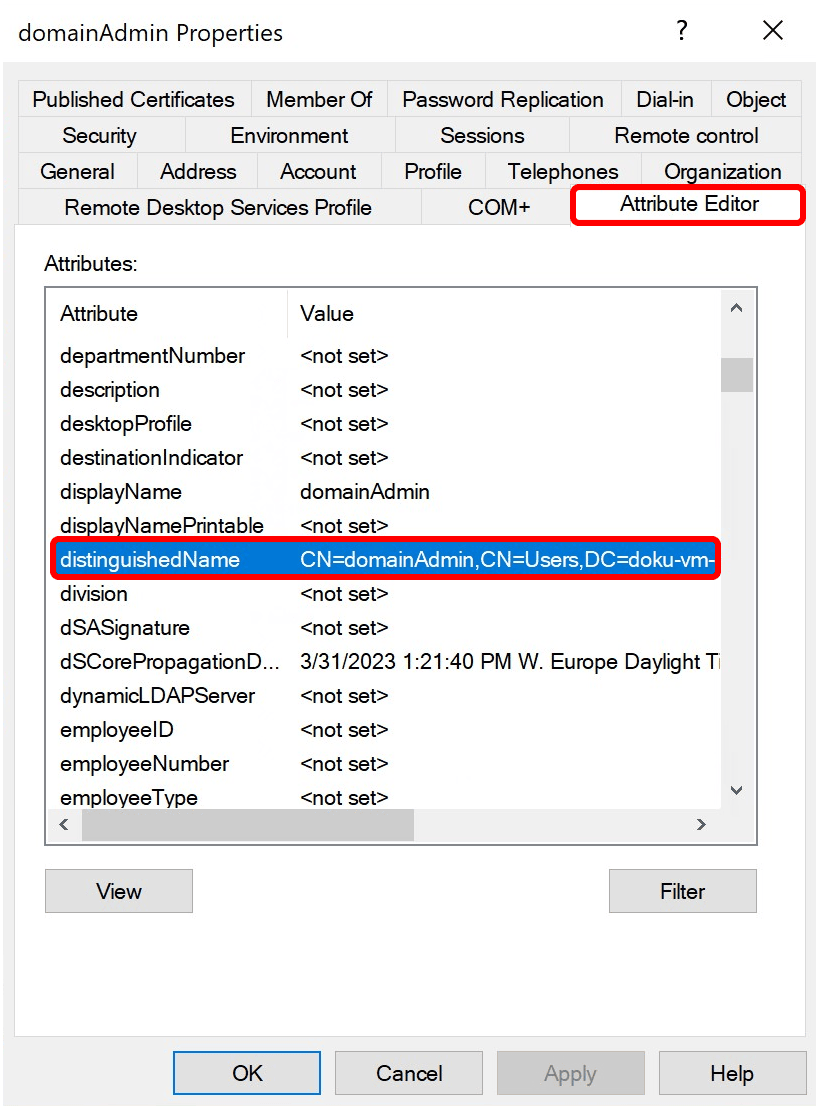
6. Copy the DN
-
Double-click on the distinguishedName entry.
-
Select the entire value and right-click to Copy.
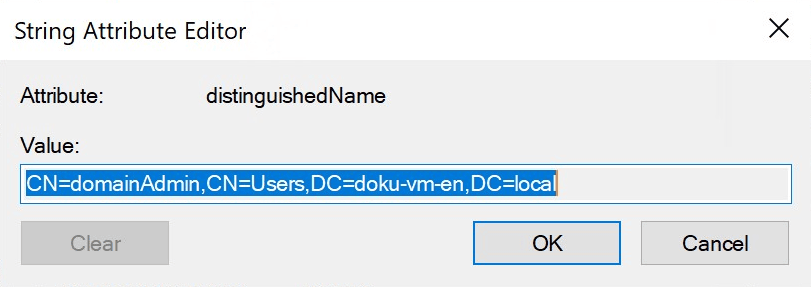
Example DN: CN=JohnDoe,OU=Employees,DC=company,DC=local
Note if the tab is missing
The "Attribute Editor" tab is only displayed if:
- "Advanced Features" are enabled (see step 2), and
- a valid object has been selected.
For empty OUs or unsupported containers, the tab remains hidden.
2. Retrieve DN via PowerShell
Retrieve the DN of a user with the following PowerShell command:
(Get-ADUser -Identity '<username>').DistinguishedName
Replace <username> with the login name of the user.
Prerequisite: The Active Directory PowerShell module must be installed and imported.