System and Browser Zoom
Are contents in the oneclick™ workspace displayed blurry or do clicks not respond correctly?
If buttons, menus, or windows do not appear where you expect them, this is usually caused by a combination of system scaling and browser zoom.
Set the browser zoom to 100%. In most cases, this immediately resolves display and click issues.
Important upfront:
Browser zoom is generally allowed.
Display issues are not caused by browser zoom alone, but only by an additional active system scaling.
Why browser zoom at 100% is the best choice
Many end devices – especially laptops – have a system scaling of 125% or 150% enabled by default.
Users are often not consciously aware of this setting.
The browser cannot transmit system zoom and browser zoom separately, but only passes a combined value to the oneclick™ workspace.
With multiple monitors or differing scaling settings, this leads to:
- offset click positions
- incorrectly positioned windows
- inconsistent display across screens
With browser zoom set to 100%, a stable and correctly functioning interface is ensured.
Check browser zoom and set to 100% (recommended)
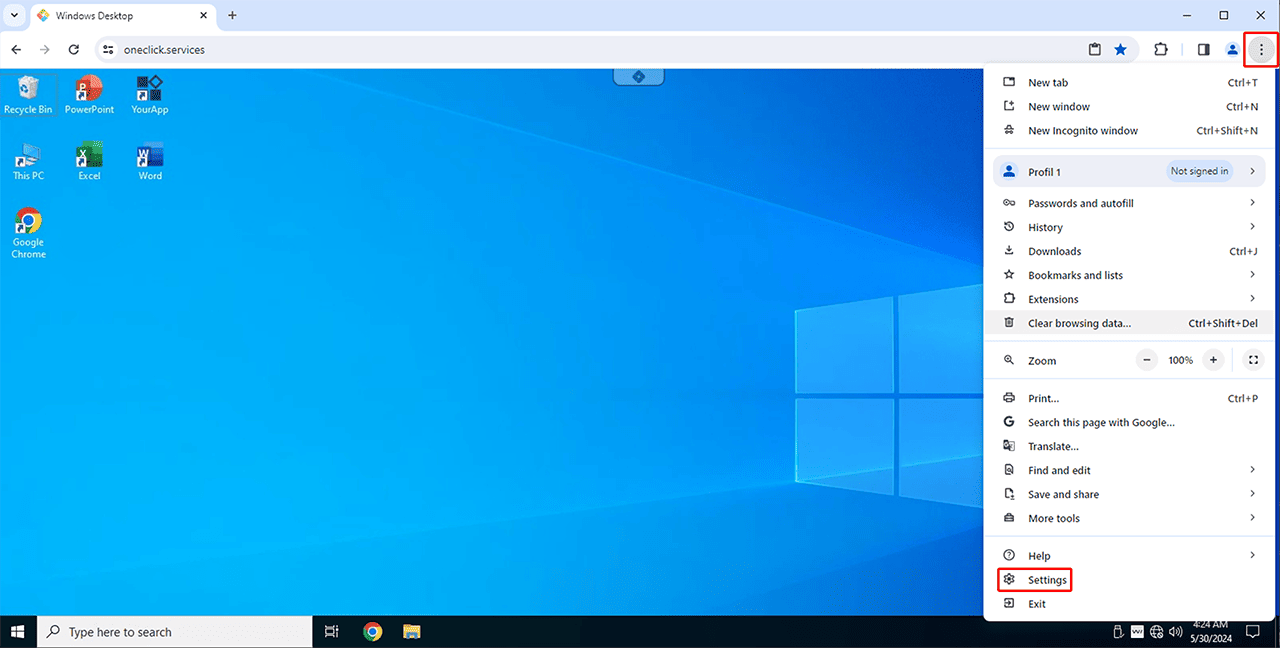
Example: Google Chrome
- Open Google Chrome.
- Click the menu icon with the three dots in the top-right corner of the browser window.
- To the right of the “Zoom” entry, the current display scaling is shown as a percentage.
- Change the displayed value by clicking – or + until it is 100%.

Quick tips for adjusting browser zoom
Show quick tips
Adjust browser zoom using keyboard shortcuts
You can quickly adjust the browser zoom for each open window individually using keyboard shortcuts.
Increase zoom:
• Windows: Ctrl + Plus (+)
• macOS: Cmd + Plus (+)
Decrease zoom:
• Windows: Ctrl + Minus (–)
• macOS: Cmd + Minus (–)
Reset zoom to 100%:
• Windows: Ctrl + 0
• macOS: Cmd + 0
Note:
The zoom value set via keyboard shortcut applies only to the currently open browser window.
When you open a new window, the default configured zoom value is used again.
Adjust browser zoom via the browser menu
Alternatively, you can adjust the zoom directly via the browser menu.
Example: Google Chrome:
- Click the menu icon with the three dots in the top-right corner of the browser window.
- In the “Zoom” section, you can see the currently set percentage value.
- Adjust the zoom using – or + or reset it to 100%.
Set browser zoom permanently
If you want to use a fixed zoom value for all browser windows, you can store this permanently in the browser settings.
Example: Google Chrome
- Click the menu icon with the three dots in the top-right corner and select Settings.
- Scroll to the Appearance section.
- Under Page zoom, select the desired default value, for example 100%.
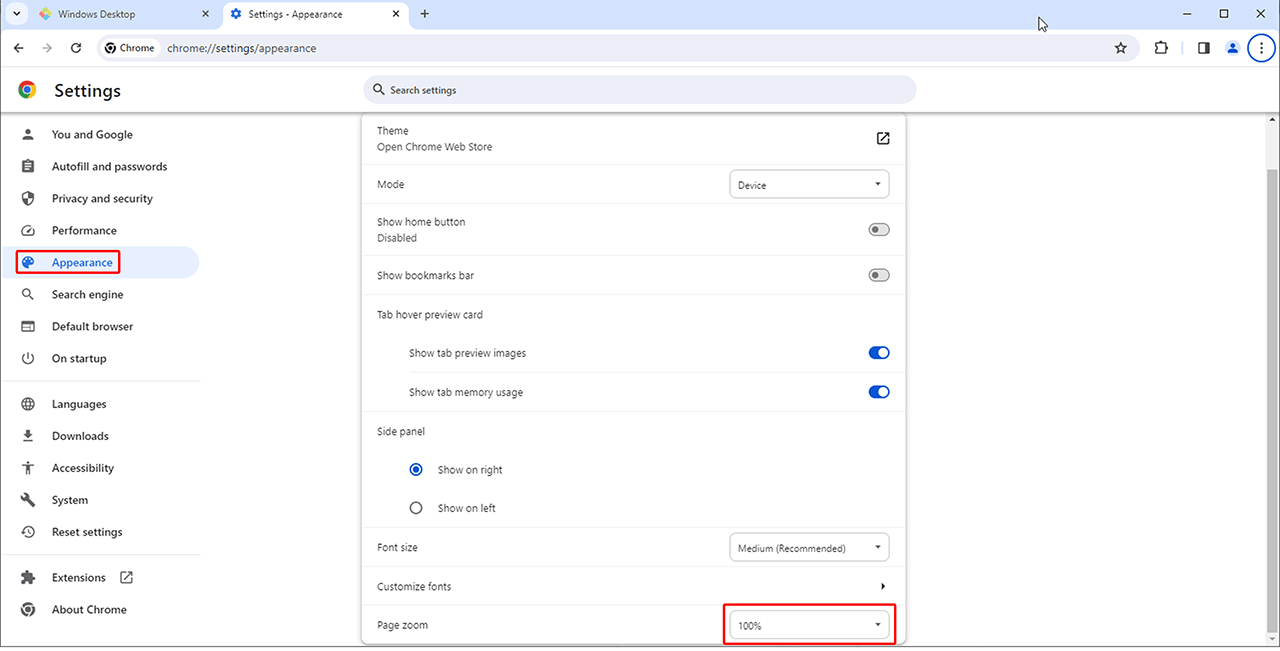
Chrome automatically applies this setting and uses it for all newly opened browser windows.
Check or adjust system zoom (optional)
What is system scaling?
System scaling is an operating system setting on your local device.
It determines how large text, windows, and controls are displayed system-wide, independent of the browser.
Many devices have this scaling enabled by default without it being consciously adjusted.
An active system scaling is uncritical as long as the browser zoom remains at 100%.
If display issues persist despite the browser zoom level being correctly set, check your device’s system scaling. Detailed instructions can be found in the official documentation of your operating system.
If display issues persist, please contact the oneclick™ support.