Cloning a Virtual Machine
You already did:
- Create a Cloud resource.
- Create an App configuration for this resource.
- Assign an App instance to your user.
- Set up the VM in the way your users need it to be.
- Create an Image of the set up cloud resource.
Then you can go on and clone your original cloud resource now to create an identical single VM for other users.
-
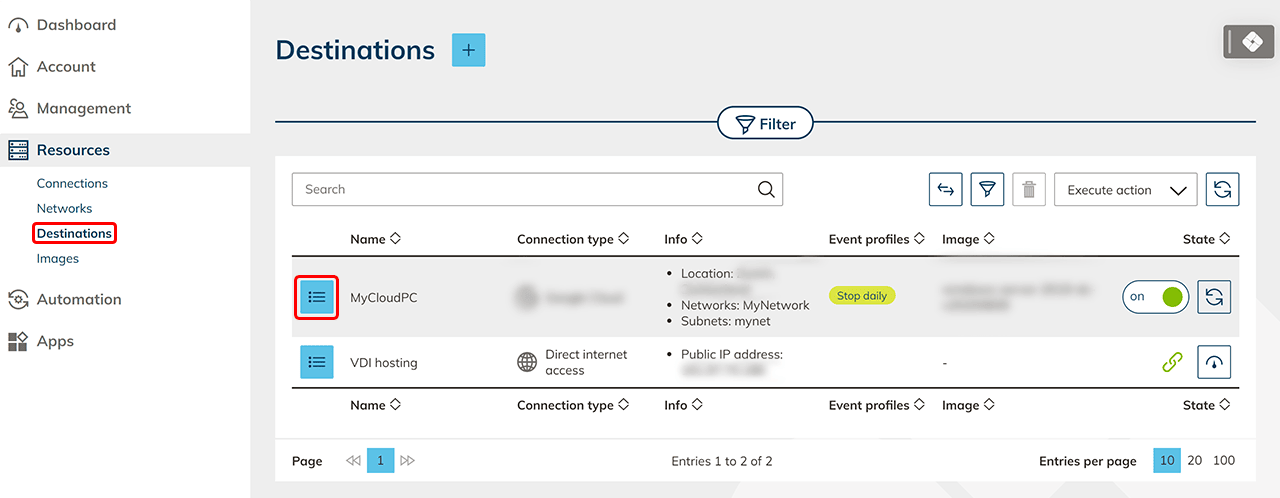
First click on Resources, then on Destinations and switch to the details page of your resource by clicking on the list icon.
-
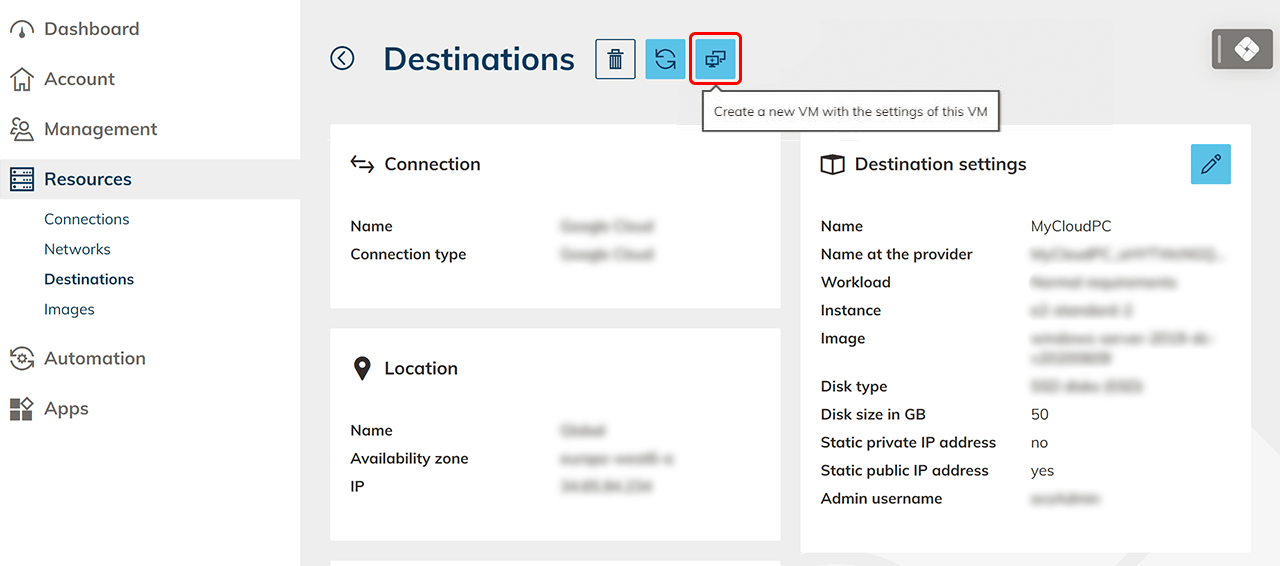
Click the monitor icon. The connection as well as the network is retrieved from your original VM.
-
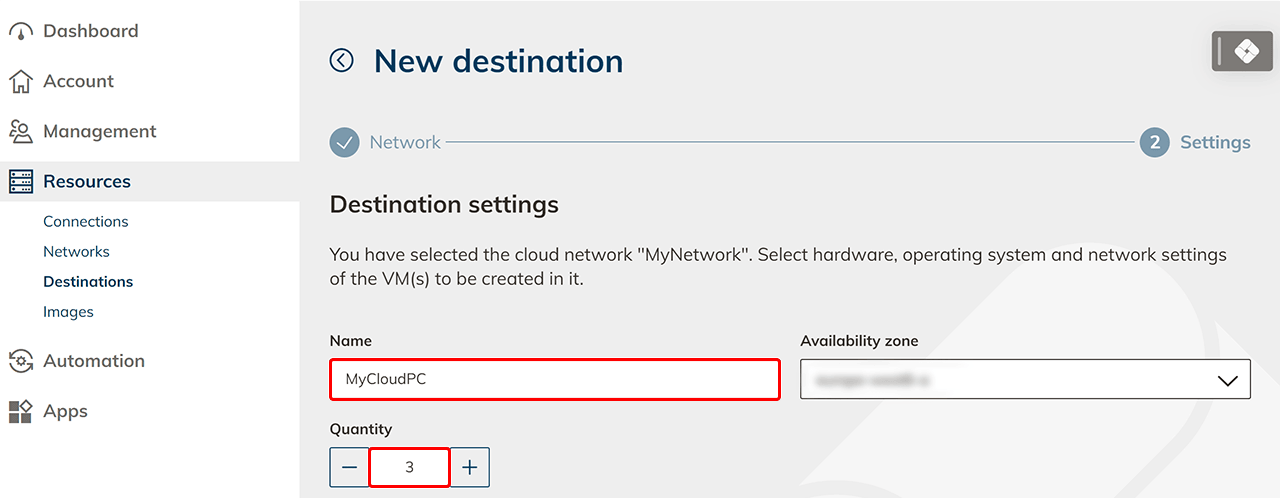
After checking the name of your VM, enter the amount of cloud resources you want. The entered name is numbered consecutively, e.g. MyVM – 1, MyVM – 2.
-
Select your previously created image and check all the settings that were transferred from the original VM.
-
Enter the credentials for the admin user and click Next.

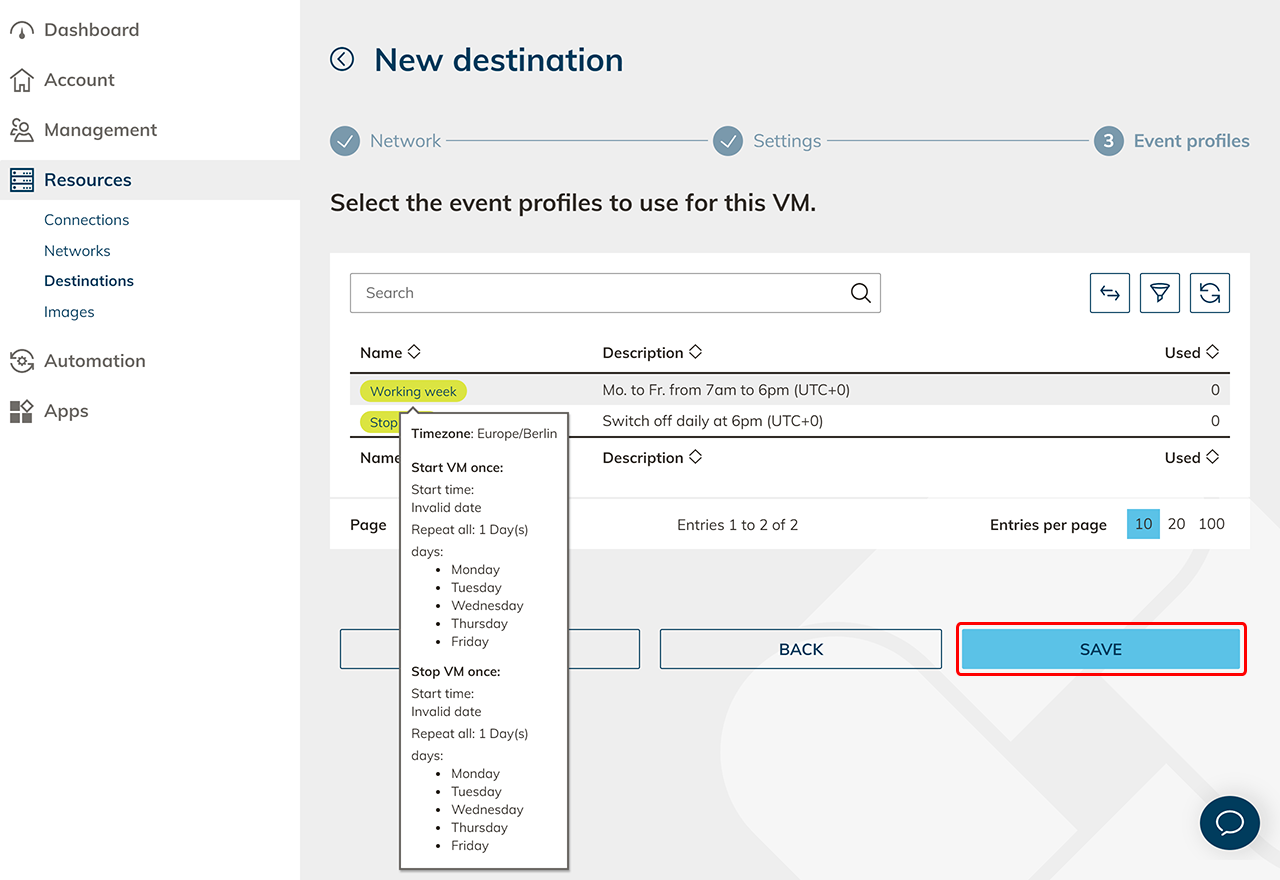
-
Optionally, select an event profile and then click Save. Your identical VMs are now being created.
-
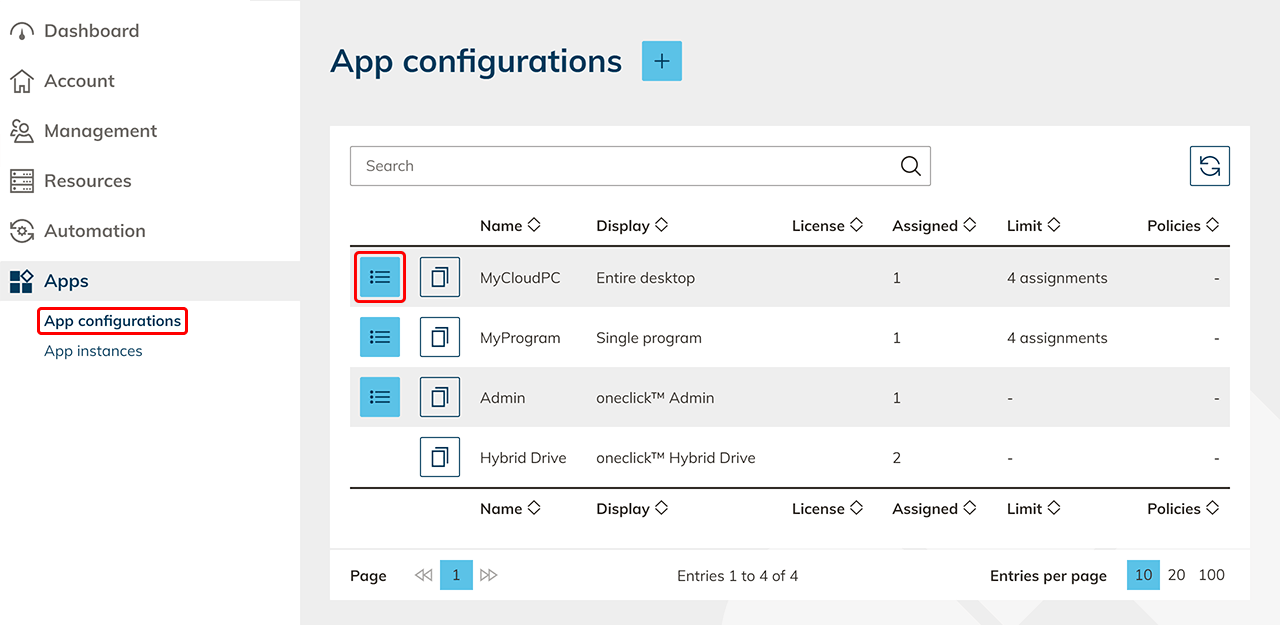
Go to your already created app configuration by clicking on Apps, then on App configuration and finally on the list icon to get to the details page.
-
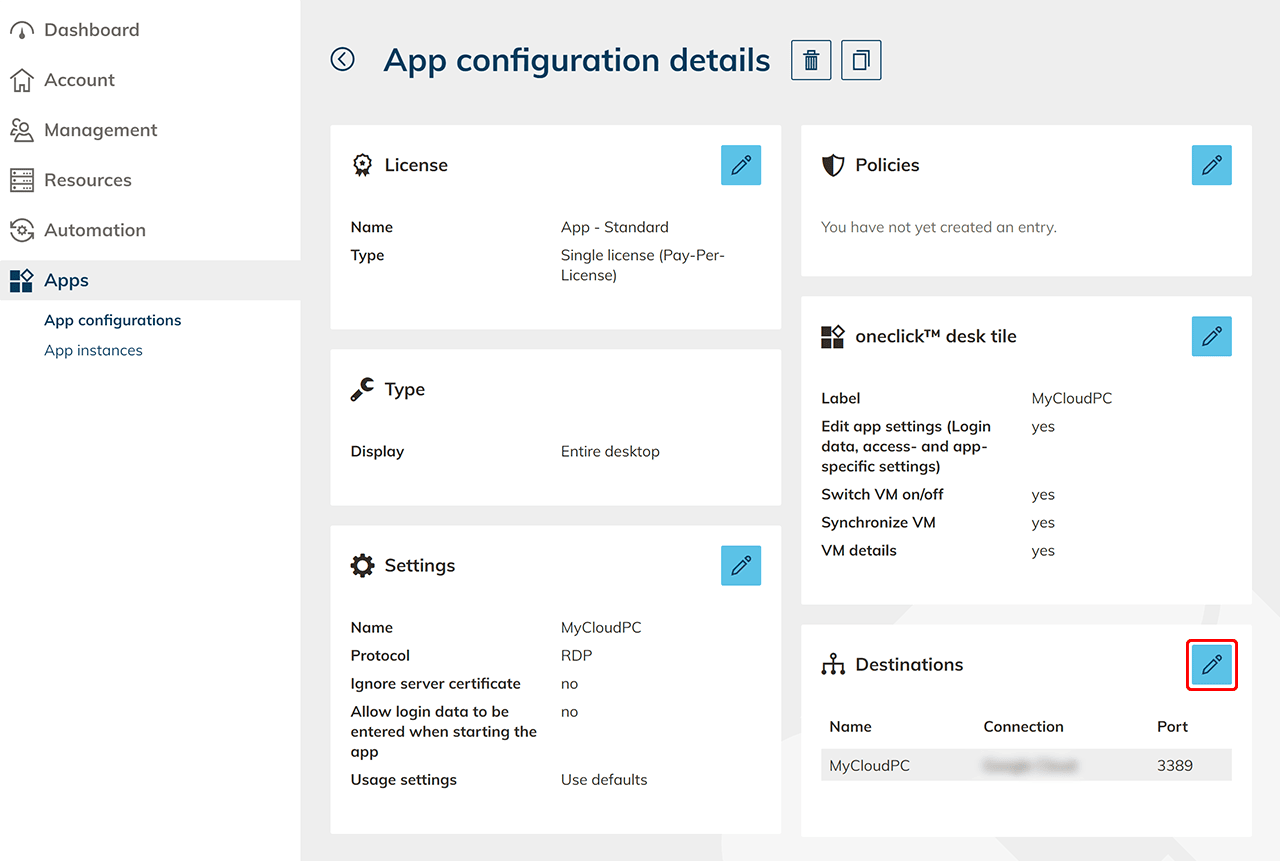
In the Destinations tile, click on the pencil icon.
-
Select all the newly created VMs and click Save.
If your cloned VM does not appear in the app configuration, check the corresponding firewall rules. Only a VM that has a firewall rule with the source "oneclick™" can be used for the app configuration. This is the only way oneclick™ can gain access to the VM.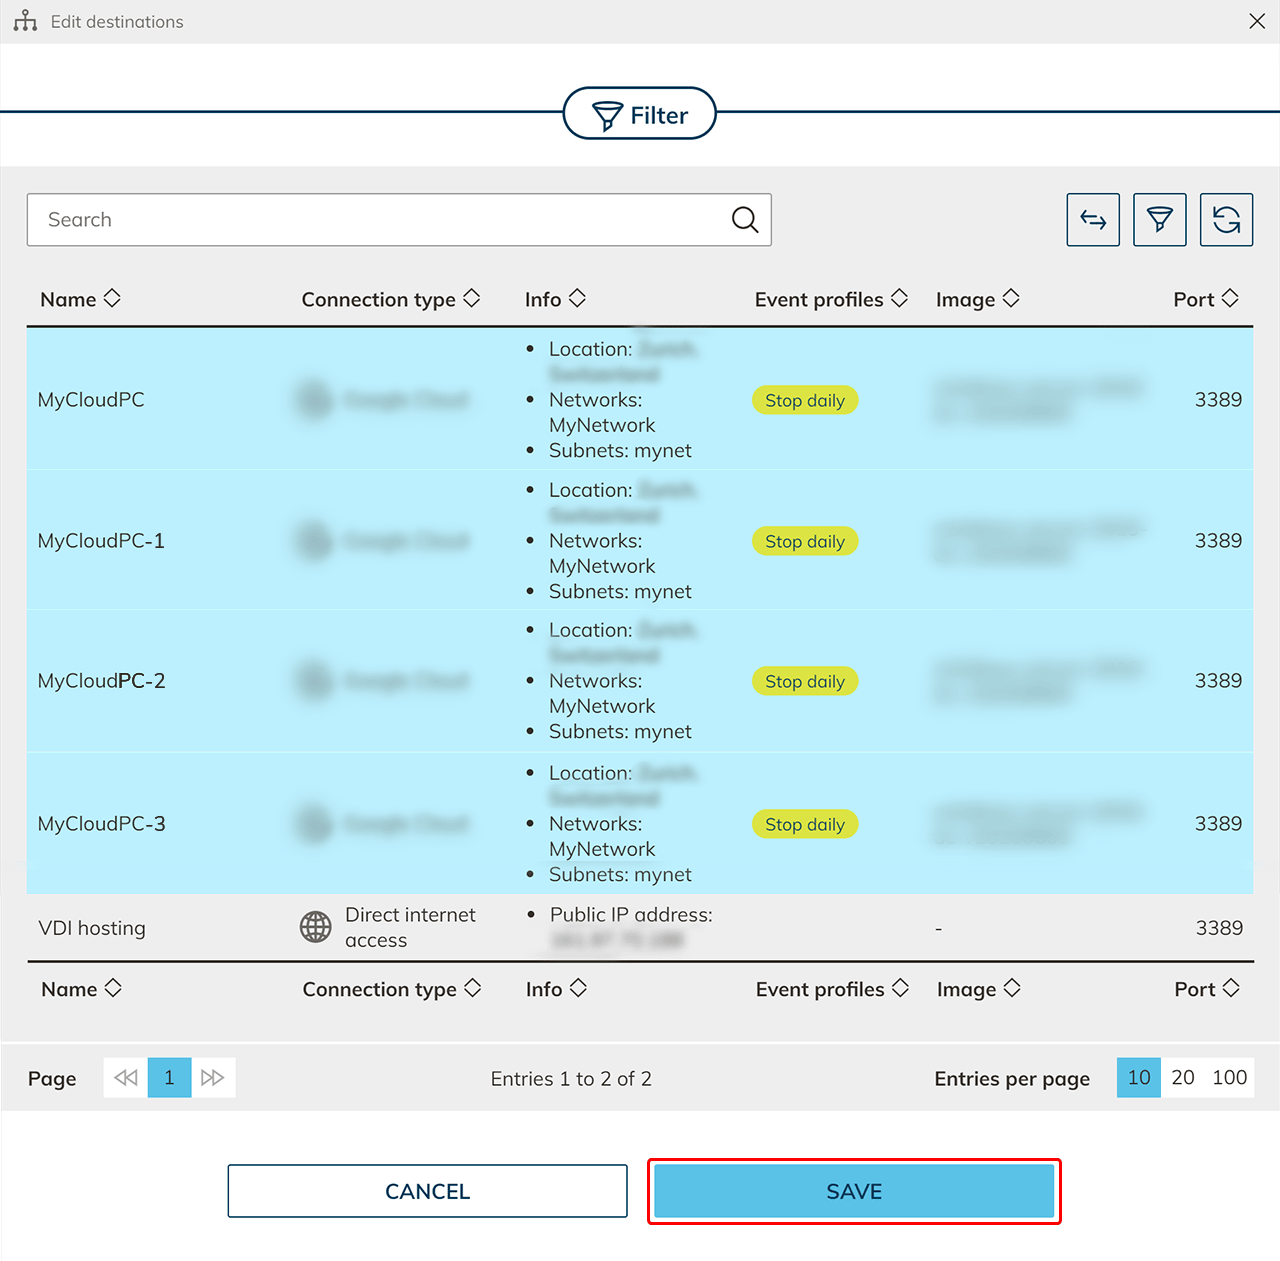
-
Go to the tab App instances and click the Plus icon here.
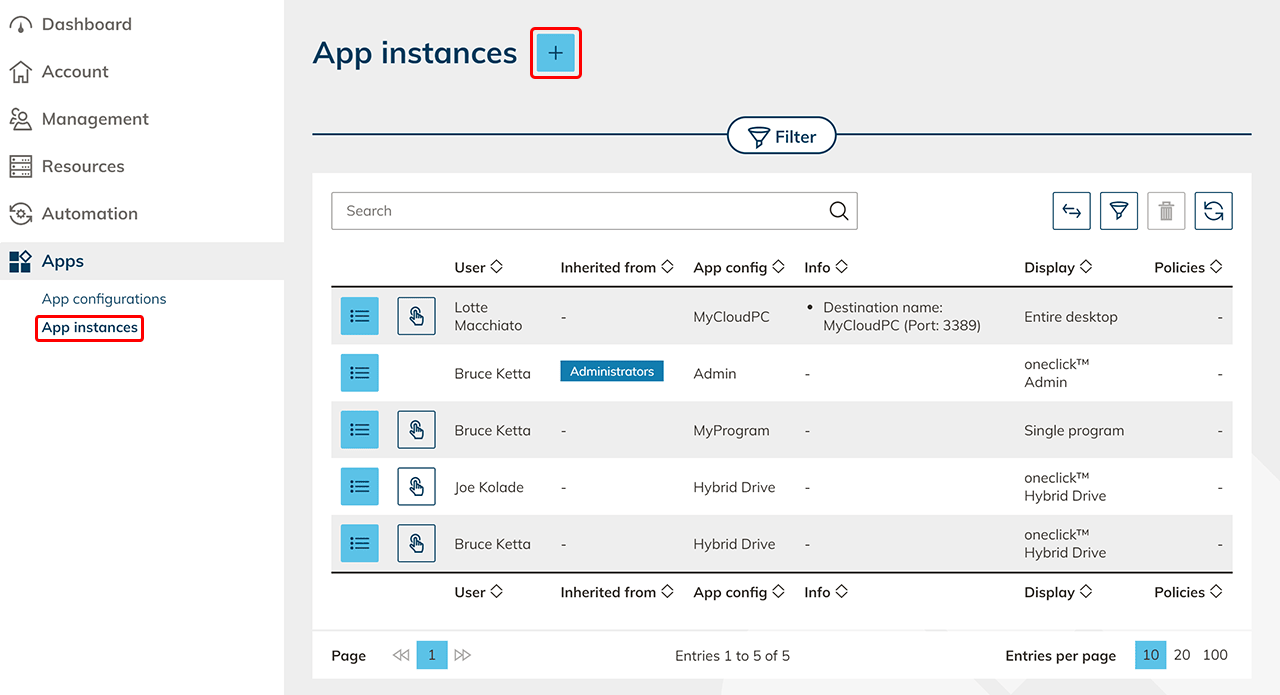
-
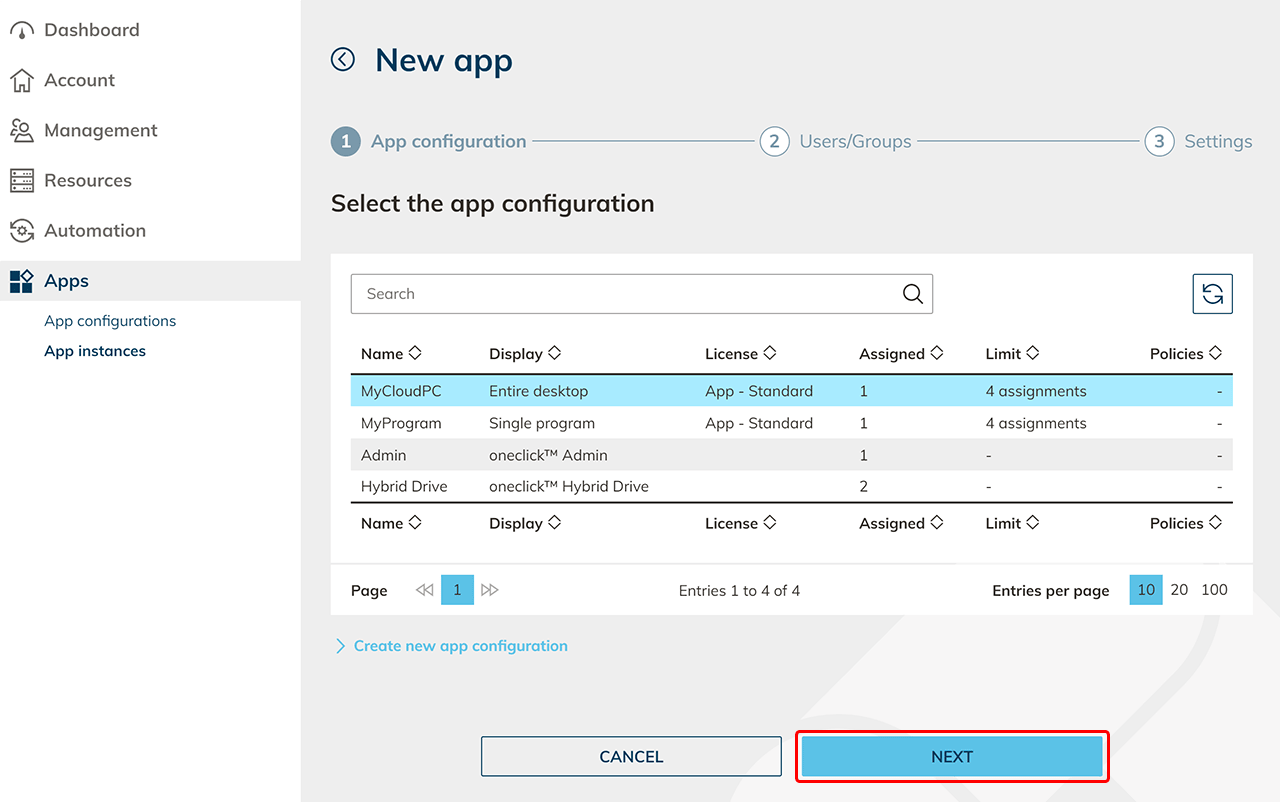
Select the app configuration.
-
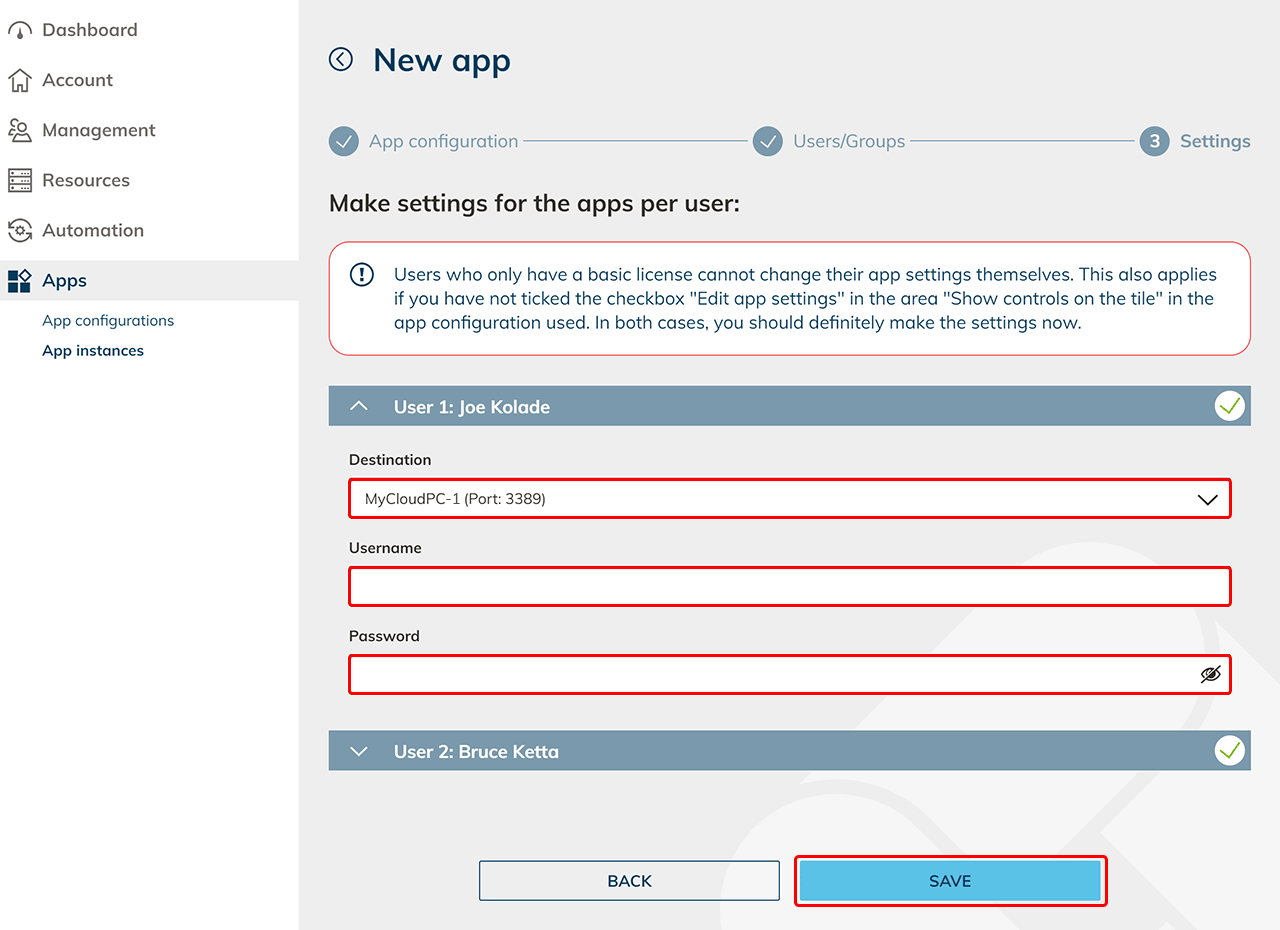
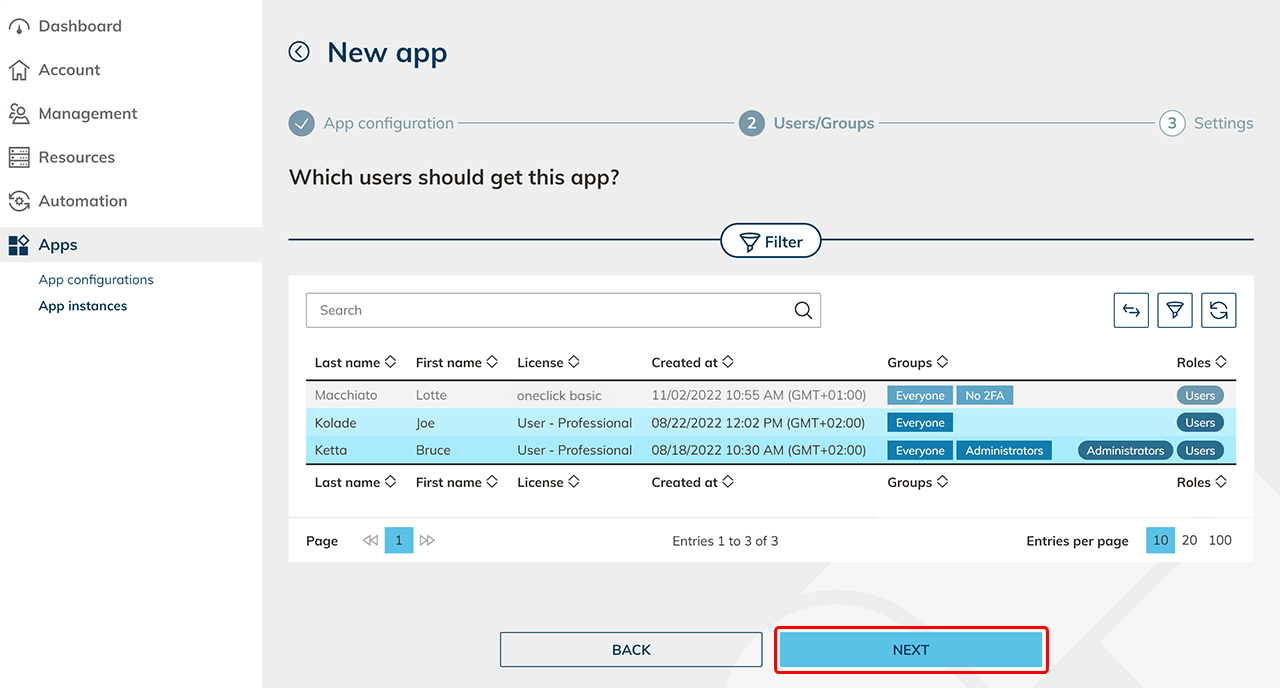
Select all users who should get access to one of the identical VMs.
-
Now select the connection destination for each user and enter the credentials you created when creating the cloud resources. Click on Save. Your users now have access to the corresponding cloud resources.