Allow Login with identity provider
If you want to allow login additionally by using an identity provider such as Entra ID, XignSys or OAuth 2.0 (e.g., for Okta), you need to create a policy in oneclick™ to allow it.
Allowing your users access to oneclick™ exclusively via an identity provider (or an Active Directory), please refer to our article on this topic.
- Using an identity provider that already exists as a button on the oneclick™ start page to log in, such as Entra ID and SignSys, follow these steps and create a policy directly without making any further settings.
- If you want to use other identity providers, you need to perform the initial setup in the project deal with the oneclick support. After that, you can create a policy using the following process.
1. Create Policy
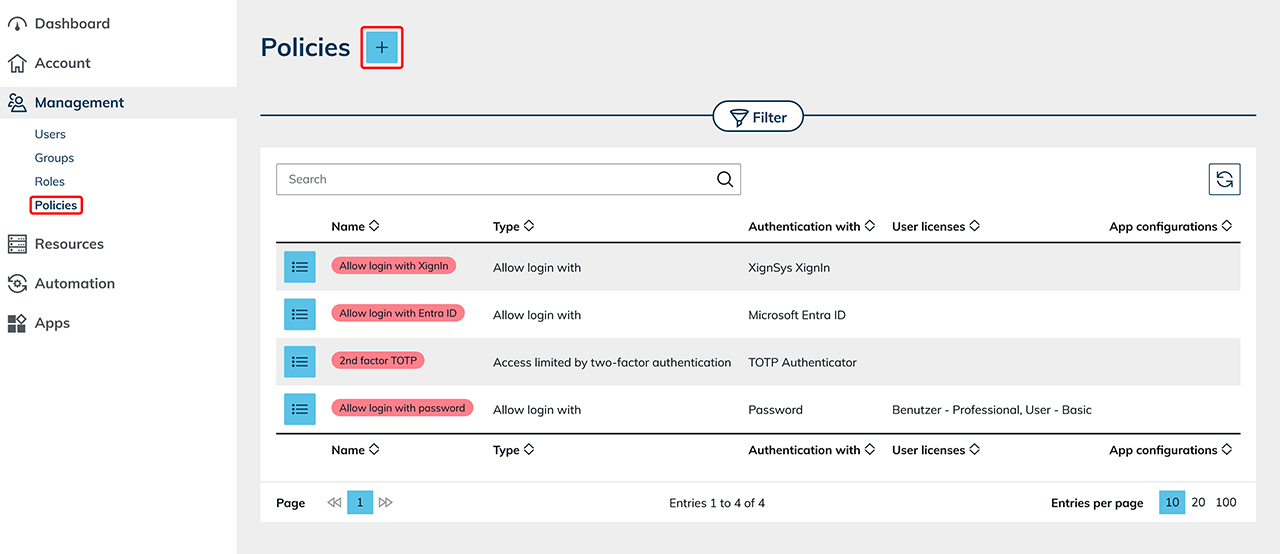
- In the Management tab please click Policies.
- Next, click on the Plus icon to create a new policy.
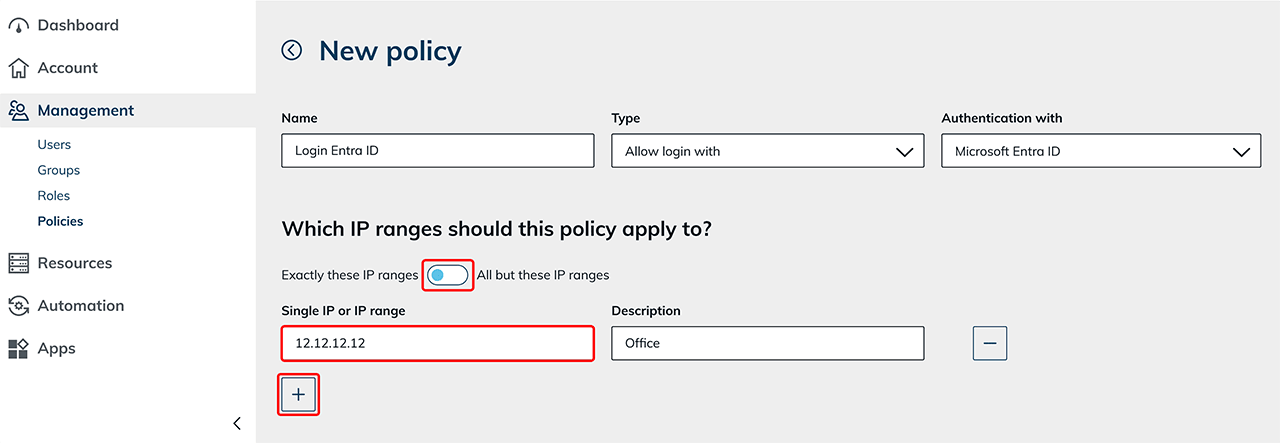
- Assign a name to the policy for later recognition.
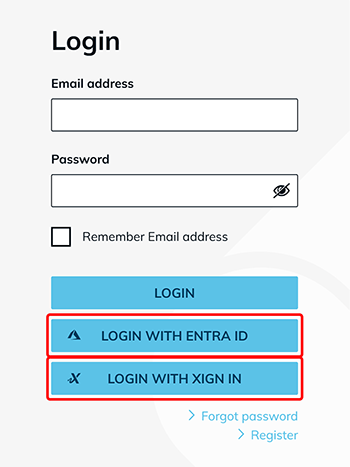
- Choose the "Type" of the policy Allow login with and the corresponding provider. Login is allowed, depending on the selection, via the "Login with ..." button on the oneclick™ login page.
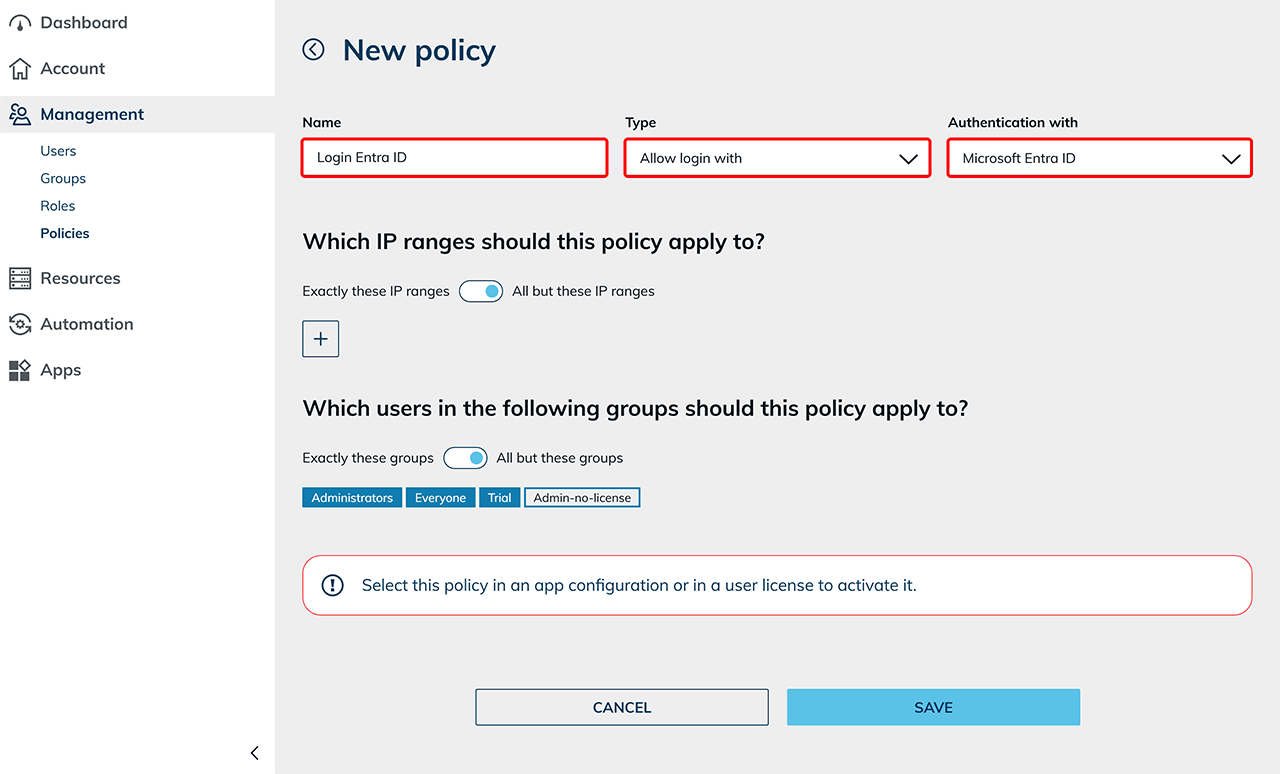
- Optionally you can use the following section to set the IP ranges for which this policy should apply. If you want it to always apply, leave the default settings.
- Exactly these IP ranges Select this option if you want to prohibit or limit access to specific IP ranges.
- All but these IP ranges Select this option if you want to allow access only to certain IP ranges or like to leave it unrestricted.
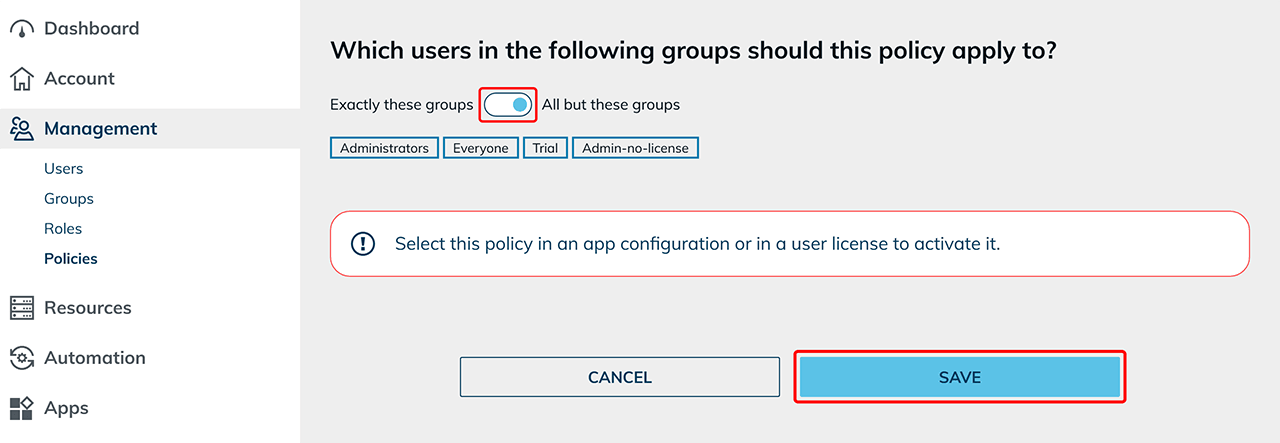
- Use the following section if you want to set groups to which this rule should apply to.
- Exactly these groups Select this option if you want the policy to be valid for specific groups.
- All but these groups Select this option if you want the policy to be valid for all but specific groups.
- Click on Save.
2. Activate policy in the user license
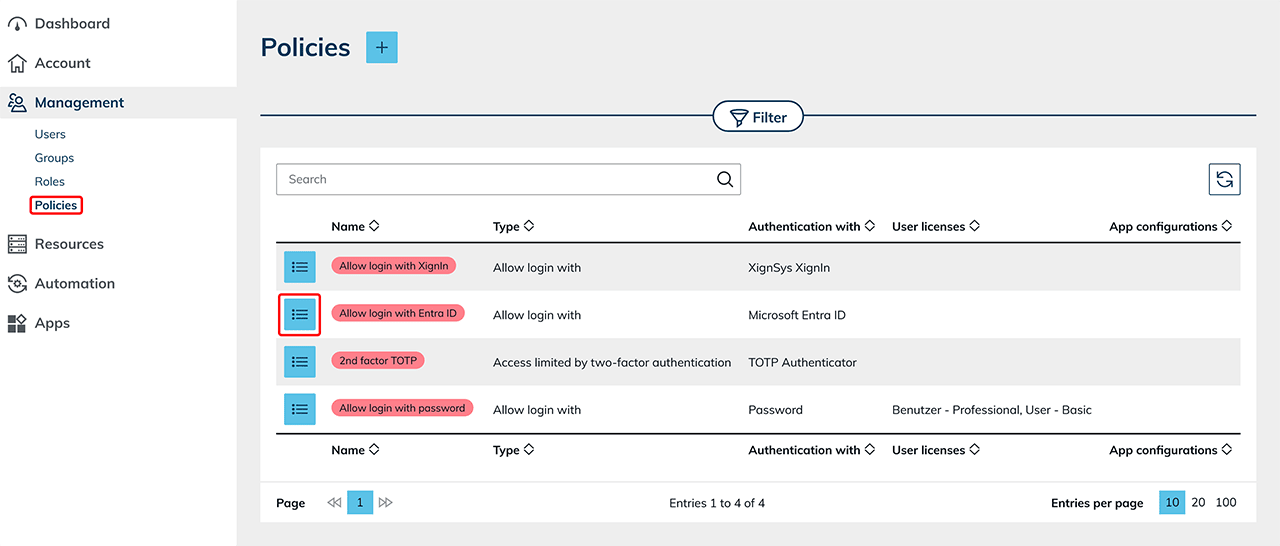
- In the Management tab please click Policies.
- Go to the details page of your policy by clicking on the List icon.
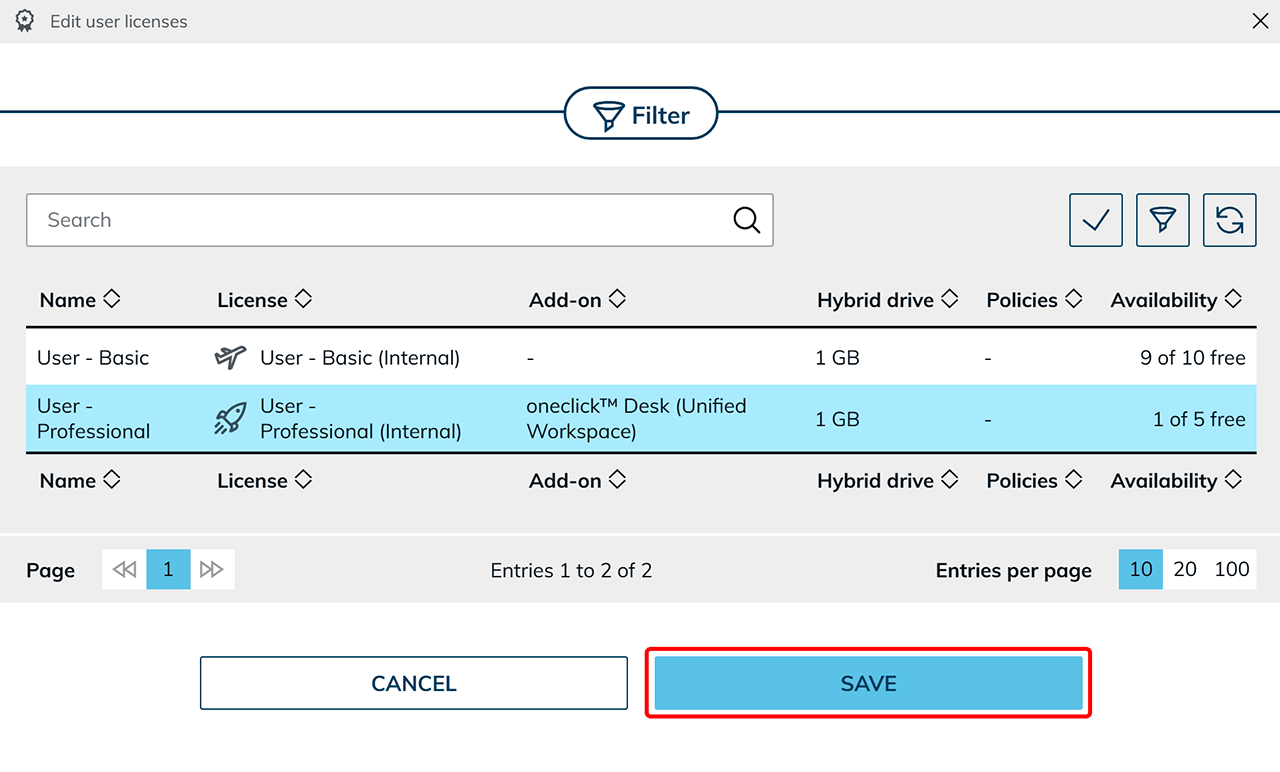
- Click on the Pencil icon in the "User licenses" tile.
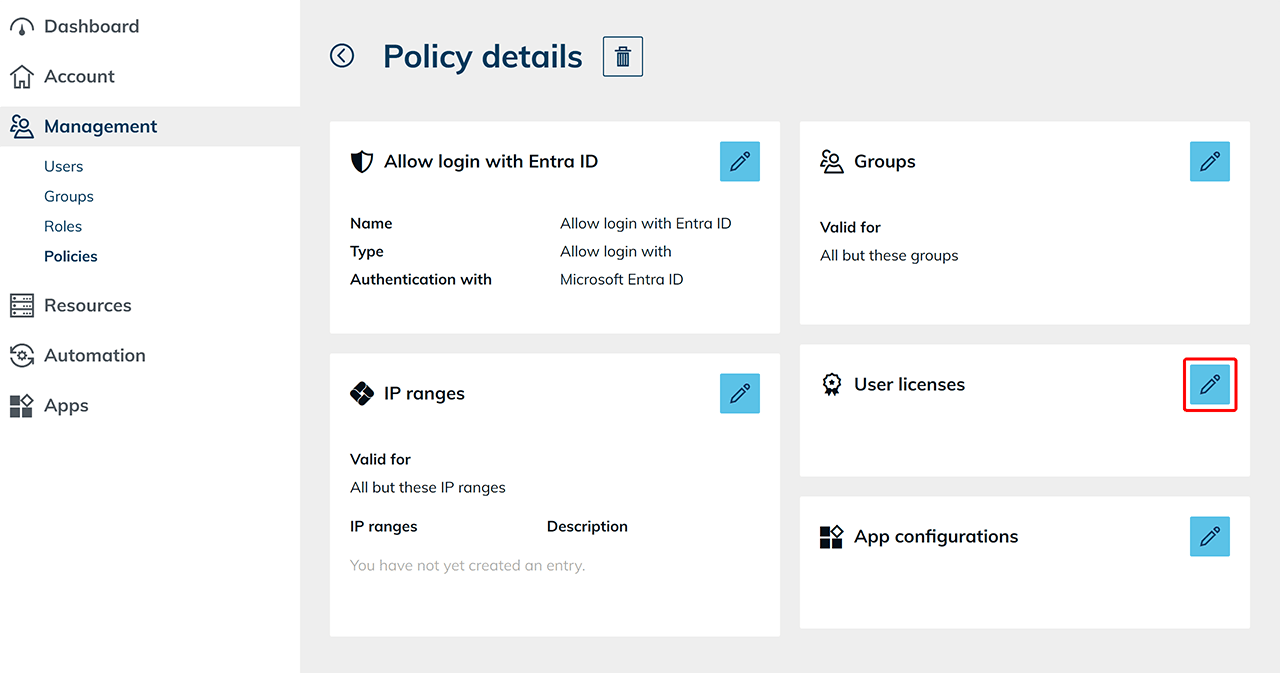
- Select one or more User licenses and finish the process by clicking Save. The policy now takes effect when users log in.