Images
Have you created a virtual machine with a public image from the cloud provider?
We recommend that you create an image via oneclick™ after setting up your virtual machine! This will allow you to reproduce your virtual machine with the self-created image at a later stage.
If you created the virtual machine from a cloud provider system image and the machine has been in use for some time, note that the image creation may fail. If an error message occurs, it may be that the system image is no longer up to date. In this case, we recommend creating a new virtual machine and making the settings and installations there. If this applies to your VM, we recommend creating a new virtual machine and making the settings and installations there.
Note on installing software in Windows
- Be sure to always install software on your virtual machine for "All Users".

Preparation for Windows client operating systems such as Windows 10 and Windows 11
-
Click on the Windows icon at the bottom left of your screen. Type "powershell" in the search bar, then right-click on Windows Powershell in the suggestion list and click on run as administrator.
-
Enter the following commands in the Console:
Import-Module AppxImport-Module DismGet-AppxPackage -AllUser | Where PublisherId -eq 8wekyb3d8bbwe | Remove-AppxPackageThese commands are used to uninstall the AppxPackages. Windows sometimes installs these automatically, which is why the creation of the image fails in oneclick™. Further information on preparing the virtual machine can be found here: Preparation & Cleanup for Updates or Sysprep.
-
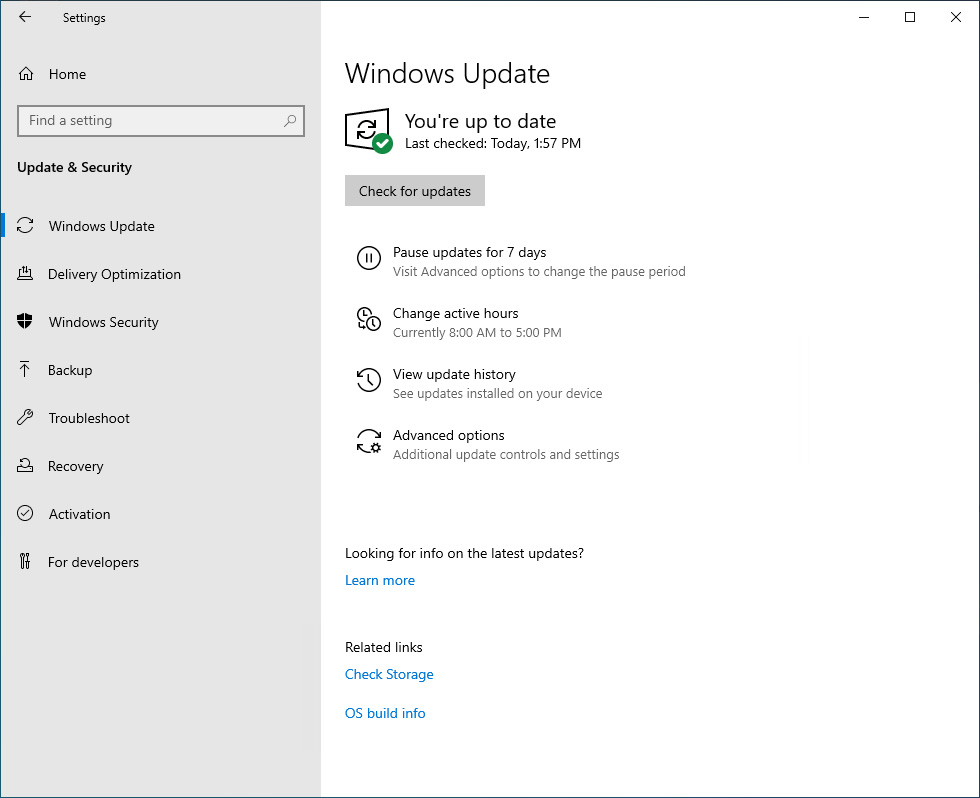
Select Start > Settings > Windows Update.
-
Be sure that all Windows updates are completed.
-
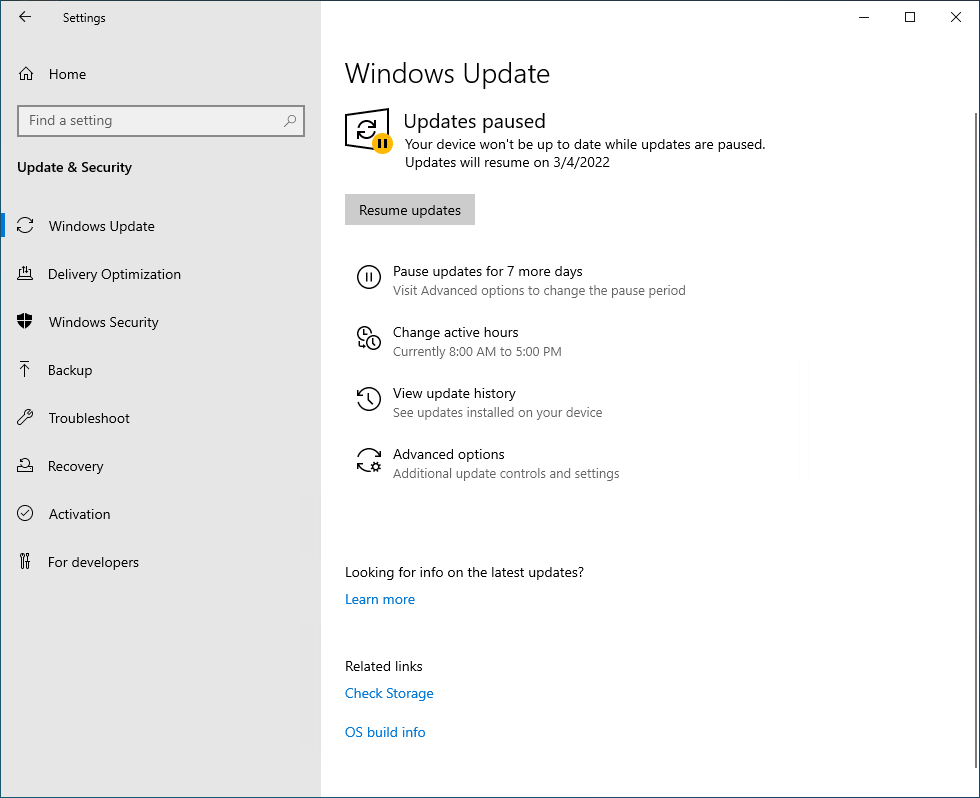
Click on Pause updates for 7 more days so that a new update is not created during image creation.
-
Restart your virtual machine now.
-
Go back to the same point and check if the updates are still paused.
-
Now you can start the image creation in oneclick™.
Create an image in oneclick™
The oneclick™ image menu shows you all private and all shared images from your cloud subscription. Once you have created a virtual machine, finished all settings and installed the necessary software, you can create an image of this machine.
- In the “Resources” menu, click Images.
- Click on Plus icon to create a new image.
- Give the image a recognisable name, describe all important details and click Next.
- Now select the virtual machine from which you would like to create an image.
- Click on Save to start the process. Your image will be created. This process may take some time.
- You can select your custom image when you create a new cloud resource or you can define it as a golden image.
Images are only available in the location in which they were created!