Create shortcuts in Windows
Create shortcuts to the oneclick™ access window and the RDP file to start your remote connection faster. Optionally, you can assign your shortcut a custom oneclick™ icon.
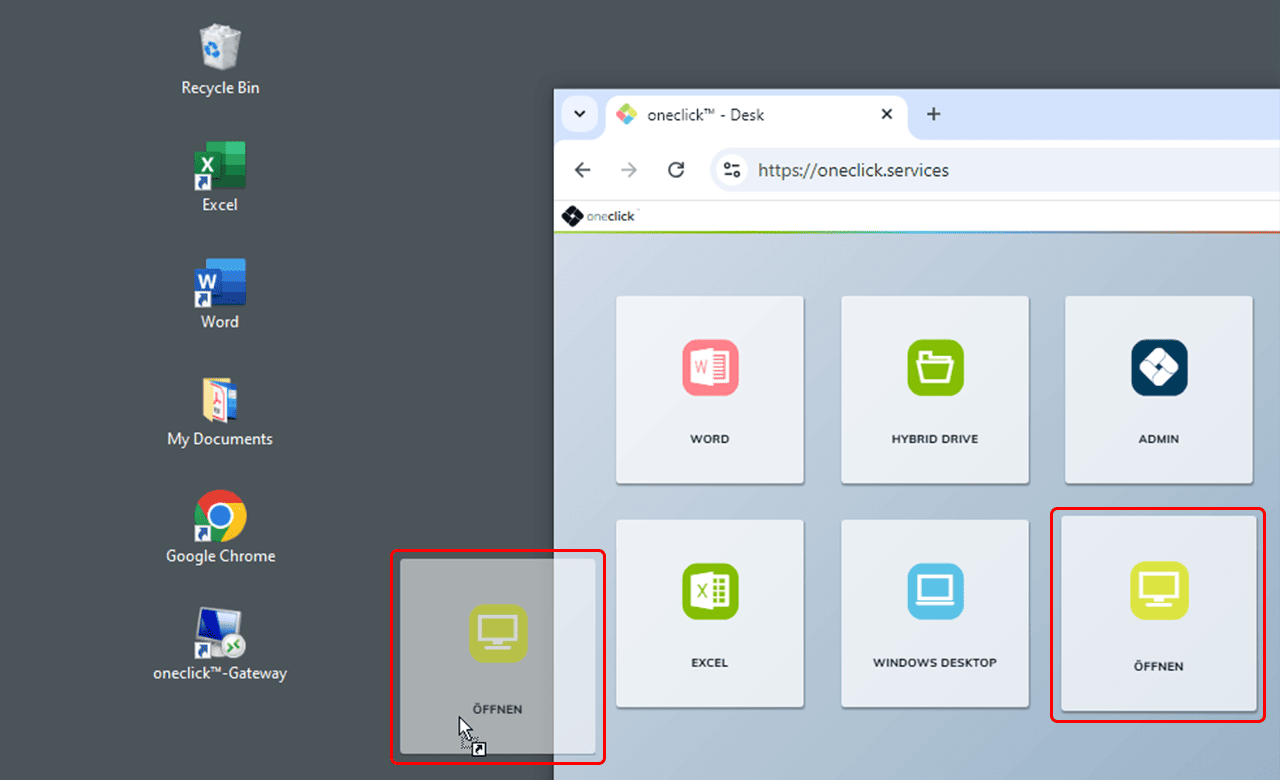
1. Access window
Drag and drop the tile of the oneclick™ access window from the oneclick™ desk to your local desktop. This creates a shortcut that allows you to open the access window directly.
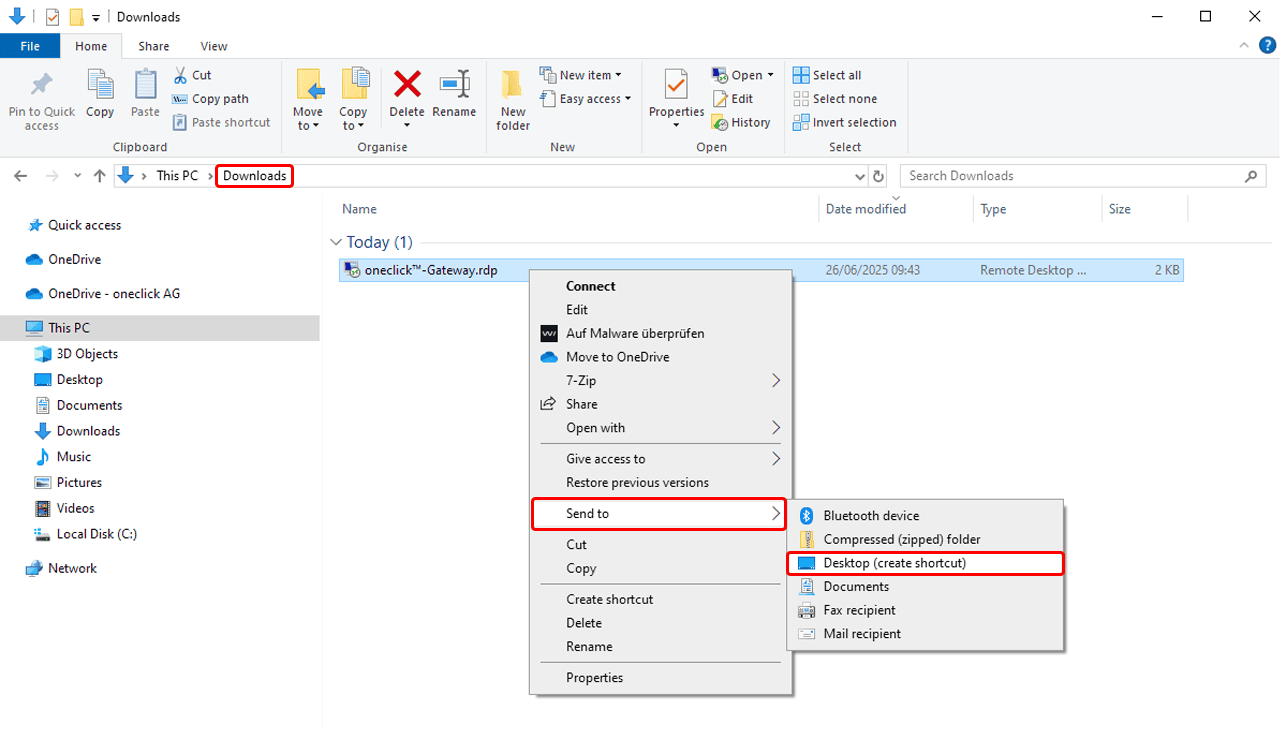
2. RDP file
After downloading the RDP file via the oneclick™ access window:
- Open the Downloads folder. There you’ll find the downloaded RDP file.
- Right-click on the file and select: Send to > Desktop (create shortcut).
3. oneclick™ icon for the access window (optional)
You can replace the shortcut icon with the oneclick™ icon.
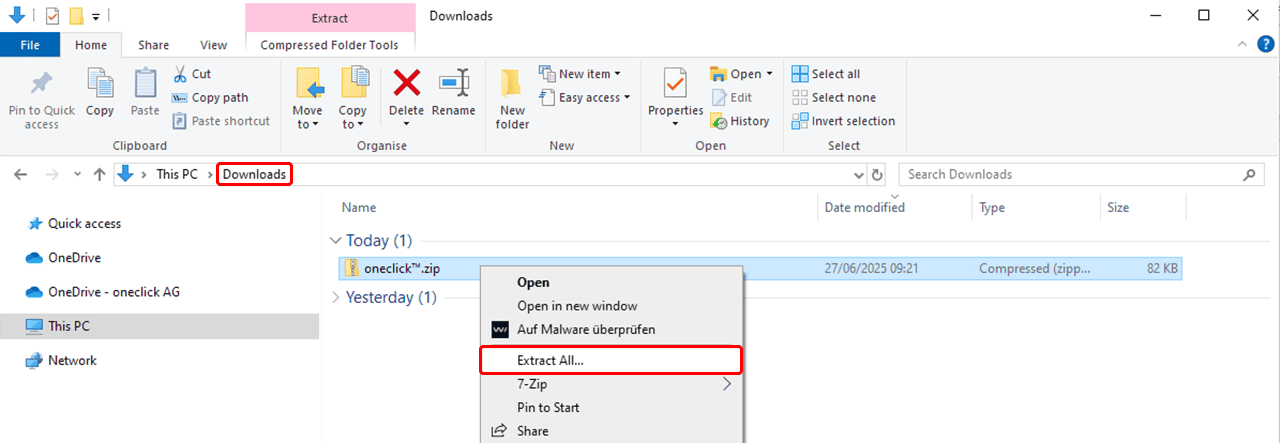
- Download the ZIP file with the icon and unzip it.
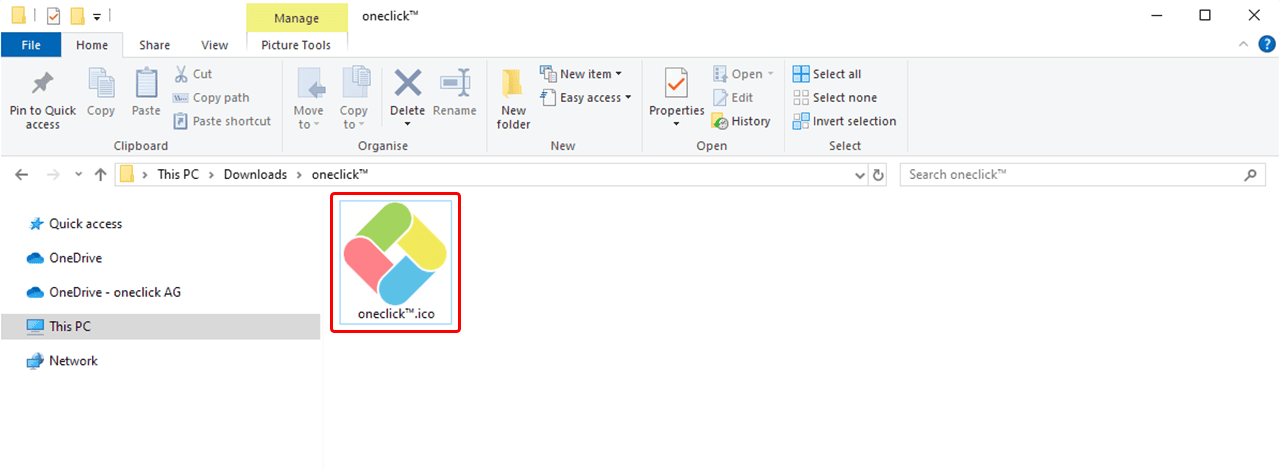
- Move the extracted file oneclick™.ico to a folder of your choice (e.g.,
C:\Users\<YourName>\Pictures\)
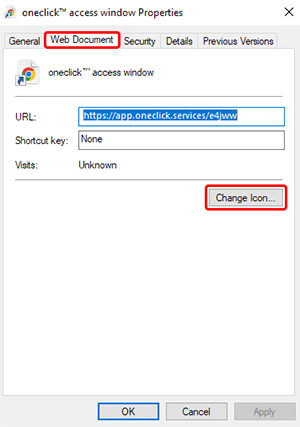
- Right-click on the desktop shortcut > Properties.

- Select “Web Document” and click on Change Icon.
- In the new window, click Browse, go to the folder you previously selected (e.g.,
C:\Users\<YourName>\Pictures\), and select the file oneclick™.ico.


- Confirm with OK and then with Apply/OK.
