Login to oneclick™
Logging in to oneclick™ is done via your browser using oneclick™ credentials, Single Sign-on such as Microsoft Entra ID, or existing Active Directory credentials.
Depending on your organization’s configuration, two-factor authentication may also be required.
After a successful login, you gain access to your applications or desktops: your remote systems. You may need to enter your Windows credentials if they are not managed by your administrator.
1. Open browser
Open your browser and access one of the following links:
- oneclick.services
- de.oneclick.services
- or a link or workspace provided by your administrator
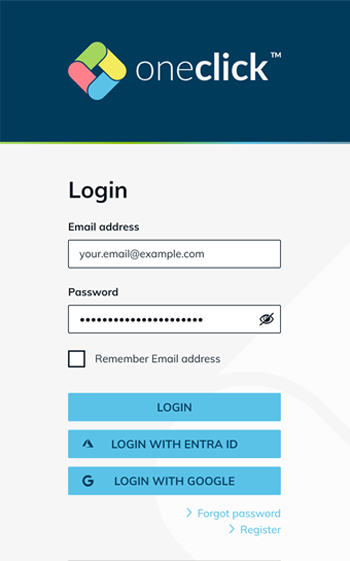
2. Enter credentials
Login with oneclick™ credentials
- You have received an email from oneclick™ or your administrator has provided you with a Password.
Check your spam folder if necessary. - Click “Get started” in the email.
- Enter the Email address the invitation was sent to and set your own Password.
Learn why you need to set a oneclick™ password.
Login with Active Directory credentials
If you have previously logged in using Active Directory credentials, you can continue to use them.
Enter your email address and your known password.
Login with Entra ID or other Single Sign-on providers
If you have your Entra ID credentials, click Login with Entra ID and log in as usual.
The Reset password function is only available when using oneclick™ credentials. If you log in via another system, contact your administrator to reset your password.
3. Enter Two-factor authentication (optional)
You are either redirected directly or prompted to enter a second factor. This can be done using one of the following methods:
- TOTP app
- Email or SMS
TOTP app
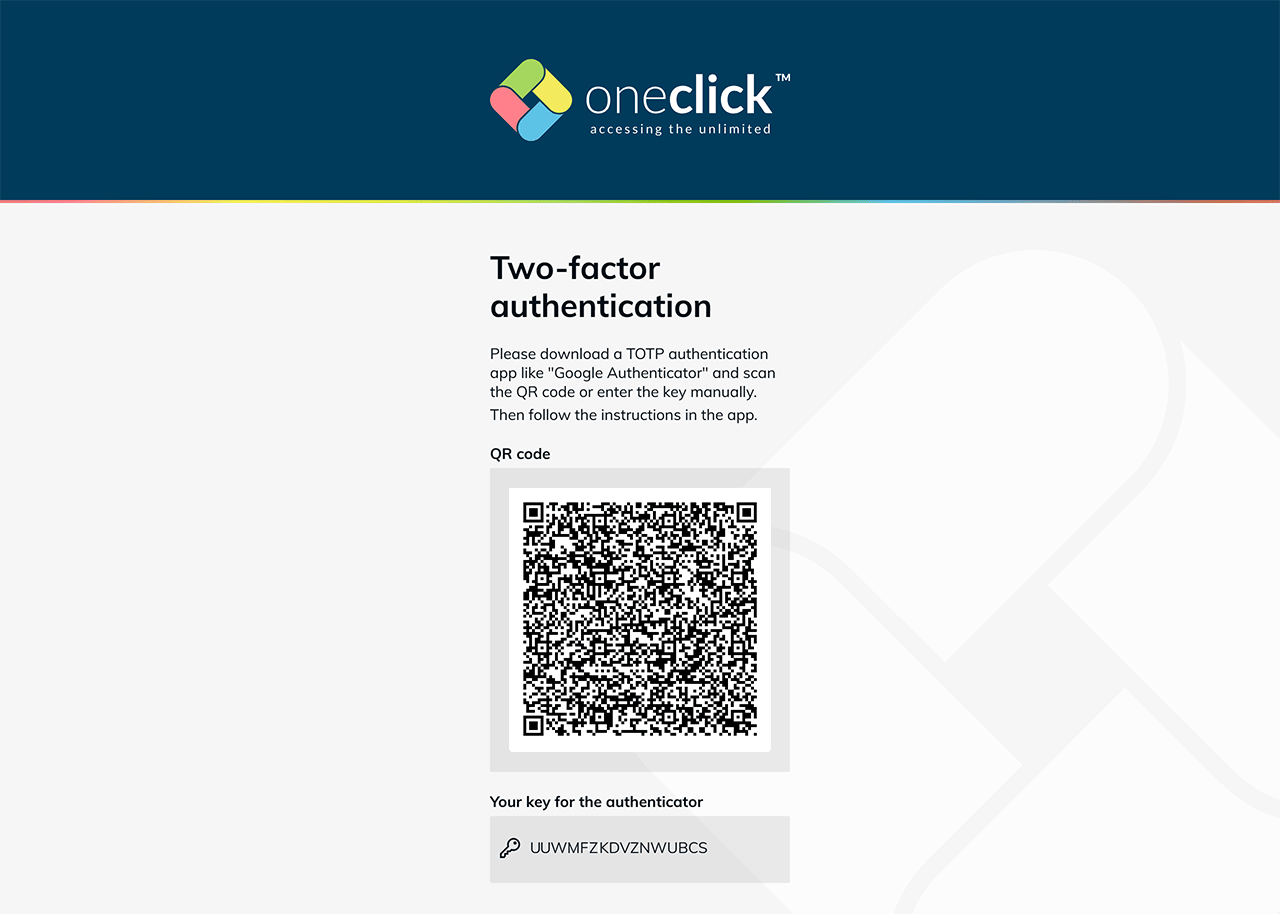
Follow the on-screen instructions:
- Scan the displayed QR code with your TOTP authenticator app.
- Click Next.
- Enter the code shown in your app and click Login.
Your TOTP authenticator is now active.
If the code does not work, check the time settings on your smartphone.
Email or SMS
- You will receive a code via email or SMS.
- Enter the Code.
- Click Login.
4. Login to the remote system
There are different ways to access your remote system, application, or desktop depending on your administrator’s configuration.
Direct start of the remote system
1. Enter Windows credentials (optional)
Depending on your administrator’s configuration, you may need to enter your remote system credentials. Optionally select Save login data and click Validate.
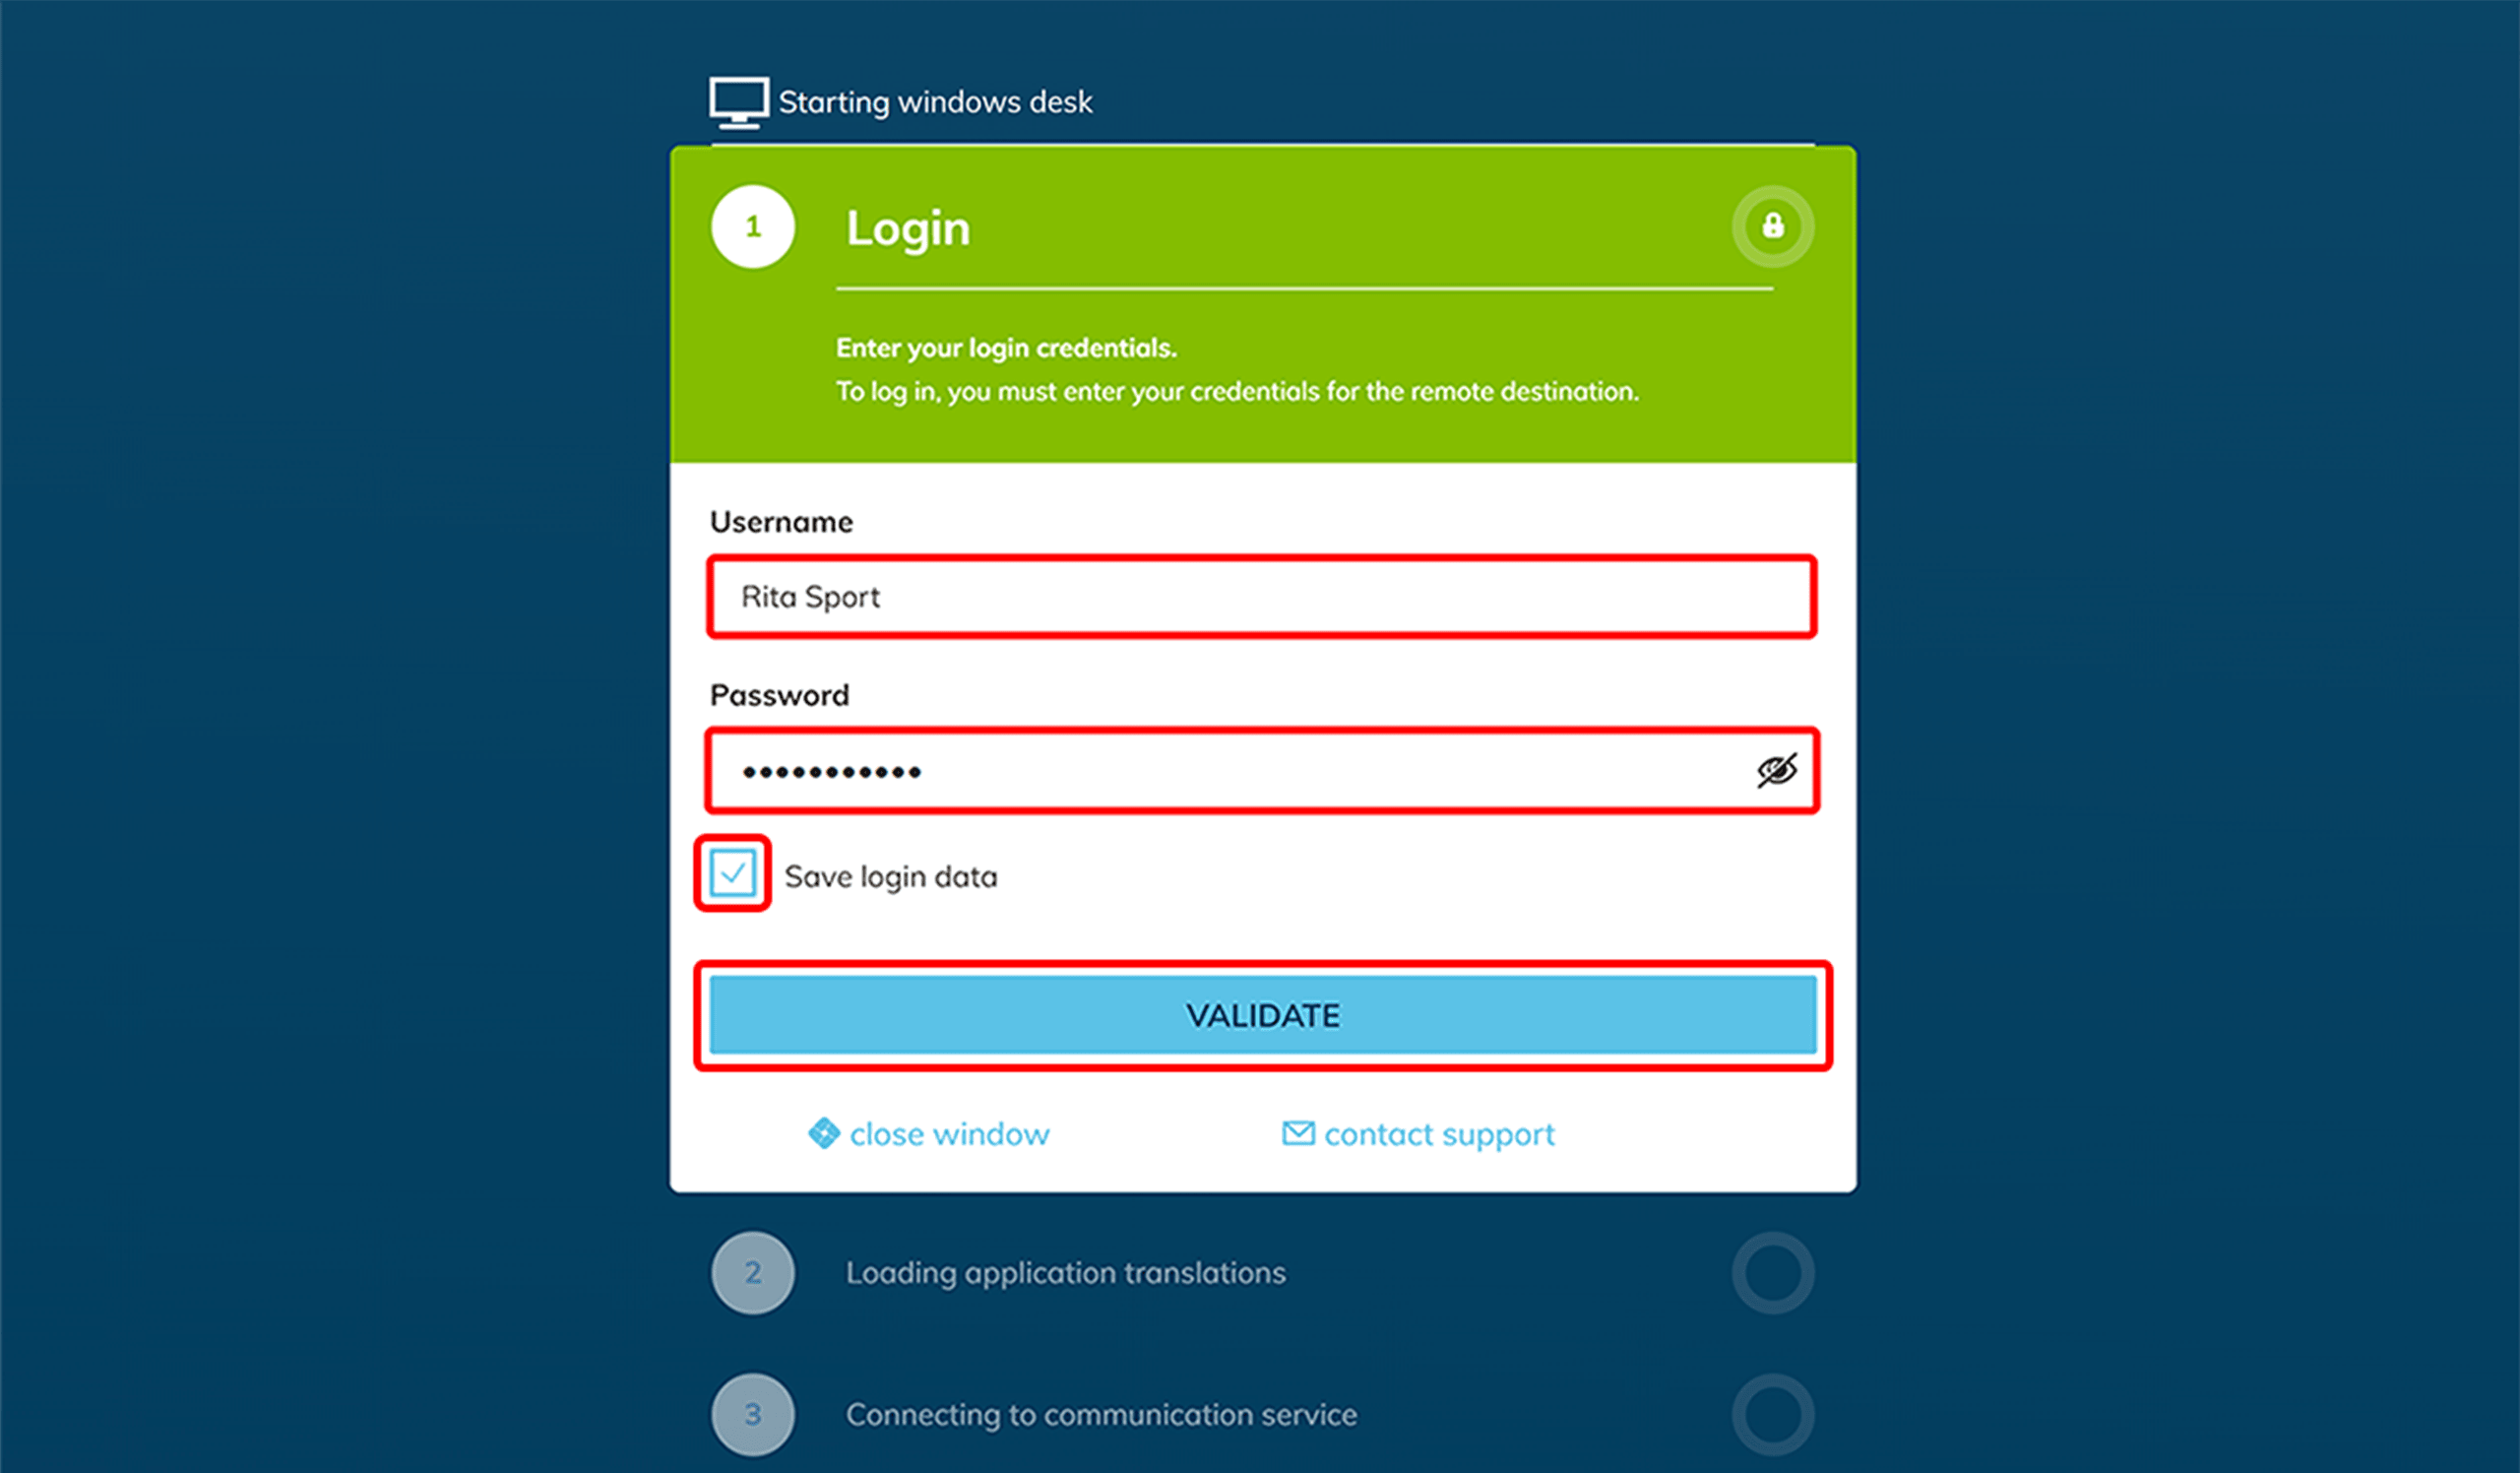
2. Start the remote system
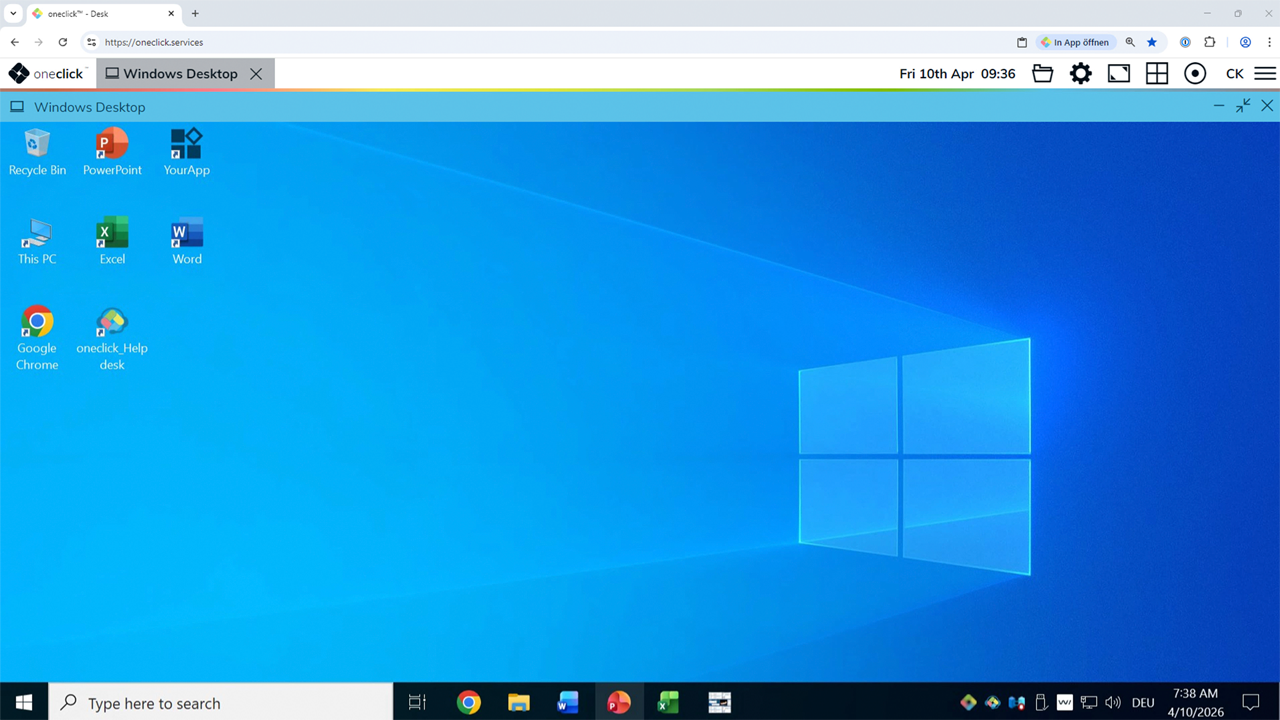
oneclick™ connects you to the configured program or Windows desktop.
![]()
Is the login to the remote system unsuccessful? Perform the troubleshooting steps as described in the article Remote system not starting.
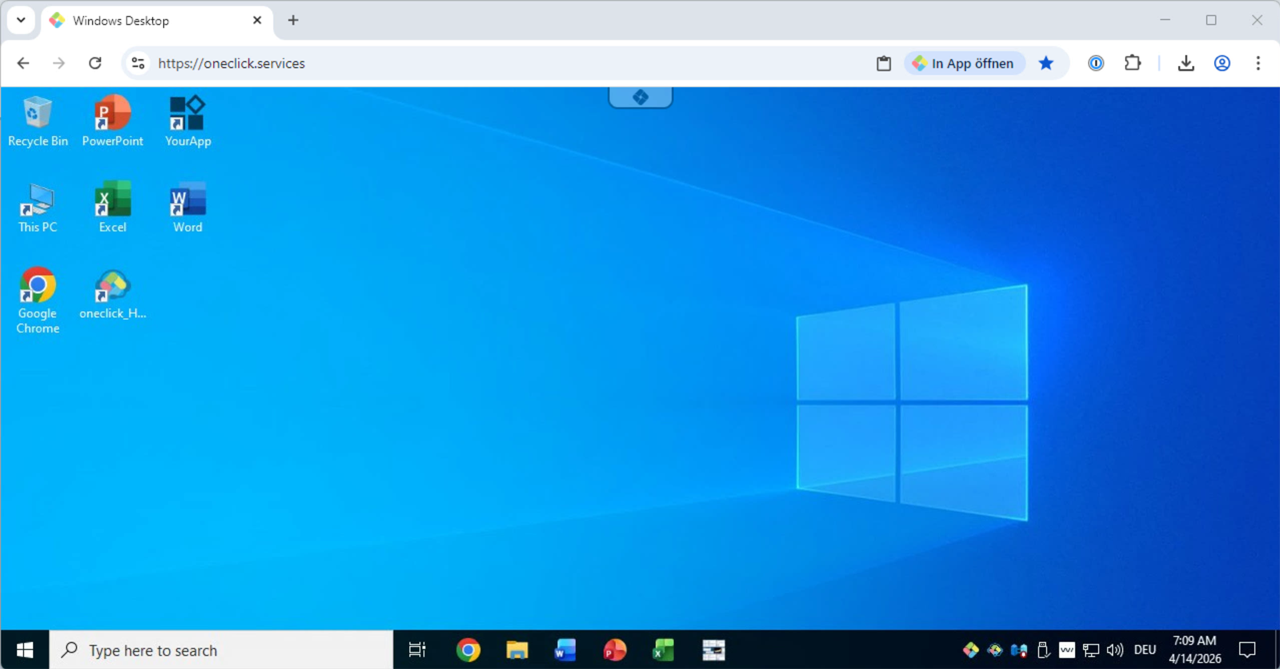
3. Access remote system
Once oneclick™ has successfully connected to the remote system, you are logged in and can start working.
Find more tips in first steps in the oneclick™ workspace.
oneclick™ Desk
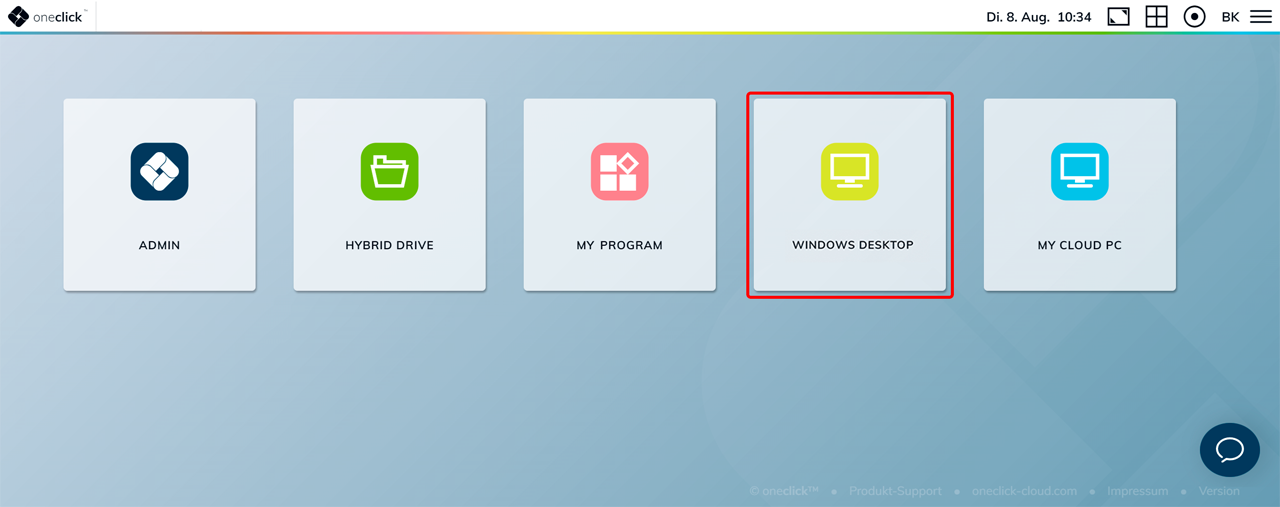
1. Select application
You will first land on the oneclick™ Desk. From here, you can access the required applications or the Windows desktop.
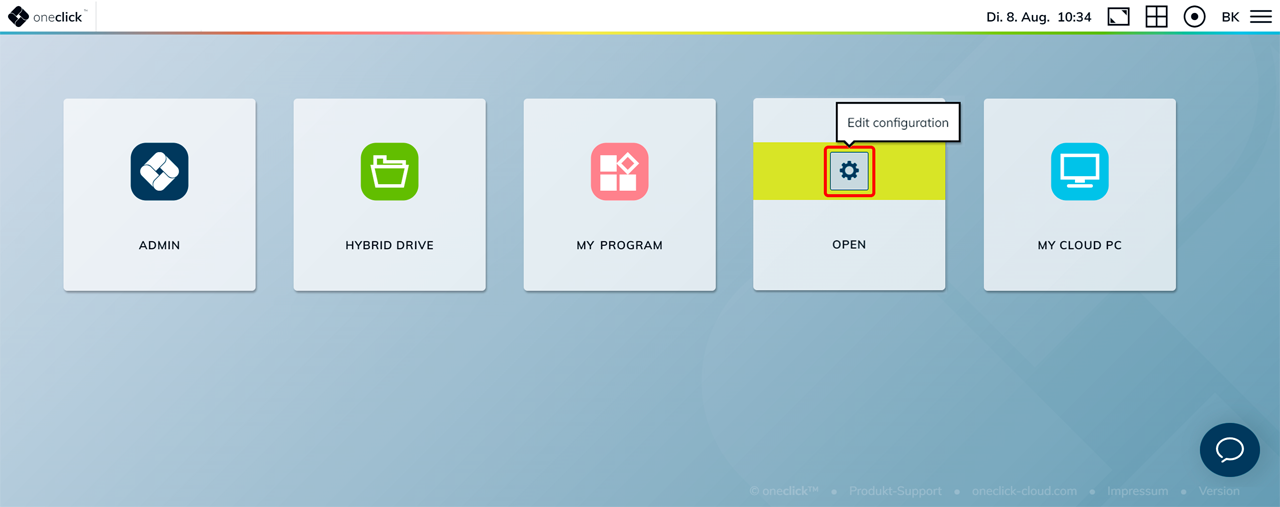
2. Enter Windows credentials (optional)
If your administrator has not entered any credentials for accessing your Windows system, you can enter them here yourself. Find more information about this in Controls on App Tiles.
3. Start program or Windows desktop
Click the corresponding tile to start the program or Windows desktop.
![]()
Is the login to the remote system unsuccessful? Perform the troubleshooting steps as described in the article Remote system not starting.
4. Access remote system
Once oneclick™ has successfully connected to the remote system, you are logged in and can start working.
Find more tips in first steps in the oneclick™ workspace.
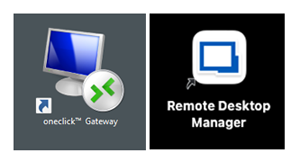
Access to remote system via remote desktop programs
Using the gateway feature, you can securely connect to your remote system via:
-
Remote Desktop Connection (RDP) on Windows
-
Remote Desktop Manager (RDM) on macOS/Linux
Details on accessing your system via remote desktop programs can be found under Access to Remote Systems via Remote Desktop Apps.