In order to link your own existing Google Cloud subscription in oneclick™, you need some data from your subscription.
Data from the Google Cloud subscription
- Log in to your Google Cloud Account.
- Click on Console.
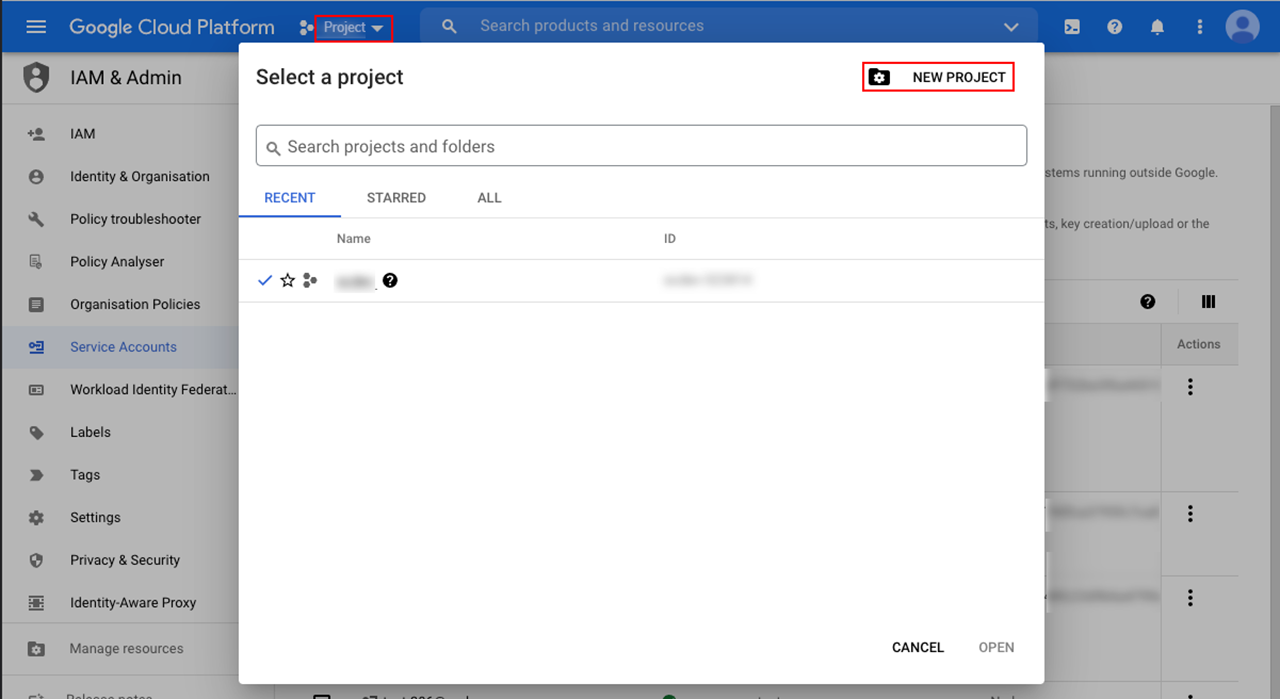
- If necessary, create a new project.
- Click on the actual selected project and then on New Project.
-
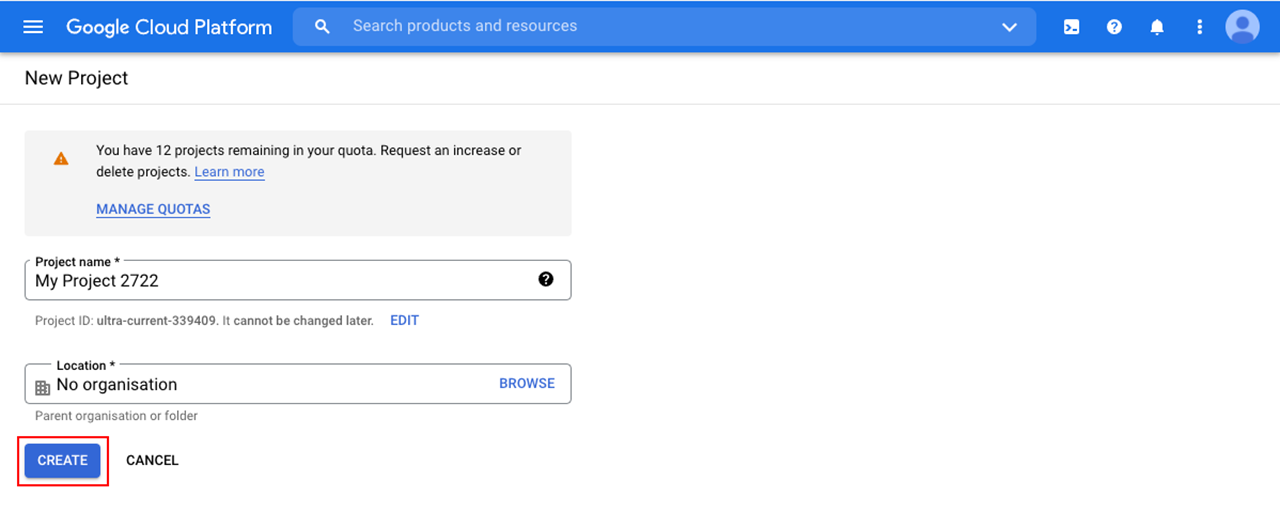
- Enter a name of your choice and click on Create.
-
- Click on the actual selected project and then on New Project.
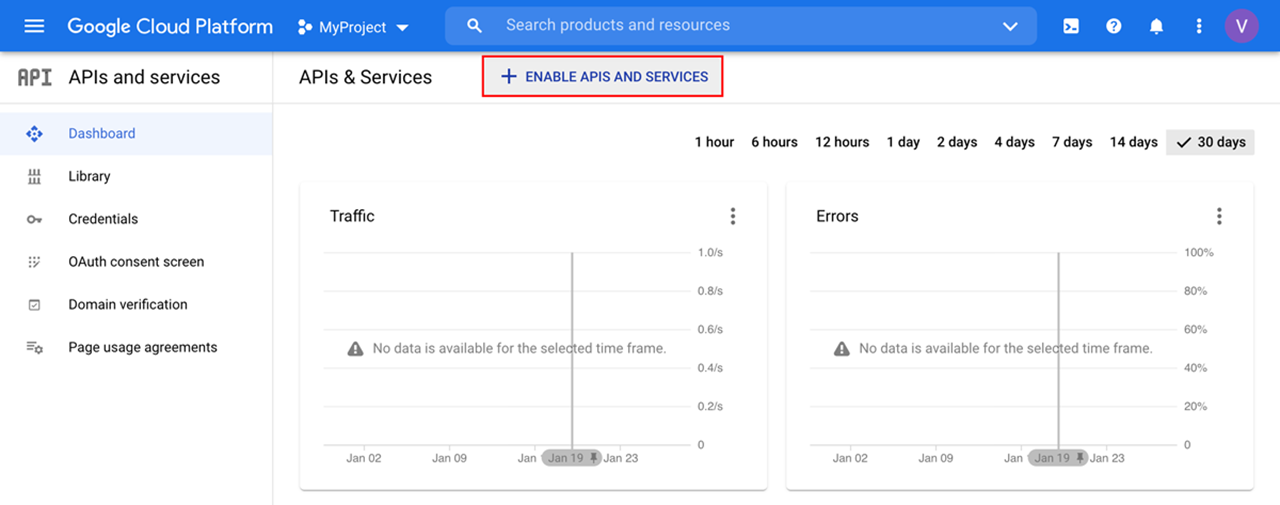
- When creating a new project, activate the Compute Engine API.
- To do this, go to the menu item APIs & Services and then click on enable APIs and Services.
-
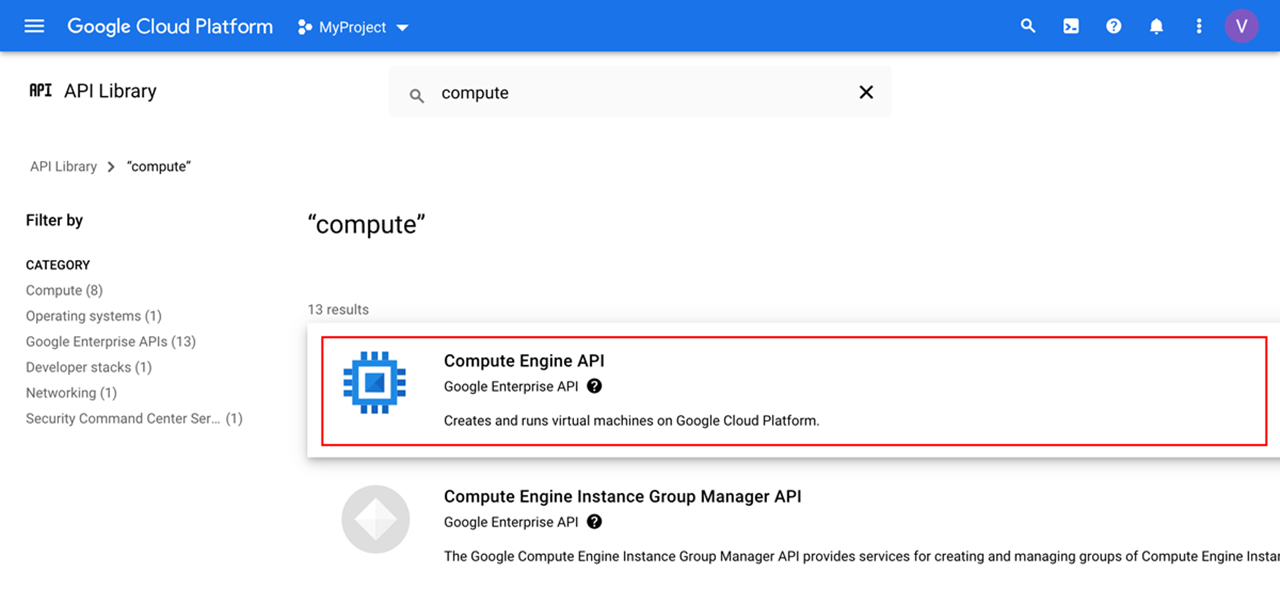
- Search for Compute Engine API and select it.
-
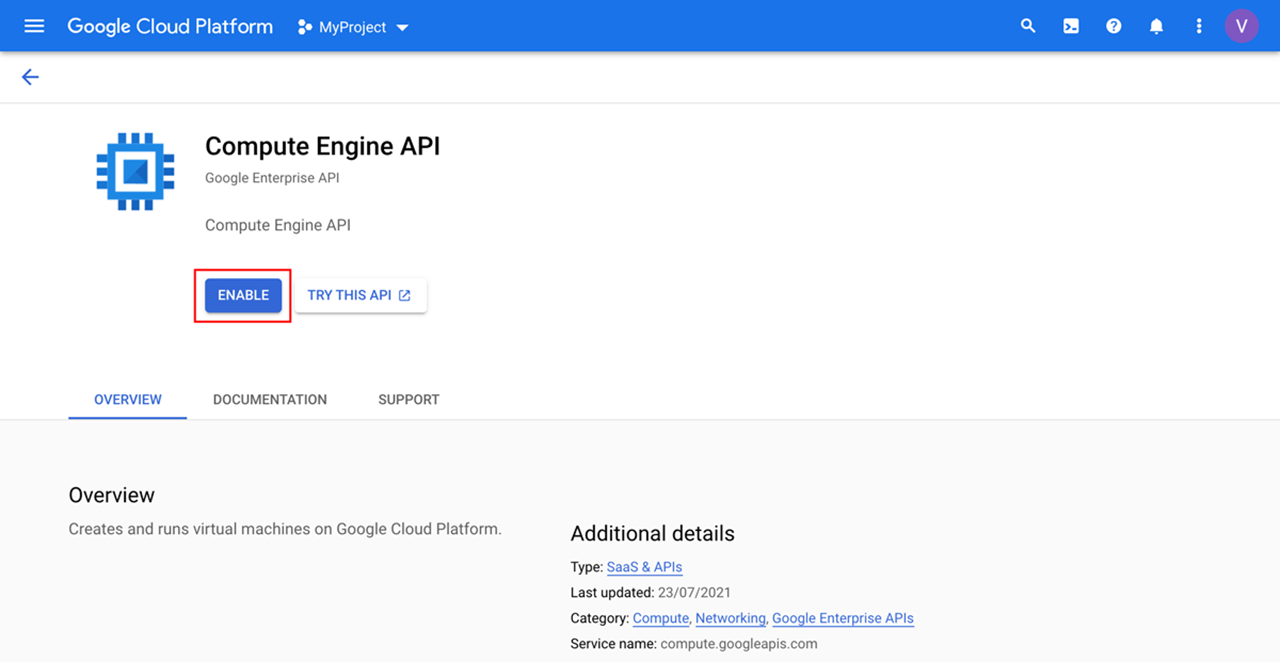
- Click on enable to activate the API.
-
- To do this, go to the menu item APIs & Services and then click on enable APIs and Services.
- Create a service account.
- To do this, go to IAM & Admin in the menu and then to Service Accounts.
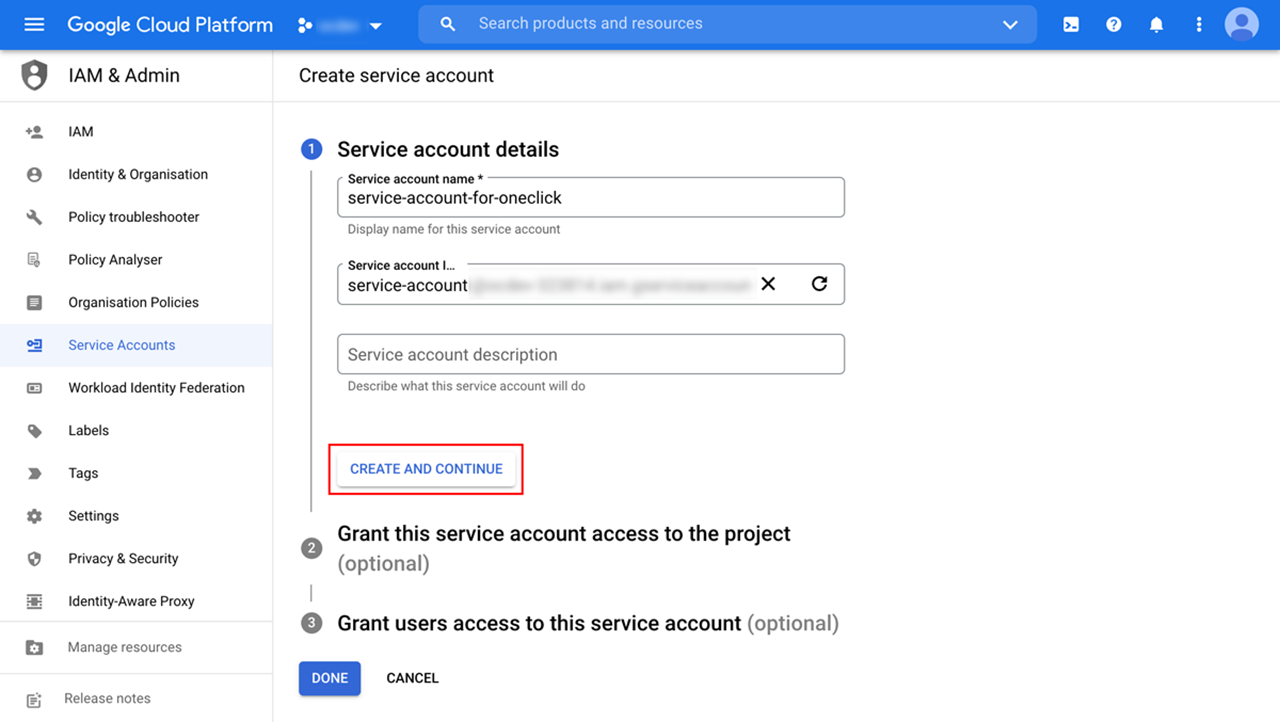
- Click on Create Service Account.
- Enter a name of your choice and click on Create and Continue.
-
- Select the role “Editor” and then go directly to Done. Your service account has been created.
-
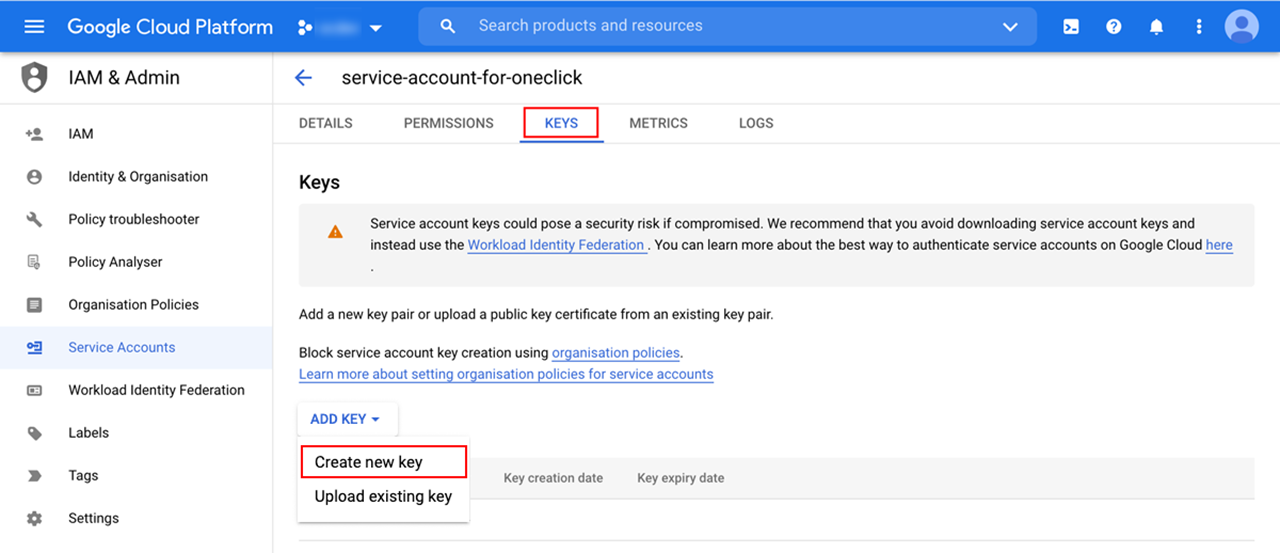
- Click on your newly created service account and then go to the Keys tab. Click on Add key and select Create new key.
-
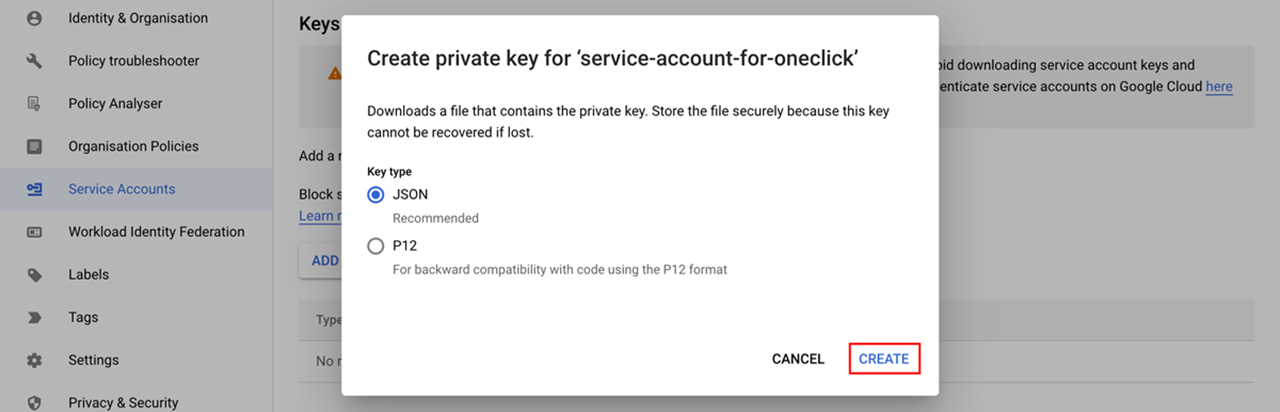
- Keep the selection “JSON” and click on Create.
-
- Your private key will now be downloaded. Keep it safe.

Enter data in the oneclick™ Admin
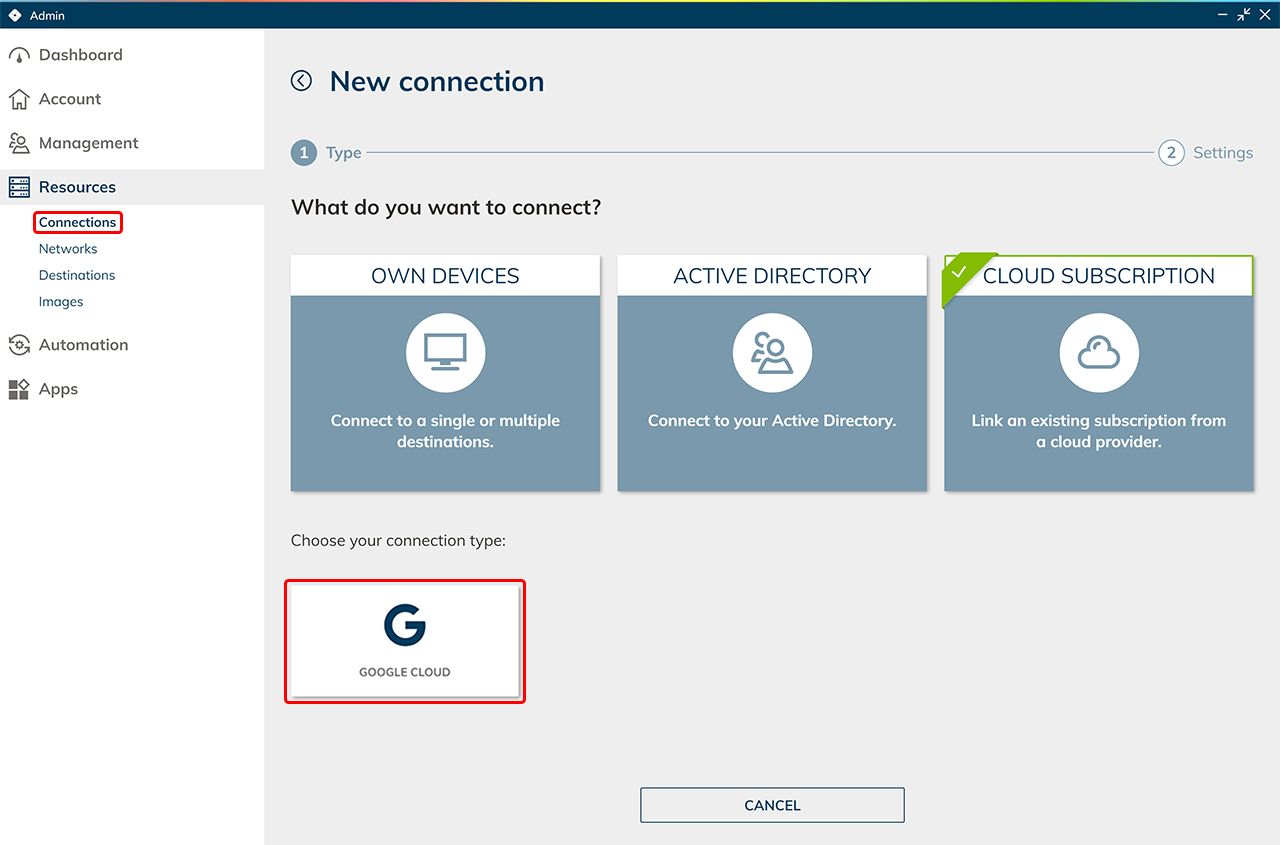
- In the oneclick™ Admin, click on Connections in the Resources tab.
- Click on the + Icon to connect your cloud subscription in oneclick™.
- Select the Cloud Resources tile and click on the required cloud provider.
-
- Give the connection a name of your choice and upload your downloaded file here.
- Click Save in oneclick™. Your Google Cloud subscription is now linked and existing resources are read out.
You will only be charged when using virtual machines. - You can now create virtual maschines.