To link your own existing AWS subscription in oneclick™, you need some data of your subscription.
Data from the AWS subscription
- Log in to your AWS Account.
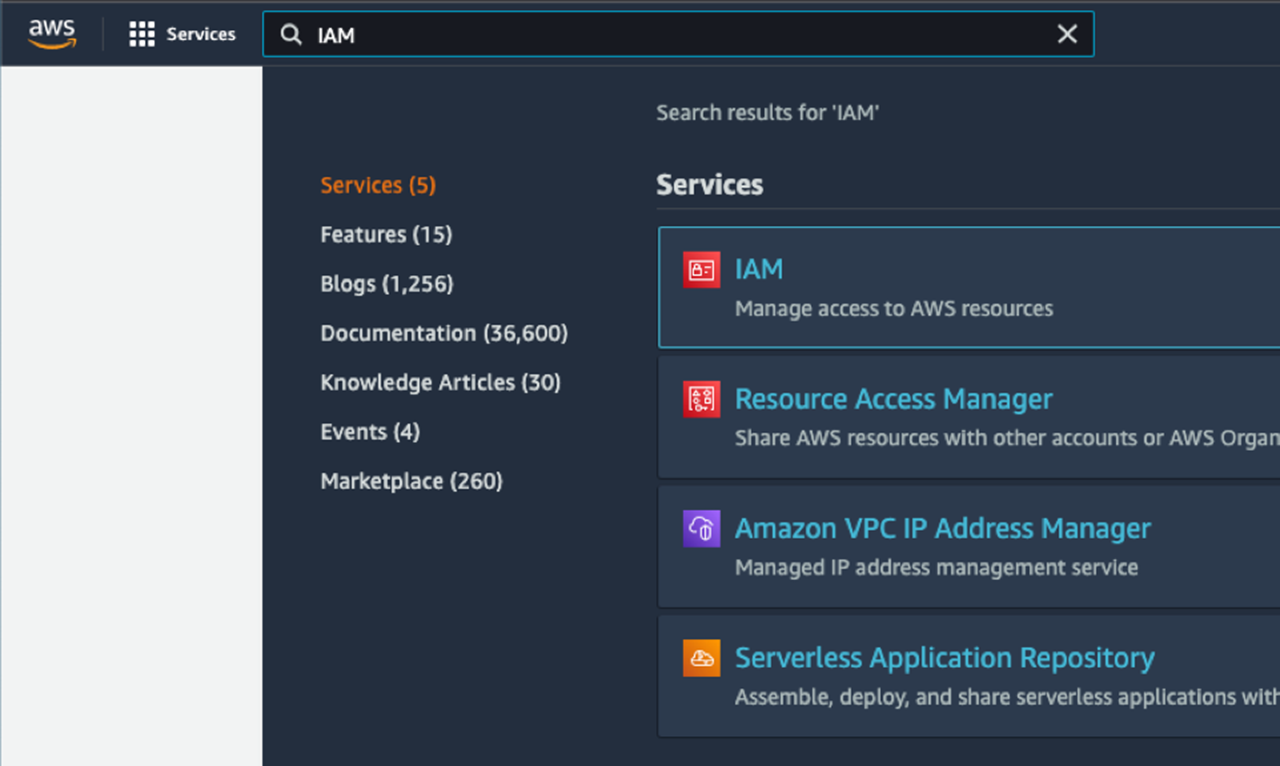
- Search for “IAM” in the search bar and then click on IAM.
-
- To use the image function in oneclick™, proceed as follows. If you do not need the image function, skip to the next point.
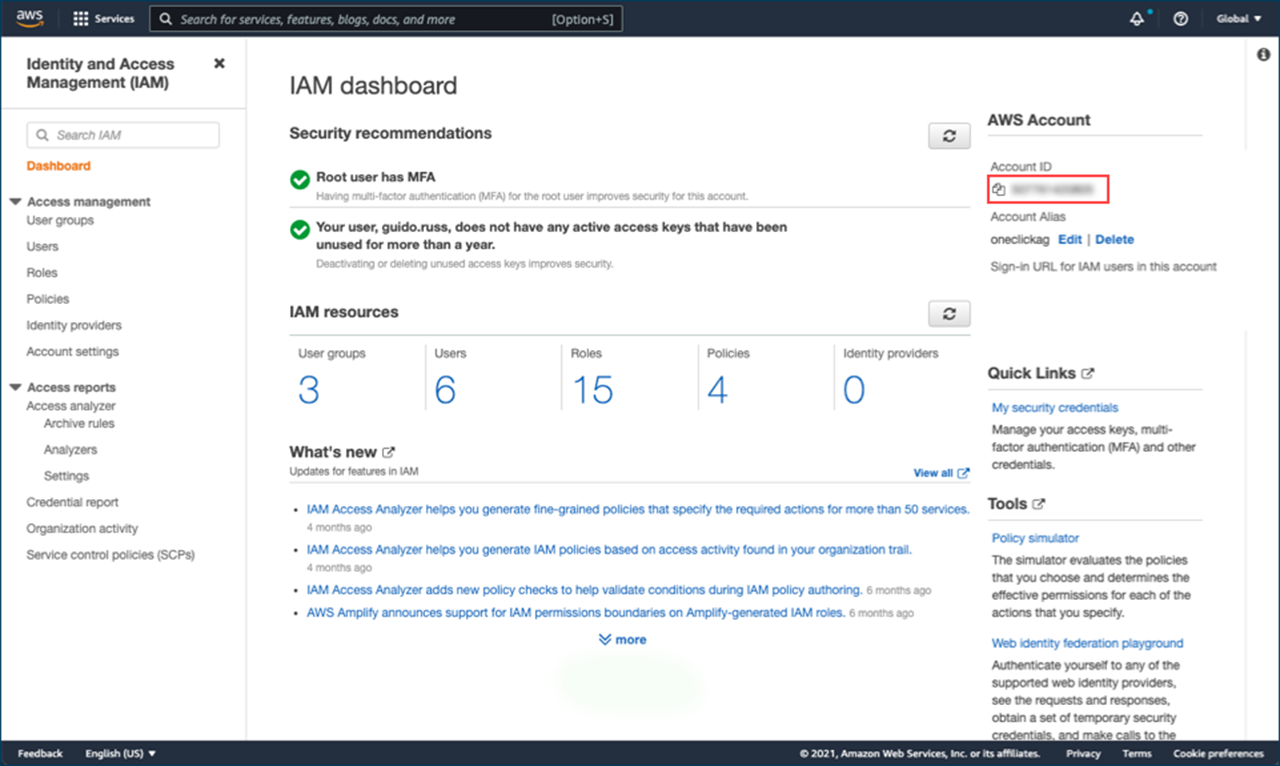
- In the Dashboard menu, copy your “Account ID”.
-
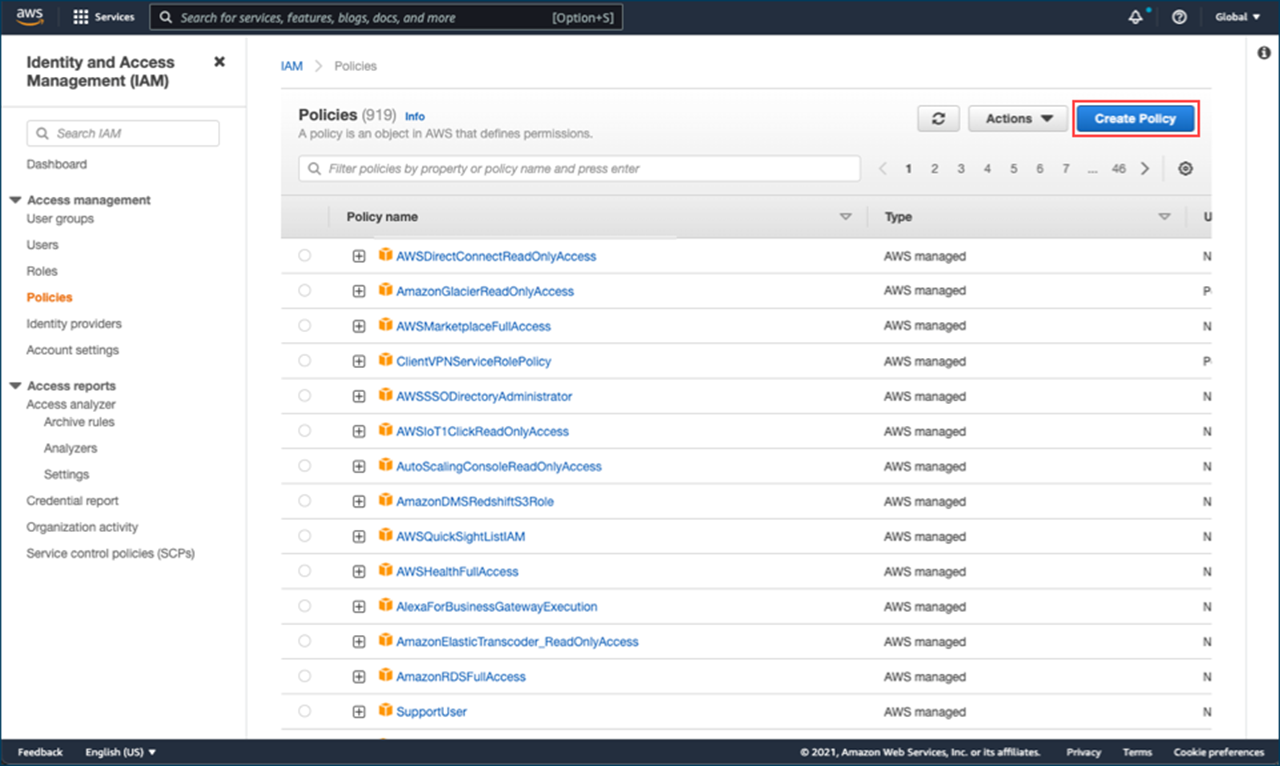
- Go to the Policies menu and click on Create Policy.
-
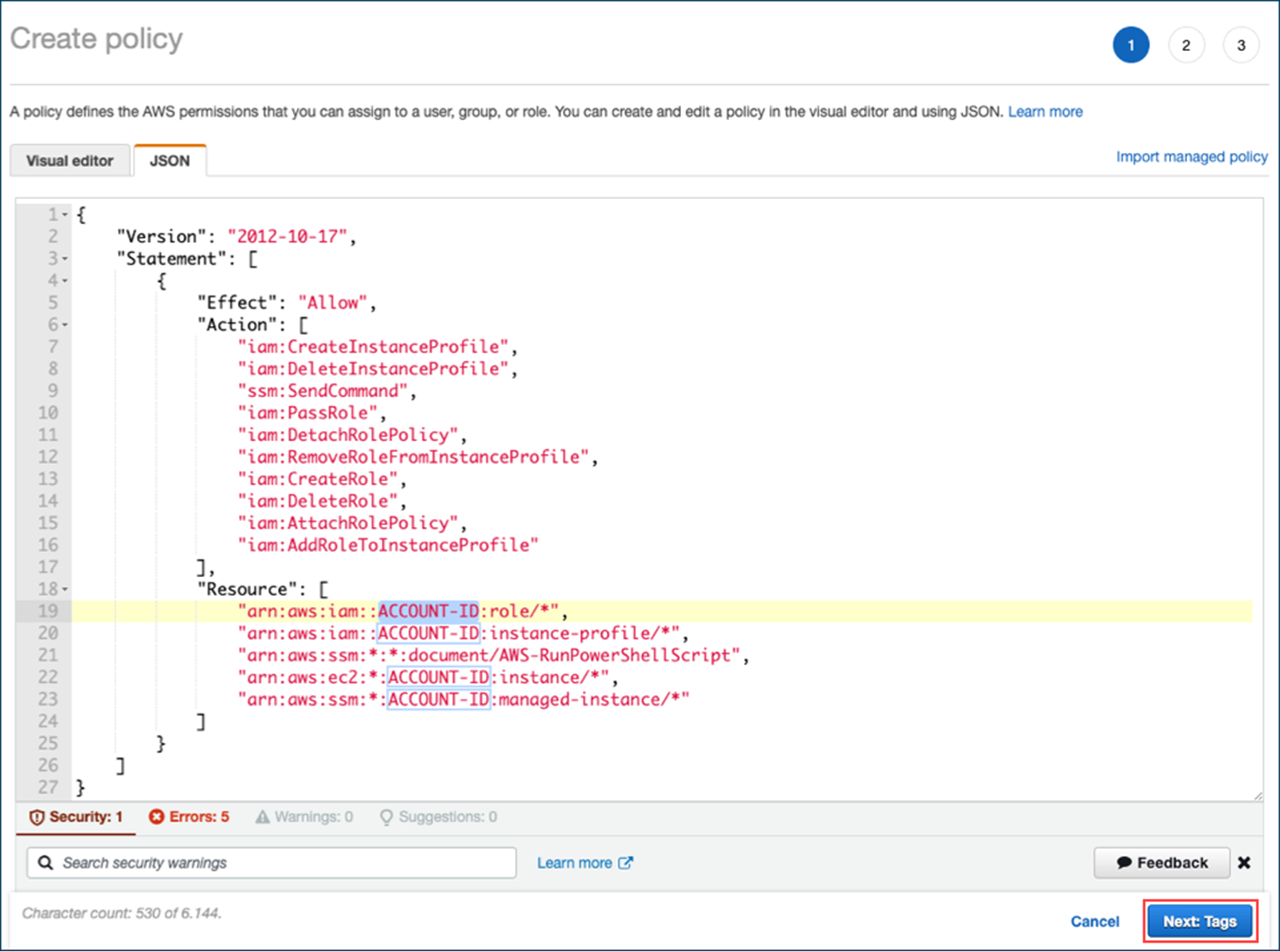
- Copy your account ID to a clipboard, e.g. to your notes. Copy the following code and paste it into the JSON item. Replace the text “ACCOUNT-ID” in the code with your ID.
{ "Version": "2012-10-17", "Statement": [ { "Effect": "Allow", "Action": [ "iam:CreateInstanceProfile", "iam:DeleteInstanceProfile", "ssm:SendCommand", "iam:PassRole", "iam:DetachRolePolicy", "iam:RemoveRoleFromInstanceProfile", "iam:CreateRole", "iam:DeleteRole", "iam:AttachRolePolicy", "iam:AddRoleToInstanceProfile" ], "Resource": [ "arn:aws:iam::ACCOUNT-ID:role/*", "arn:aws:iam::ACCOUNT-ID:instance-profile/*", "arn:aws:ssm:*:*:document/AWS-RunPowerShellScript", "arn:aws:ec2:*:ACCOUNT-ID:instance/*", "arn:aws:ssm:*:ACCOUNT-ID:managed-instance/*" ] } ] } -
- Then click Next and optionally add tags.
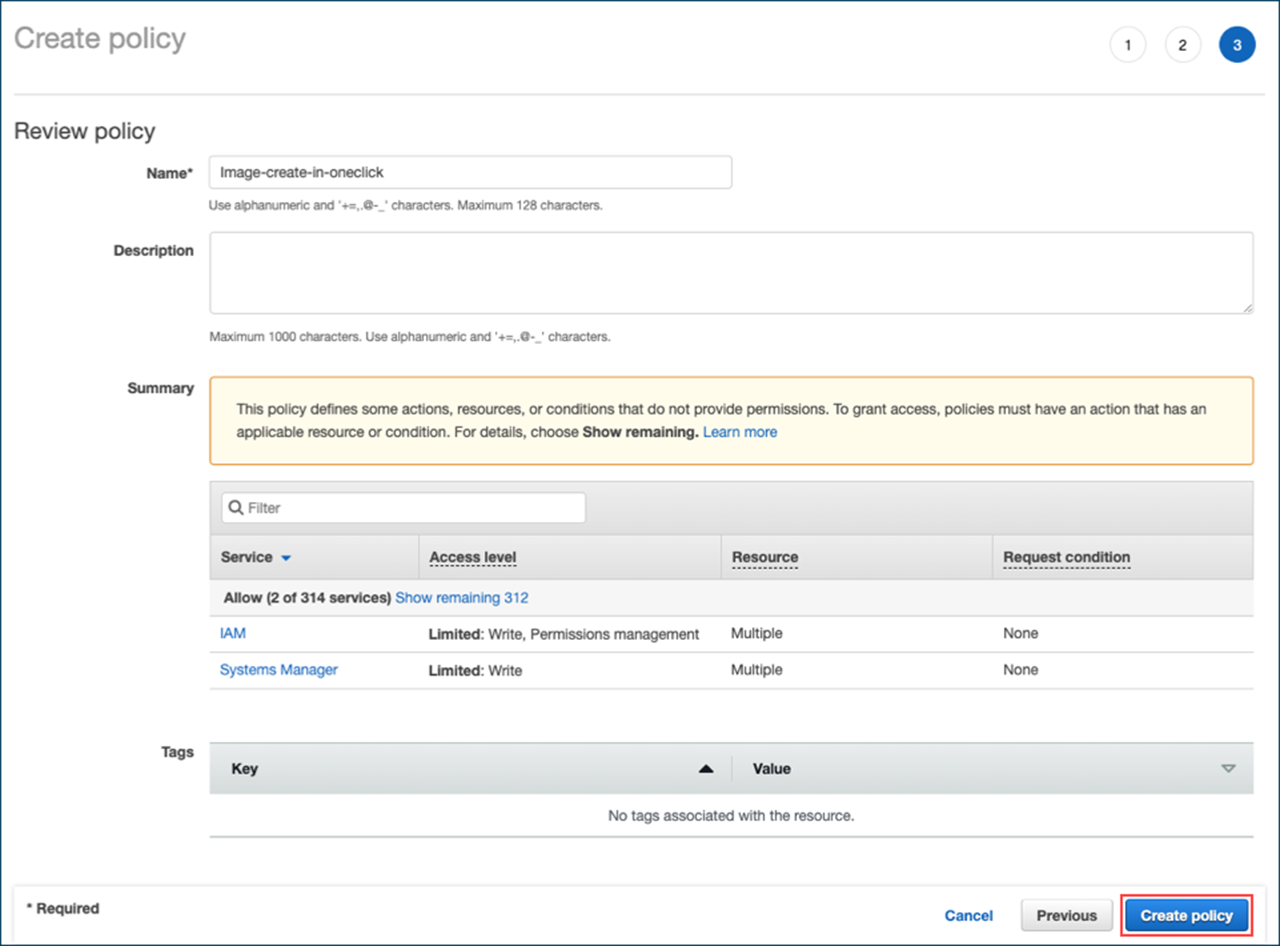
- Click on Next, name the policy e.g. “Image-create-in-oneclick” and then click on Create Policy.
-
- In the Dashboard menu, copy your “Account ID”.
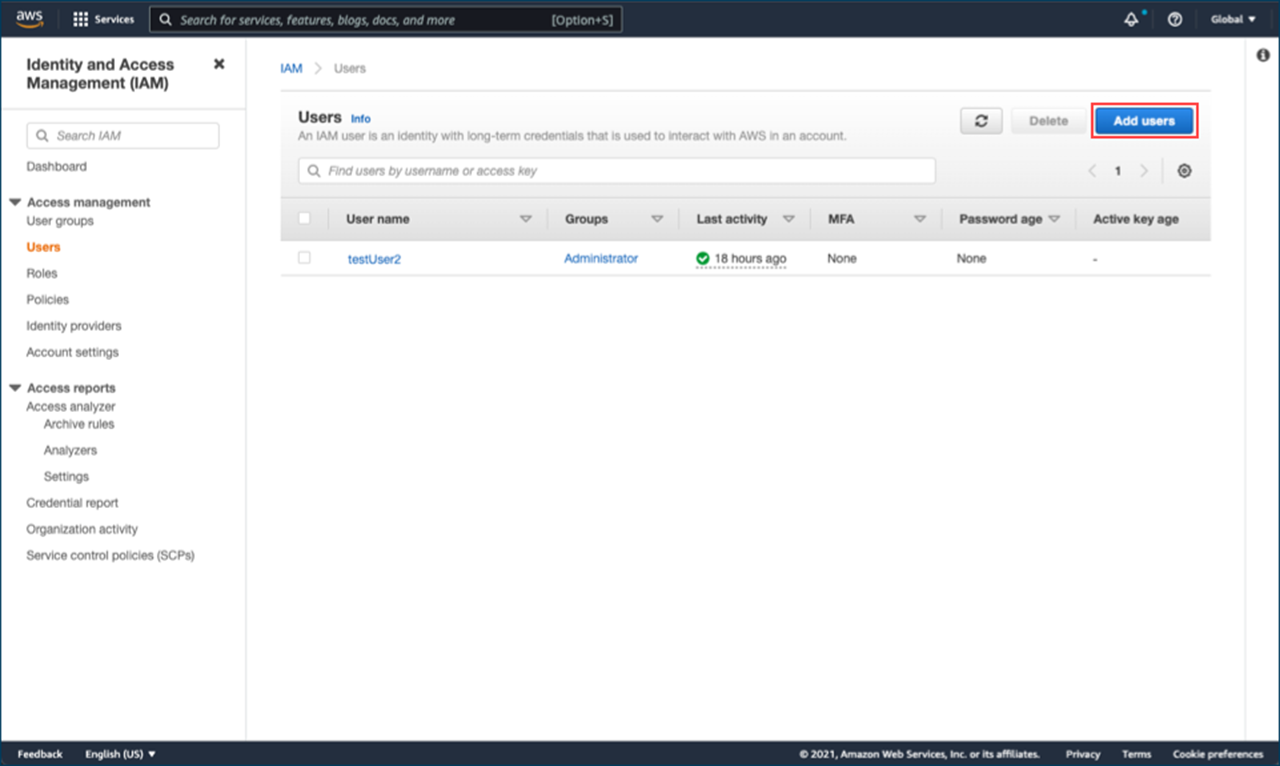
- We recommend that you create a new user.
Only use your existing user if you are sure that you have given it “Programmatic access”.
Create a new user by going to Users and then clicking on Create User in the top right-hand corner. -
- Enter the user name and tick Access key – Programmatic access. Click Next.
-
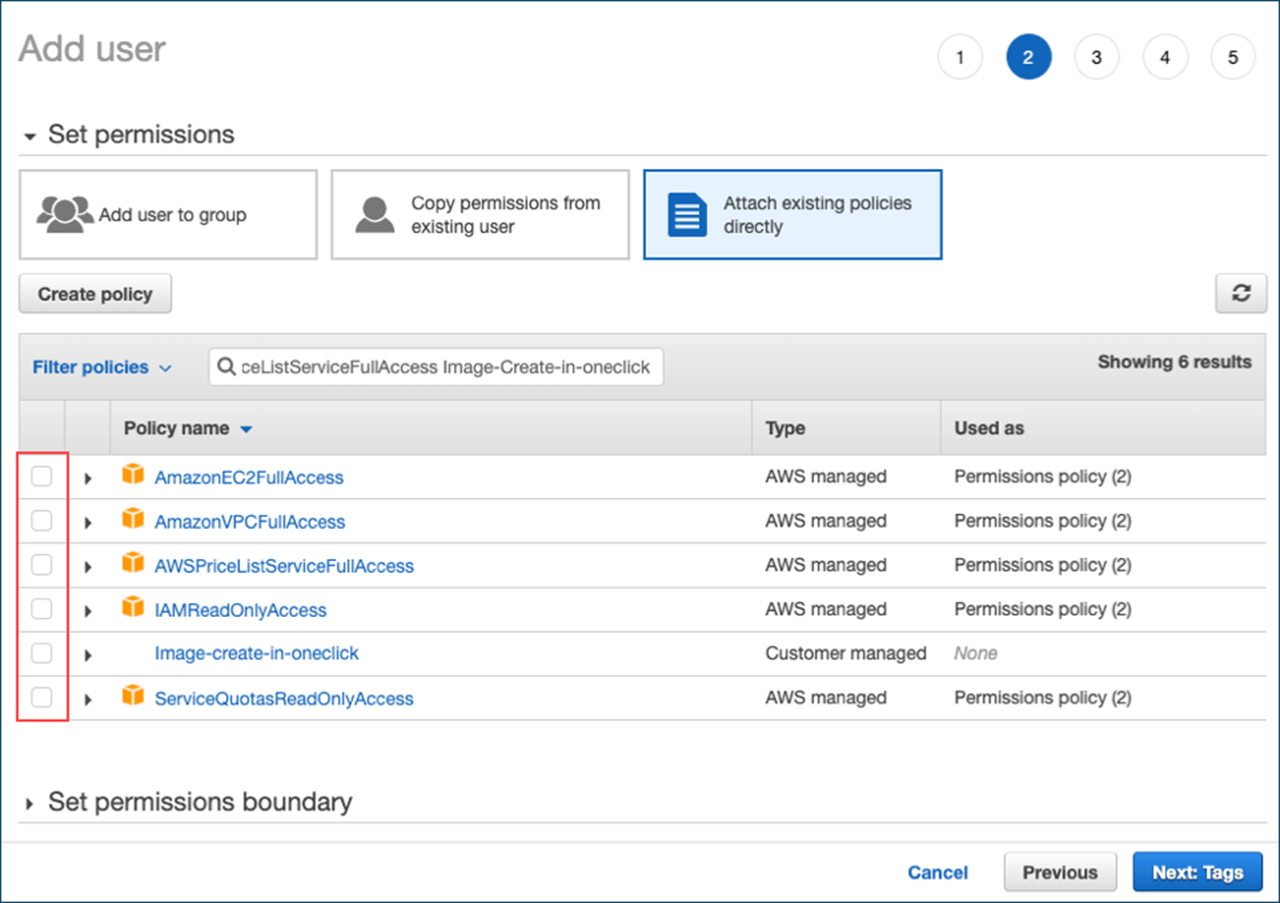
- For use in oneclick™ you must give the user some policies. Click on Attach existing policies directly. Search for the following policies, select them and click Next.
IAMReadOnlyAccess
AmazonEC2FullAccess
AmazonVPCFullAccess
ServiceQuotasReadOnlyAccess
AWSPriceListServiceFullAccess
If you want to use the image function in oneclick™, add the policy you created earlier too.
-
- Click Next and optionally add tags.
- Click Next, check your entries and then click Create User.
- From the following view, you can copy “Access key ID” and “Secret access key” to paste them into oneclick™.
-


Enter data in the oneclick™ Admin
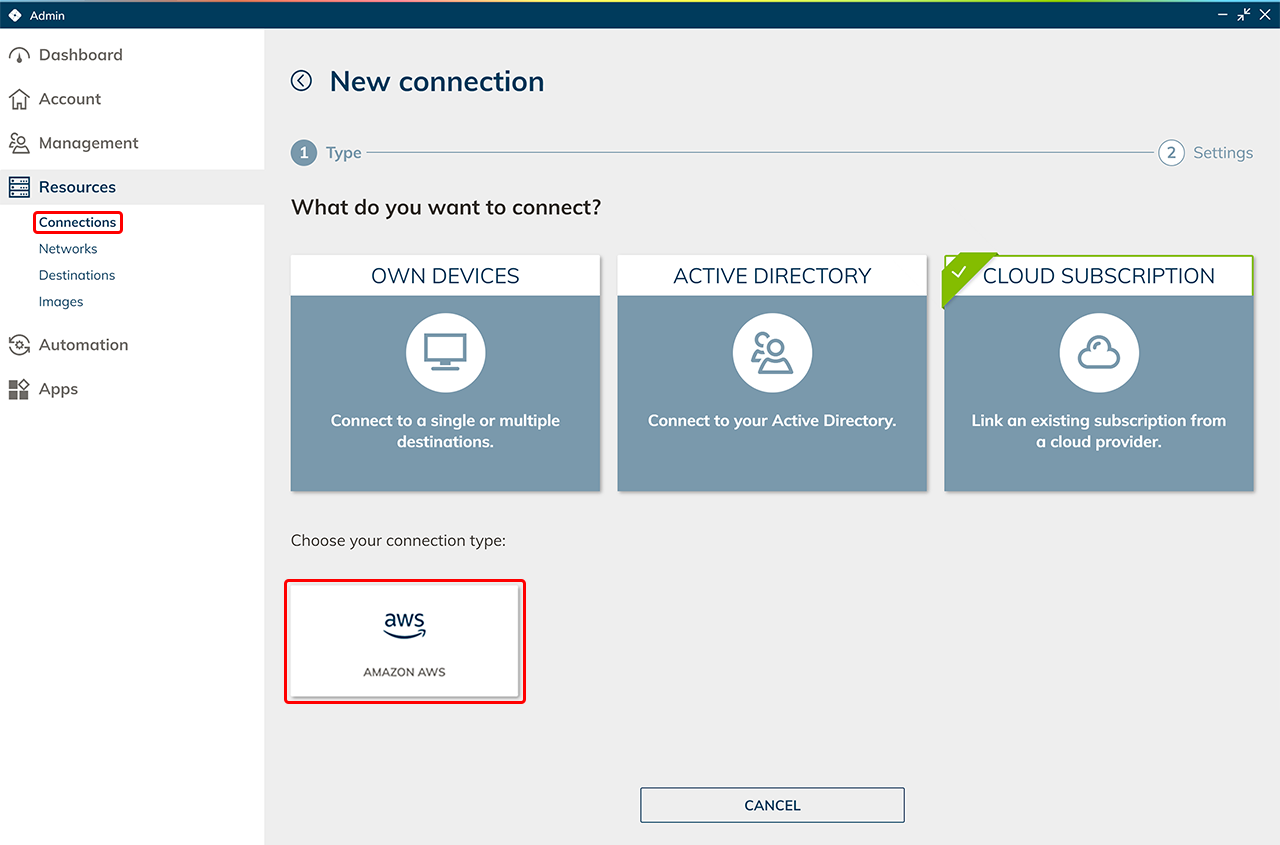
- In the oneclick™ Admin, click on Connections in the Resources tab.
- Click on the + Icon to connect your cloud subscription in oneclick™.
- Select the Cloud Resources tile and click on the required cloud provider.
-
- Give the connection a name of your choice and enter your data from your AWS subscription.
- Click Save in oneclick™ . Your AWS subscription is now linked and existing resources are read out.
You will only be charged when using virtual machines. - You can now create virtual maschines.